OPEN HOUSE TONIGHT CANCELED 9/9


Sorry everyone, due to a fire that happened last week in another artist’s studio, the 915 Arts building is closed to occupants, pending repairs and bringing things up to code. We will keep everyone updated when our scheduled open houses and everything is back in order.

Building Your Own Keyboard – Part 1


How to build your own keyboard, or as I like to call it, spending way too much money on a computer peripheral you could get for like ten bucks. Hearken back to the old days, though, a true aficionado knows the glory of a loud, heavy, indestructible keyboard, like the IBM Model M, which has a cult following to this day. I was surprised to find out that there is a small but thriving community of manufacturers and hobbyists making mechanical keyboards, keycaps, switches, firmware, and all. You can design and assemble the entire keyboard yourself, and it can be fully customizable, with the firmware running on a Teensy 2.0 microcontroller.

I’d like to thank matt3o, who wrote the guides I followed to build this keyboard, and helped with a few issues in my design. His guides are linked below [0]. I’ll probably refer to them a lot, as my keyboard is pretty much a stright run through his guides, though with a different layout and a (what seems to be) novel and much faster way to solder the diode grid to all the switches. I also added a nifty transistor switched LED strip to illuminate through the acrylic layers on the case. I hope this guide can convince anyone interested in custom keyboarding to take the plunge and build their own!

Pictured above are the three keyboards I made. The first one, with the unlabelled keycaps, I considered purely a prototype, but it turned out perfectly functional. It’s made out of clear acrylic and some wood middle layers. The goal was to just test out my layout, CAD design, LED strip, minimize costs, and develop firmware before dropping the huge moneybomb on aluminum/wood cases. What I like to refer to as the ‘executive’ version is made of of waterjet cut 6061 Aluminum 0.06″ sheet, laser cut 0.15″ Poplar wood, and 0.062″ clear acrylic. The switches are all handwired with bare pre-tinned 28 AWG wire and heatshrink on the columns to prevent shorts. The keyboard with the NERV key is a work in progress and is basically the same as the DSA dolch keyset, but with different keycaps and a teensy++ microcontroller.

On to the tutorial! I’m going to break it up into multiple posts since it is a fairly long process. Here are the categories:

1. Case design and manufacture
2. Switches and keycaps and stablizers
3. Assembly and soldering
4. Firmware, LED strip, and transistor

[Part 1 – Case Design and Manufacture]
This part was the biggest learning curve for me to deal with, but thankfully there are a few tools made by members of the keyboarding community that takes a lot of the tedious gruntwork out of the situation.

You’ll first want to check out www.keyboard-layout-editor.com [1]. I highly recommend sticking with a straight ANSI layout pictured below, which is the standard you will find on most stock keyboards. My custom layout is similar to an ANSI 60% layout, but I added a column and scrunched in the arrow keys at the bottom right. I like it a lot, but buying keycaps is a pain, you’ll have to use a blank layout or pay too much for a special modifier pack to get the correctly sized right shift key and function keys. I designed it to fit a stock DSA Dolch kit from Signature Plastics. I’ll comment more on choosing keycaps in the next section, for now keep in mind that, when planning your layout, you are going to have to later spend money on the keycaps.

The nice part about keyboard-layout-editor.com is that you can export your layout as text in the Raw data tab. Cut and paste my layout below if you want to follow along. It will also come in handy with the next tool, which can do the majority of the CAD design for you. You can import your design from keyboard-layout-editor and http://builder.swillkb.com/ will make a CAD file for you [2]! That’s easily 90% of the work done right there! It’s an ongoing project, so you’ll want to open the output files in CAD and make any changes or modifications you want. Here’s the code for my keyboard layout, pictured below:

[{c:”#f16f3b”,a:7},”ESC”,{c:”#909596″,f:6},”1\n1″,”2″,”3″,”4″,”5″,”6″,”7″,”8″,”9″,”0″,{a:4,f:3},”-\n_”,”+\n=”,{c:”#f16f3b”,w:2},”Backspace”,”DEL\n~`”],
[{w:1.5},”Tab”,{c:”#909596″,a:7,f:6},”Q”,”W”,”E”,”R”,”T”,”Y”,”U”,”I”,”O”,”P”,{a:4,f:3},”{\n[“,”}\n]”,{c:”#f16f3b”,w:1.5},”|\n\\”,”Pg up”],
[{w:1.75},”Caps Lock”,{c:”#909596″,a:7,f:6},”A”,”S”,”D”,”F”,”G”,”H”,”J”,”K”,”L”,{a:4,f:3},”:\n;”,”\”\n'”,{c:”#f16f3b”,w:2.25},”Enter”,”Pg dn”],
[{w:2.25},”Shift”,{c:”#909596″,a:7,f:6},”Z”,”X”,”C”,”V”,”B”,”N”,”M”,{a:4,f:3},”<\n,”,”>\n.”,”?\n/”,{c:”#f16f3b”,w:1.75},”Shift”,{c:”#909596″},”\n\n\n\n\n\nup”,{c:”#f16f3b”},”End”],
[{w:1.25},”Ctrl”,{c:”#909596″},”Win”,{c:”#f16f3b”,w:1.25},”Alt”,{w:6.25},””,{w:1.25},”Func”,”Ctrl”,”Home”,{c:”#909596″},”\n\n\n\n\n\nleft”,”\n\n\n\n\n\ndown”,”\n\n\n\n\n\nright”]

I’ll explain more about stabilizer types in the next section, but a quick intro will suffice for now. When you press a key, stabilizers transfer the force from the sides of larger keys to the switch. There are a few different types, but I recommend going with costar stabilizers, since they fit in a rectangle and are easy to work with and readily available to purchase on The Internet (don’t ever underestimate how difficult it can be to source the parts you want for a keyboard).

When I first used swillkb it only output the top plate design, but it was easy enough to start from there with some basic CAD knowledge and make all the other layers for a the entire case. Use cut and paste and try your best to run up the learning curve of your CAD program of choice.

Without having and 2D CAD experience I tried out a few software packages before settling on Draftsight [3]. It’s free once you register and pretty straightforward to use. I also ordered the aluminum plates from eMachineShop, which has its own CAD program you can import dxf files into and order your own custom parts, which made it easy to get an instant quote on the design cost. Incidentally they were also the cheapest option. I ordered the Poplar wooden middle layers from Big Blue Saw, which was cheap but it turned out they were out of stock, so it took a month before the parts arrived in the mail. It’s worth sending off an email to double check what they have in stock if their website isn’t explicit.

Once you have your top plate designed, and if you already ordered your keycaps or have a spare set laying around, go ahead and print off, to scale, a paper version of the top plate. It’s an easy way to double check your layout and design before sending the CAD files off to be manufactured.

I lucked out, and have a friend in a design shop who cut out the entire design in acrylic so I could first verify the layout and case design before dropping the cash on a metal and wood case. Thankfully the layout was spot on, all I had to do was raise the stabilizer holes 0.25mm on the y axis to get them to work smoothly. With the tight tolerances in the design, you may end up having to file down the stabilizers to get a smooth travel. That’s fine and almost expected, I haven’t had any issues with it after filing down a bit of the plastic.

Next article I’ll talk about the fun part, choosing the switch types and keycaps to get the right look and feel for your keyboard!


Links:
[0] http://deskthority.net/workshop-f7/brownfox-step-by-step-t6050.html
[1] http://www.keyboard-layout-editor.com
[2] http://builder.swillkb.com/
[3] https://www.3ds.com/products-services/draftsight-cad-software/

Donation drive this week at our Open House

This week we have a very special request for those planning to attend our Wednesday Open House event. One of our members has organized a clothing & toiletry drive to benefit those experiencing homelessness in Philadelphia. She works at Mary Howard Health Center—a local health center that provides primary care and social services to patients on the homeless continuum—which  is hosting a summer clothing boutique this week, July 22-24. The boutique will offer an opportunity for individuals in need to “shop” (all items being FREE, of course!) for summer clothing, accessories, and personal care items.

They are looking for donations of the following needed items:


  • Gently used men’s clothing (t-shirts, dress shirts, shorts, pants, shoes—they are particularly in need of sizes XL & up/size 36 and up
  • New men’s socks (preferably white for their diabetic patients)
  • New Toiletries (soaps, shampoos, deodorants, lotions, toothbrushes, toothpaste, shaving supplies)


Any quantity of the above items would help them give to their patients  in need this summer.


Please bring donations with you this Wednesday to our Open House event! Corrie (Hiver & Mary Howard HC employee) will be there and is happy to share more details about the event and the work that Mary Howard Health Center does within the homeless community in Philadelphia.

You can also drop off items at Mary Howard Health Center, located at the corner of 9th & Sansom Streets (entrance on Sansom).


Please feel free to contact Corrie with any inquiries (ctice_at_phmc_dot_org).


Corrie thanks you in advance for helping make this event a success!

Our New Laser Cutter!

The new laser cutter station in our classroom.

We are very happy to share that Hive76 is now home to a 45W H-Series laser cutter from Full Spectrum Laser! Members now have the capability to cut complex 2D shapes in wood and plastic in thicknesses up to 0.25 inch. If you can draw it on a computer, the laser can cut it. It’s great for engraving too:

Hive76 rocks!

We’ve just begun making test cuts and machine break in. Our next step is to develop a class for members to become laser cutter certified. I can’t wait to see what kind of cool projects our members will use this tool for. In the mean time, stop by our open house Wednesday nights 7-10pm to see it in action and find out how to become a member!

Laser guts.


Photon Extrusion

Our old Makerbot case sitting in the scrap parts bin has been resurrected as a grow case for my terrariums! All it took was an afternoon, some scrap plastic sheets, a few LED strips + power supply, and liberal use of a hot glue gun.

Lights off
Ready to go
Printing some plants

Lost Artwork Found!

One of our members Marie made a beautiful painting of Lightning from Final Fantasy XIII.  Sadly when Marie moved away from Philly to pursue her programming career her painting got lost in the abyss that is the Hive76 utility closet.  Luckily her painting resurface and is now on display for everyone to appreciate.


Thank you Marie, we miss you!

Vintage Video Game Night!

Well, it’s that time of year again! We’ve gathered up all of our old consoles, dusted off our CRTs, and practice blowing off our NES games!

NES, Super NES, N64, Commodore64, Atari, Dreamcast, 3DO, plus tons of 
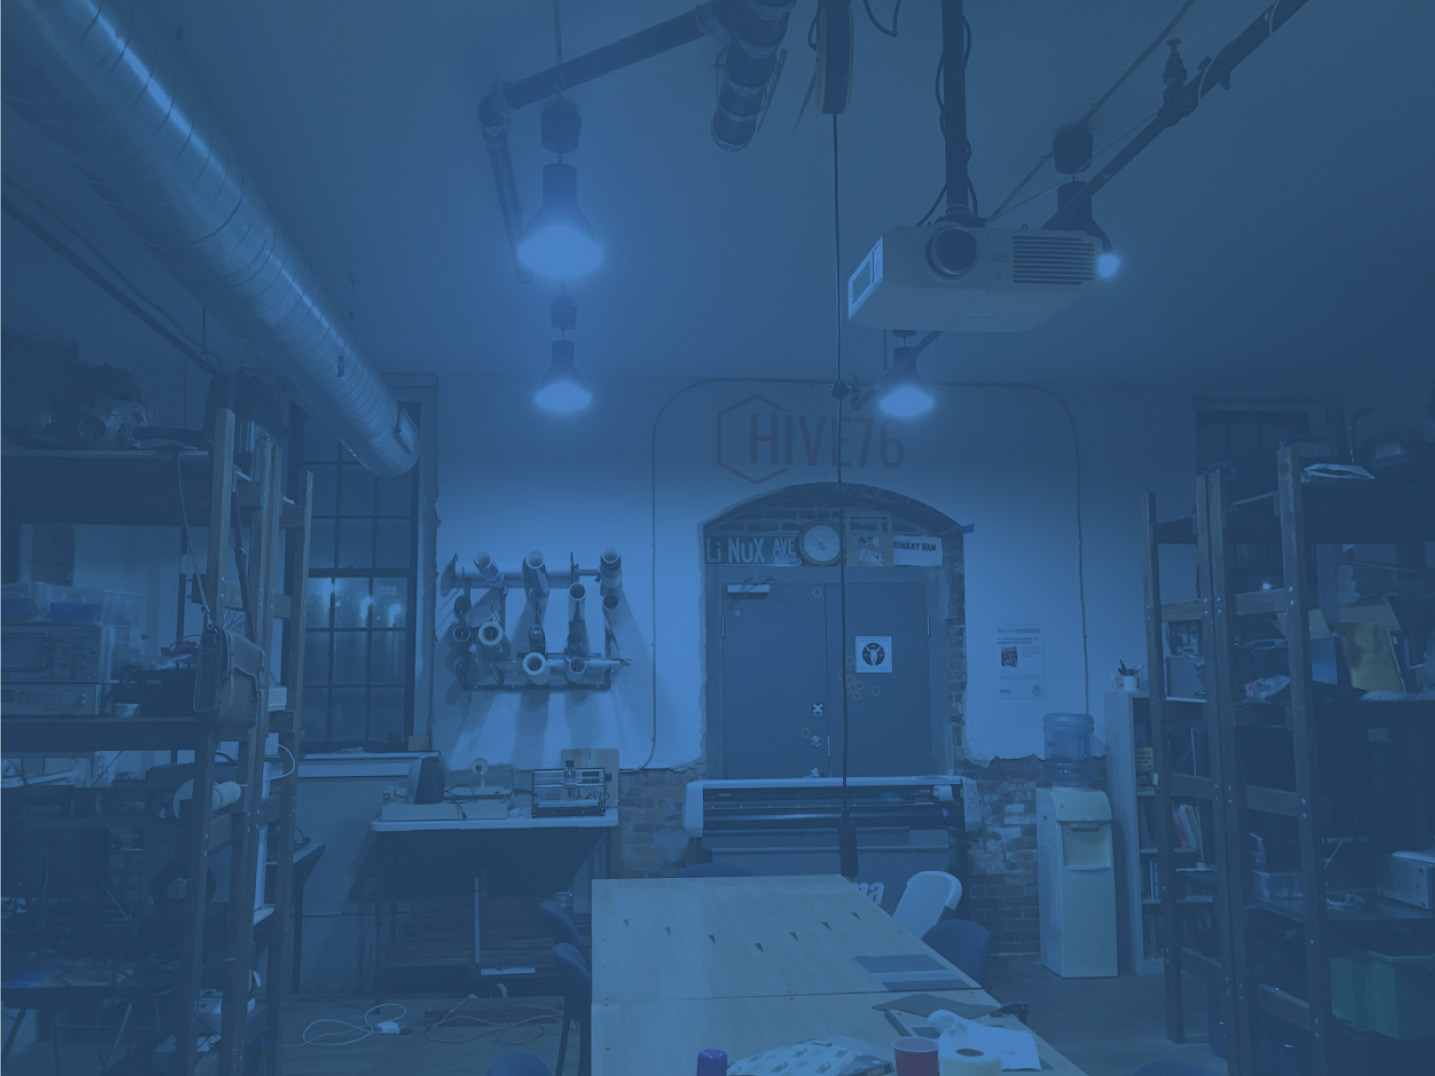
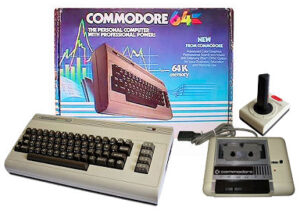
games, and more! The Hive76 vintage video gaming night is back again for Philly Tech Week 2015!!
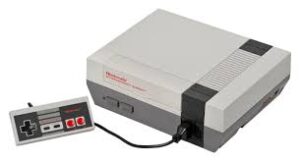
A free event!
Tuesday, April 21
7:00pm–11:00pm
915 Spring Garden St

Hydroponic Gardening

On Tuesday April 28th Chris Anderson will be instructing a lecture and demo on Hydroponic and Aquaponic gardening. If you are interested in learning alternative farming and gardening techniques this class will introduce a more environmentally friendly process for growing your own produce. Generally, the hydroponics approach is beneficial because although the initial costs are higher, on a long term outlook the process is exponentially less expensive. Hydroponics also takes up to 50% less land use, therefore is much less intrusive to the environment, minimizing clearing of woodlands and soil degradation. The soil-less process of hydroponics also uses up to 90% less water and up to 60 % less fertilizer and pesticide use.

Join Hive76 members to learn more about how you can build your own sustainable farming/ gardening hydroponic or aquaponic system. The instructor will be providing the Basic items for the wicking system being built but please bring any supplies you have that may enhance the design. Chris Anderson will help guide the class in how they can optimize their gardening system with their suggested materials, exploring the creative possibilities in using recycled products. That class will cost $8, CASH ONLY. For more information check out the class in the Hive76 Calendar. Please comment below if you are interested and will be attending. Can’t wait to see you there!

Take a tour of Chris Anderson’s classroom design.

The materials for the class are as follows:

Basic items:
2L or 3L soda bottle(s)
Old white t-shirts/towels (washed)
Encouraged items:
Aquarium/fish-tank air-pump, tubing, air-stone
tin-foil
Gravel (any size)
Geolite, Vermiculite, hydrocorals
plastic planter cups
empty plastic squeezable condiment bottles
plant seeds
zip-ties
caulk, silicon, caulk-gun
pipe cleaners
construction paper
aquarium lid with florescent light
power-strip; plug in timers
straws, tubing (any sizes)
Sources:
https://ecopostblog.wordpress.com/2014/07/14/the-environmental-benefits-of-hydroponics/

DIY Music Night at Hive76 – Philly Tech Week 2015

Making things to make music

On Thursday, April 23, our celebration of Philly Tech Week events continues as we open our doors for DIY Music Night (7pm-???). If you’re into music, making music, or making things that make music, you won’t want to miss it! If you’ve been to the space before, you’ll know that we run on a steady diet of tunes. And on Thursday, we’ll have all our audio and music-centric projects out in what is sure to be the noisest night of PTW. Come by and see the space, make some amplified noise, hang out, or share your own projects.

We’ll have guitars, amps, synthesizers, sequencers, oscilloscopes, speakers, fuzzboxes, tremolo pedals, signal generators, oscillators, speakers, drum machines, pickups, karaoke machines and probably alot more – all made at Hive76.

There will be snacks and beer.

Making the Hivelord [Part 2]

It’s been a while, but here’s the second post on making the Hivelord. This post will focus on the frame of the Hivelord mask, which is mostly made of copper tubing and scrap wood. Unfortunately this means it is relatively heavy for something mounted around my head, but I found a military external frame backpack that works well to transfer the weight to my hips. The length of the mask helps balance it over the frame, and I added an adjustable strap to the back to hold the laptop screen in the right position in front of my face. The end result is surprisingly comfortable!

To start, check out those copper tubes. This may have been the most expensive part of the project, I spent around $60 on copper tubing. I bought a few lengths from Home Depot, cut them into fourths, and then hammered the ends flat. You can also squish the ends in a vice to flatten them, but hammering it was a lot more fun. Once the end was flat, I carefully used the drill press to put a hole in them, then bent the end to an appropriate angle. Use a vice to hold the flat part while you bend it. I used some spare nuts and bolts to hold the copper tubing to the wood part of the frame.

Here’s the mount for the screen. The backside of the repurposed laptop screen sits on those wooden blocks, which are glued to the wooden board. I drilled those holes in the block and then hot glued the nuts inside them so you can tighten the bolts into place with the screen installed on the front. There’s enough space between the laptop screen and the mounting board to house the screen converter. I was originally going to put a camera on the inside to project my face onto the screen, so I designed the mask to be around 9 inches in front of my face.

Here I am making sure my head fits in there.

Now, to attach the screen. I had some scrap copper tubing left over, so I made some custom brackets to hold the screen in place. Flatten the tube with a hammer and bend it in the vice. Hit the bend with the hammer a few times to express yourself and give the bracket a nice 90 degree angle. I pretty much made these up as a went along, marking where the bend had to be and then making it in the vice.

The whole thing is held onto the backpack frame with a few zip ties. I was originally just testing it out with the zip ties, but they worked so well I kept them there. You can see a metal wire coming down from the back mount board. That was replaced with a backpack style strap, allowing me to adjust whether the head is looking down or up and counterbalance the mask.

Here’s the periscope. It took me a few beers to convince myself that this would be a good idea, but I was surprised at how well it works. It’s made entirely out of hot glue, square dowel rods, two mirrors, and some math. If I had to make it again I’d make the mirrors a little larger, you can only really see out of it with one eye.

Next I tested out the electronics. The screen was upside down but that was simple enough to change in the raspi. I mounted the electronics to the wood board behind the laptop screen. It’s always been a wonder to me what’s the best way to mount electronics to a solid surface. This time around I penciled in where the mounting holes were on the pcb, then I drilled some pilot holes in these spots. A dab of hot glue held the boards in place as I put in screws and or wood nails through the pilot holes. Of course, most of these stuck out the other side of the board, so I used the dremel to cut off the pointy ends. In the end it was pretty solid but the process was a bit nerve wracking.

Last but not least I had to cover up the sides of the frame. I found some scrap foam board, cut them out to size, and then spray painted the panels orange. They are held to the frame with EL wire threaded through the foam board, with the copper tube in between. I marked every half inch, then used the drill press to make some clean holes in the foam board. It took a while to thread the wire though, but I was amazed that each side required exactly 15 feet of EL wire. Sometimes you luck out when wingin it.

Thanks for reading. Next up will be a post on the Boomfists I designed for the Hivelord; speakers attached to my fists. They haven’t made a public appearance yet, but chances are high they will make an appearance with the rest of the costume at MAGFest in January!