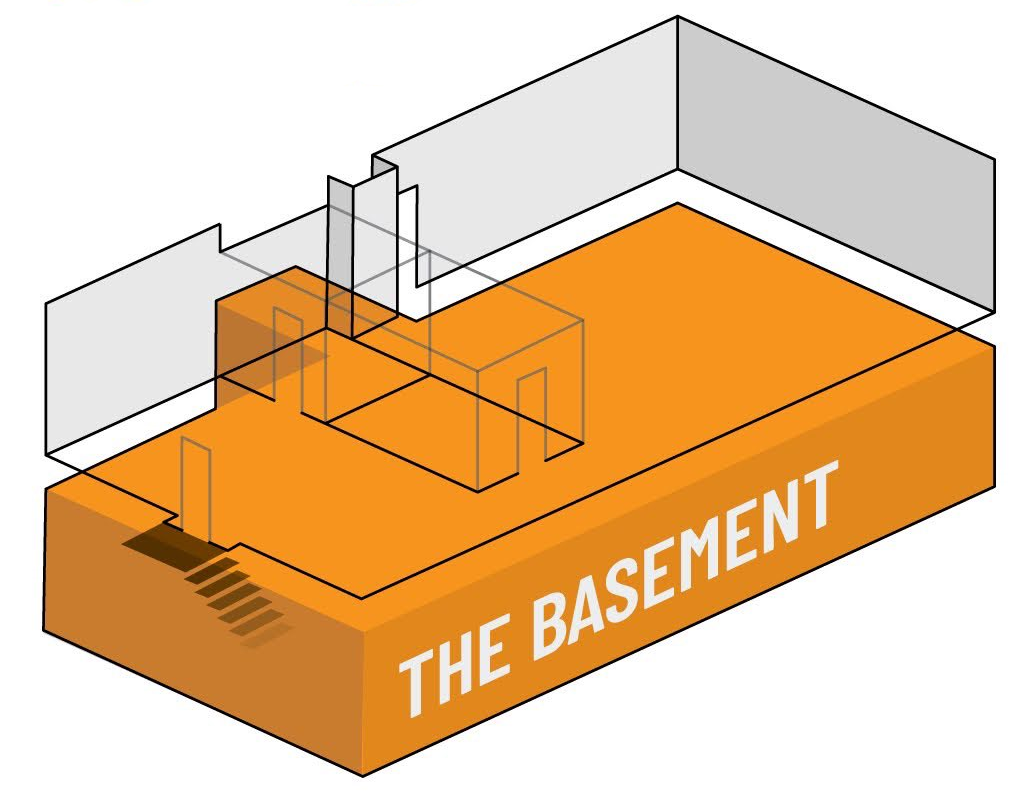
After much deliberation, Hive76 membership voted to expand our makerspace into the vacant basement below us. That means a doubling in the square footage for tools, storage, and more! As part of this expansion, we’re kicking off a fundraising campaign to make our expansion as successful as possible. If you’re able, please donate and spread the word.
Crokinole Board Build
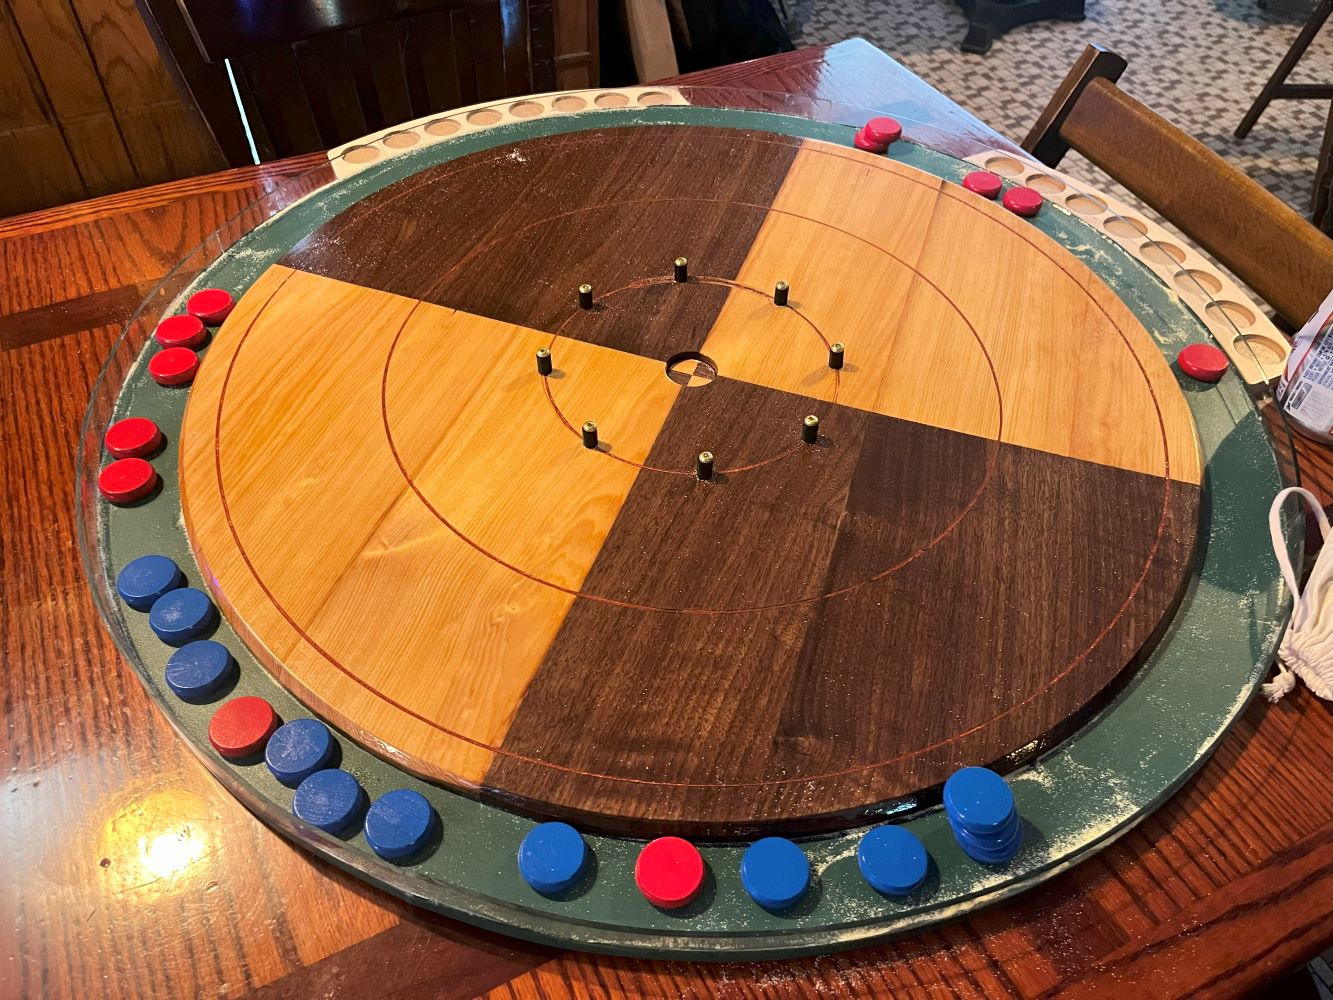
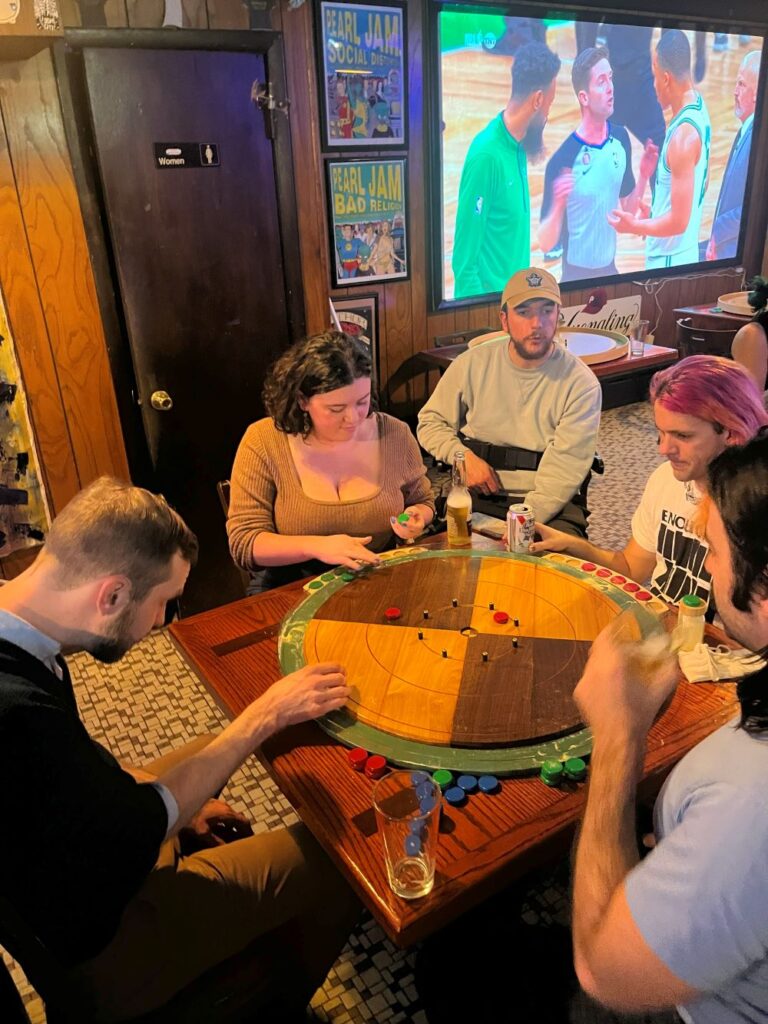
It’s the “the greatest game you’ve never heard of.” Crokinole is a dexterity table game for 2-4 players that involves flicking discs (adorably called “buttons”) across a circular board. For a Christmas gift, I took on the challenge of building a board from scratch. Not a project for the faint of heart, but one that ultimately resulted in beautiful end product. Keep reading for the breakdown of how it came together.
It all starts with the wood. For this board, I decide to use a two-tone design; half black walnut, half reclaimed old-growth pine from a demolished Philly rowhome. Both need to be rough sawn on the band saw and then planed using our thickness planer.
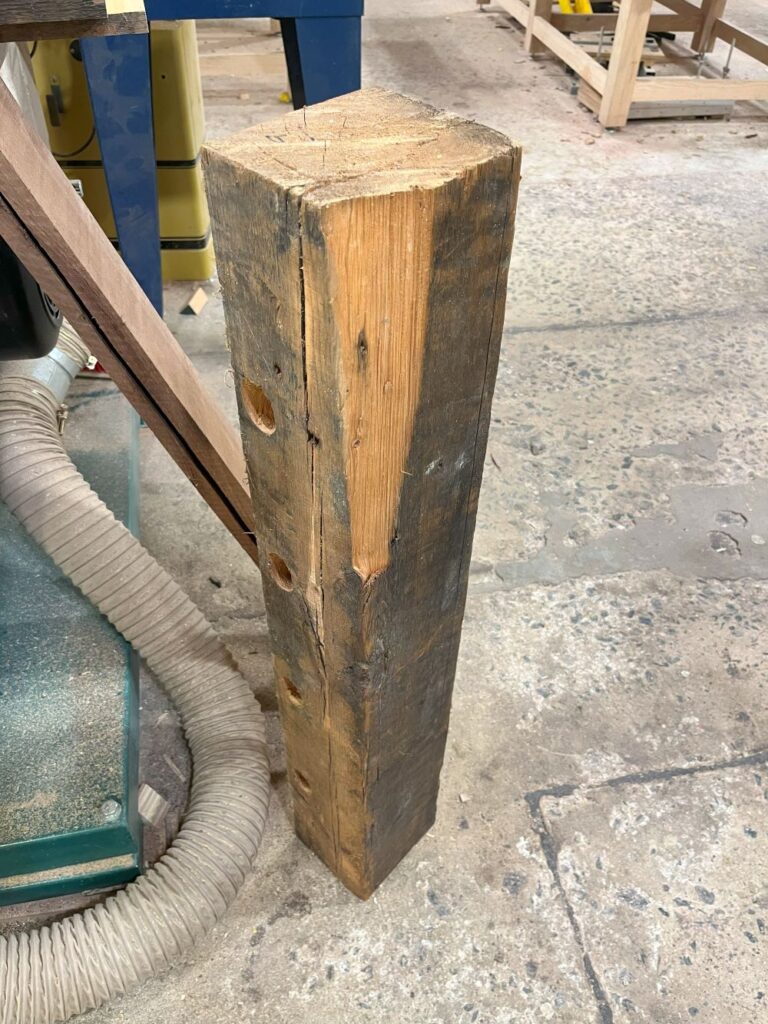
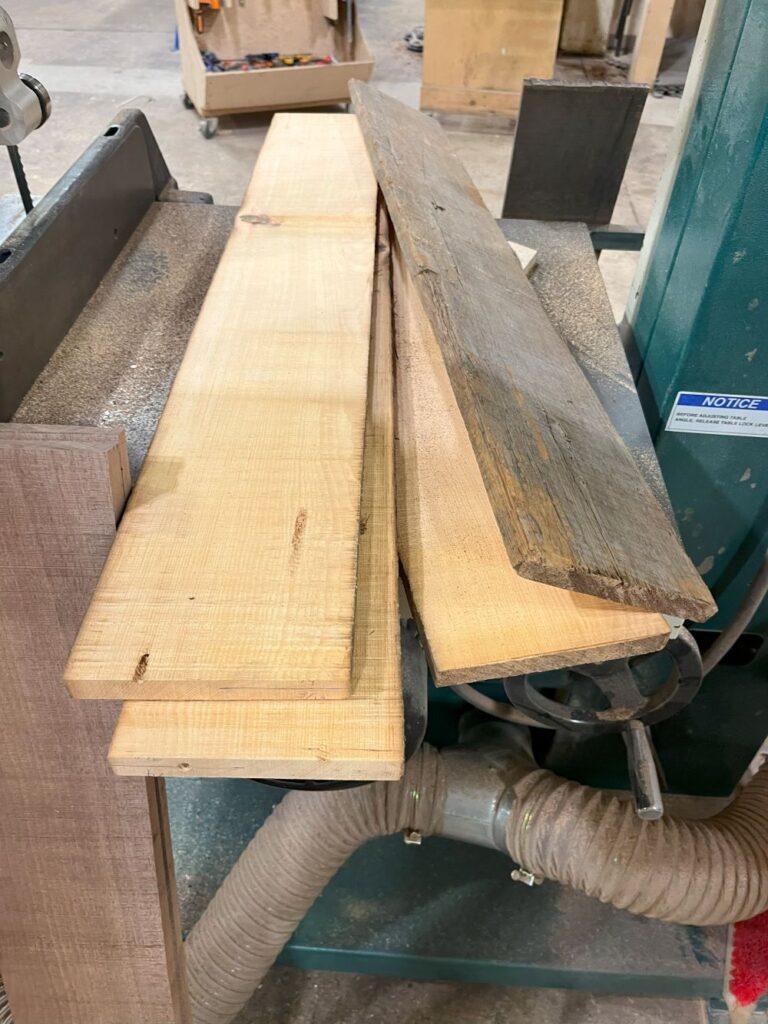
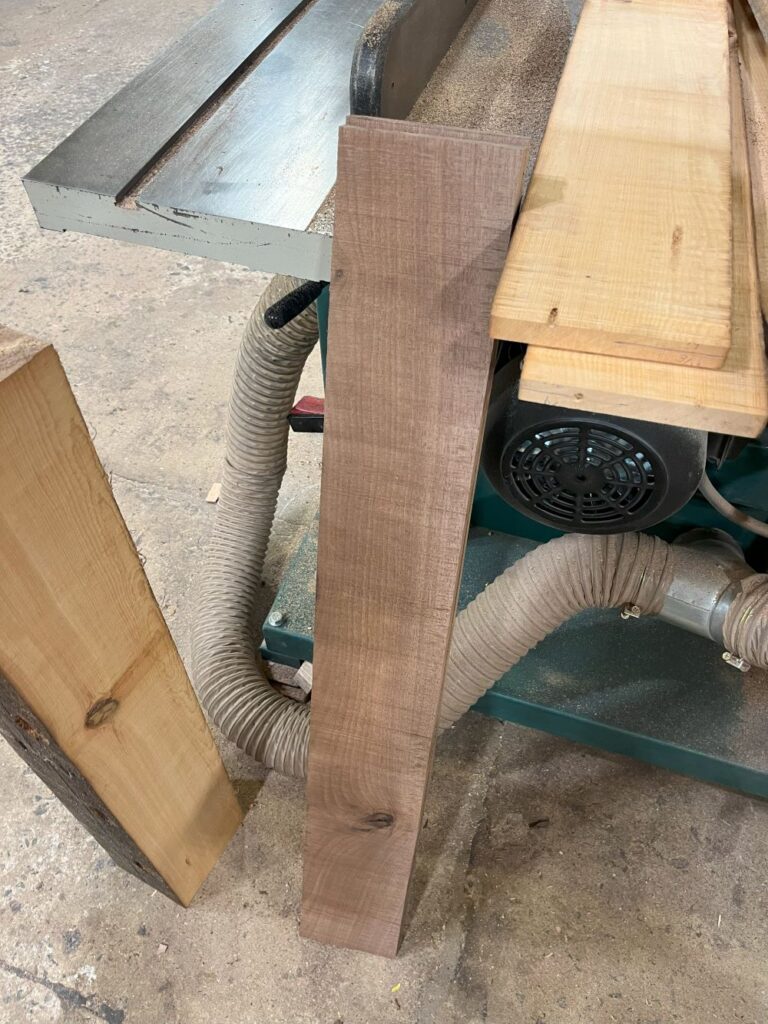
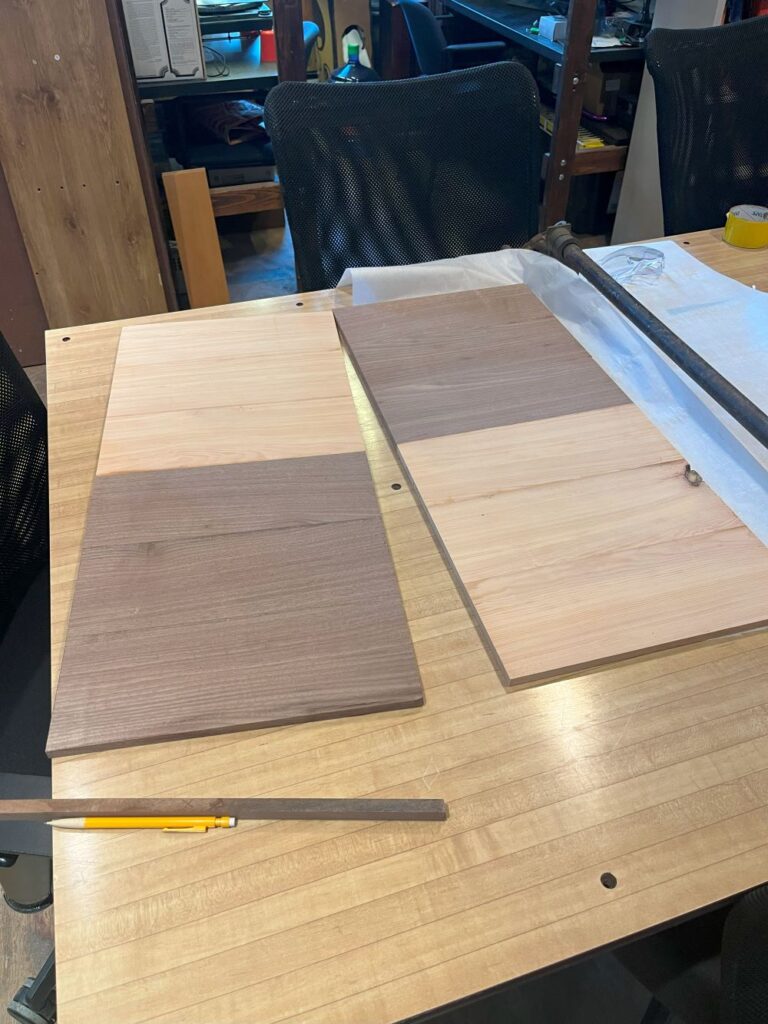
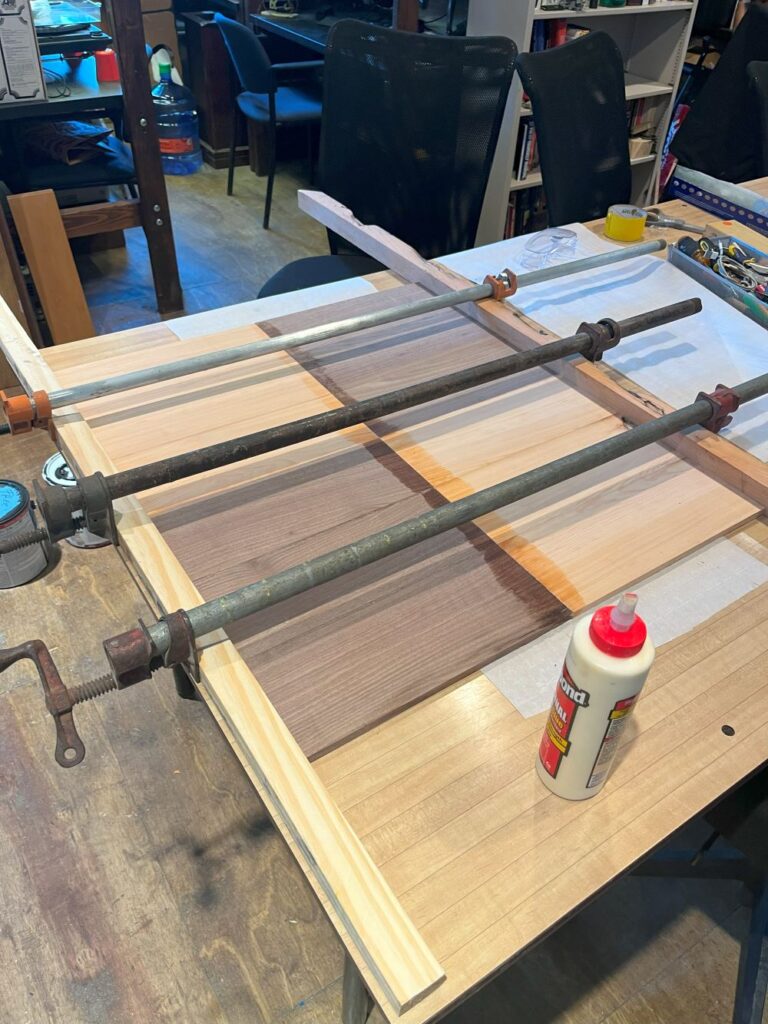
Once I had board of the same thickness, it was time to glue them up. After squaring up the edges of the boards on the table saw, I glued the 3 board each type together to get a total width of 13 inches. Nearly all crokinole boards, including this very helpful Instructable, make their playing surface from a single piece of plywood. The four quadrants are then marked on the surface. However, I wanted this to be a very special gift, so I made the four quadrants from the contrasting light pine and dark walnut. Once I had a 13″ wide board of walnut and pine, I glued them them together to make a 26″ wide board about 28″ long. Next, I cut the glued-up piece into two halves. I flipped one of the pieces and aligned the boards in a checkerboard for yet another glue-up. At this point, I finally had the complete checkerboard playing surface. It’s important to scrape and sand excess glue as you go along so you can keep the pieces flat. a flat playing surface is crucial for crokinole, so I did all glue-ups on Hive’s bowling-alley table.
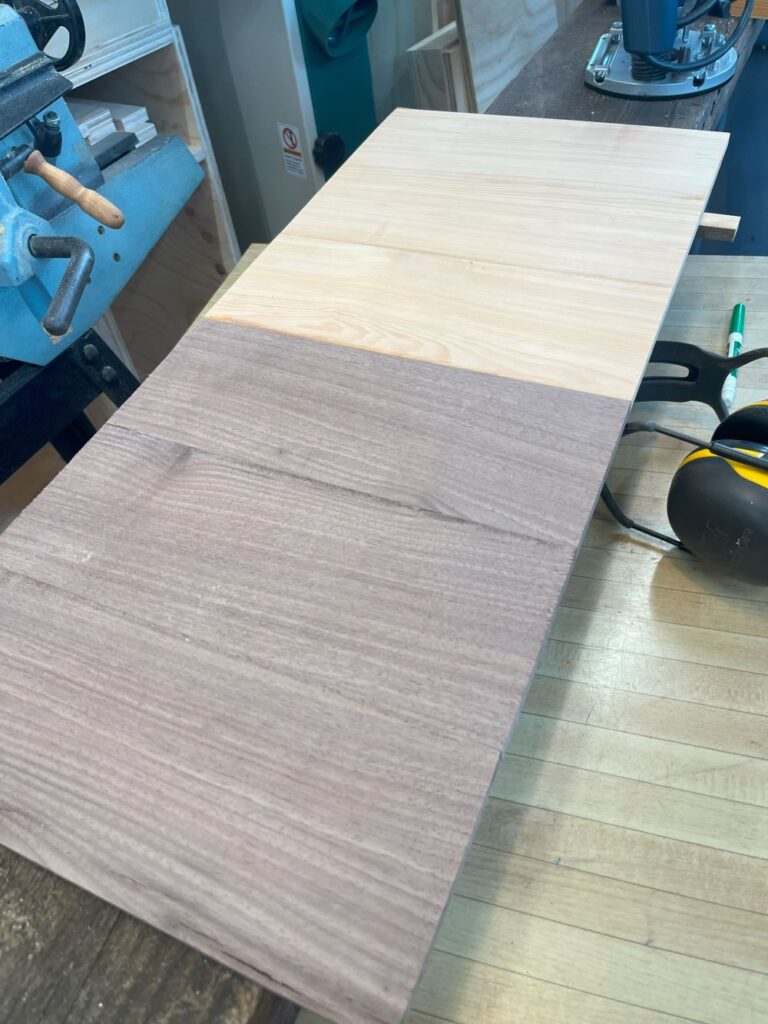
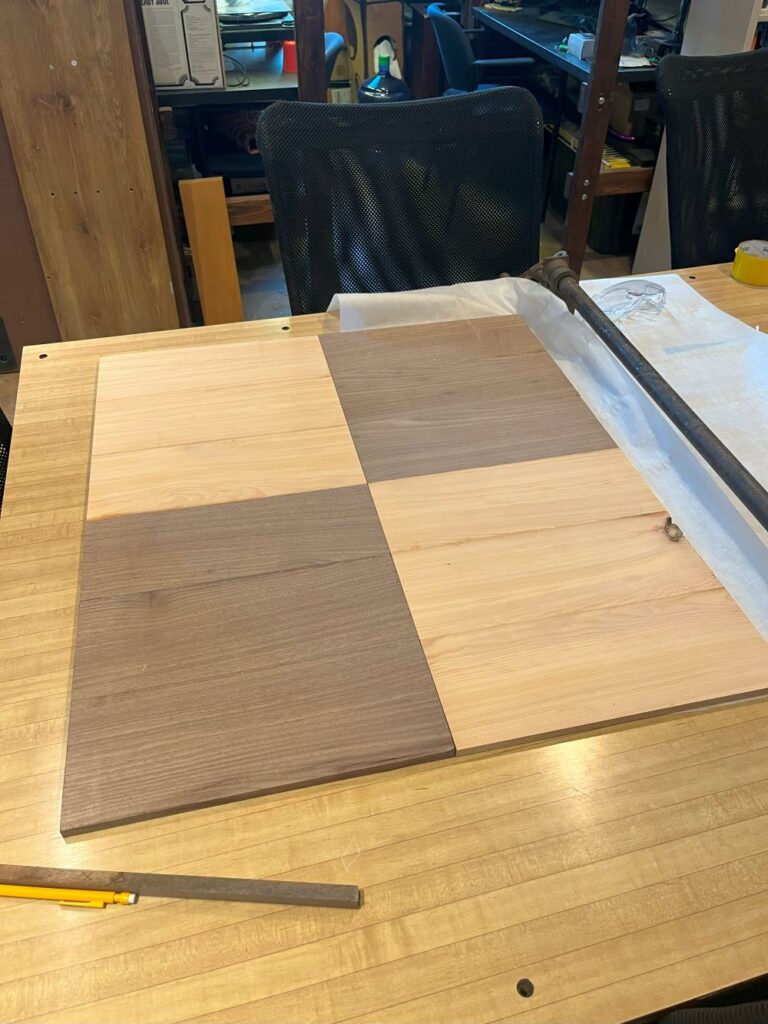
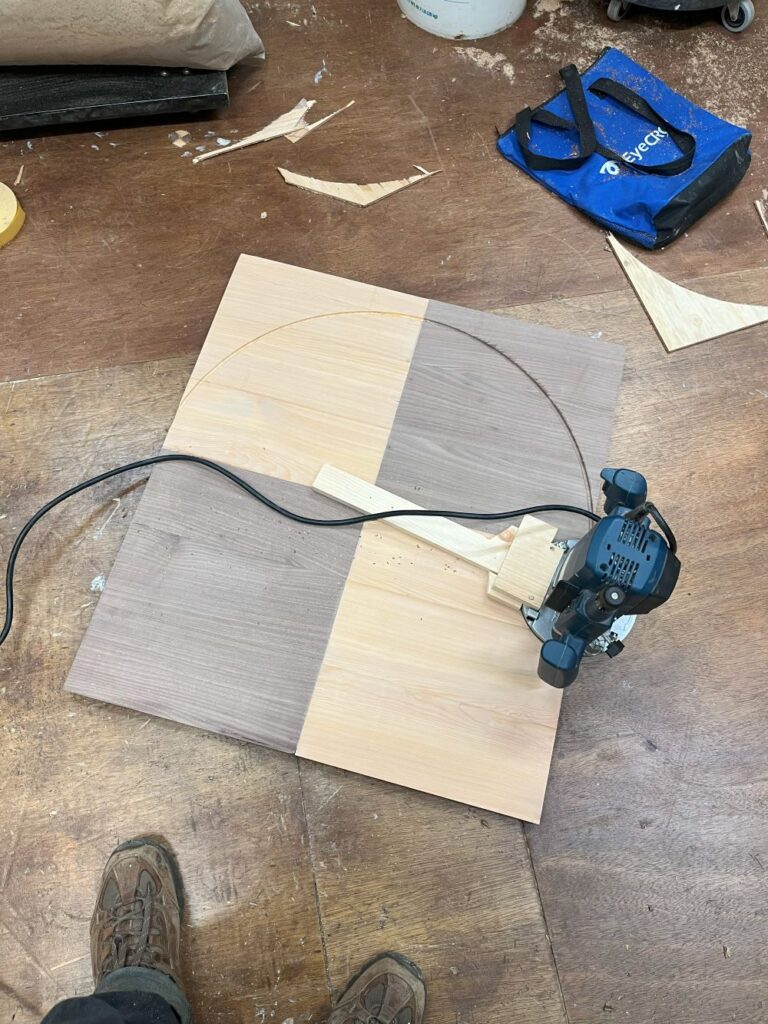
Now that the playing surface was big enough, it was time cut it into a circle. I started by drilling the central hole with a forstner bit, using an awl to ensure dead center placement. This hole would eventually become the 20-hole, but it also served as the pivot for the router. I build a jig that held the plunger router and fit into the 20-hole. Using multiple passes, I rotated the router 360″ to cut a concentric circle out of the checkerboard. I then did the same think at partial depth to make grooves that delineate the 5-point, 10-point, and 15-point zones.
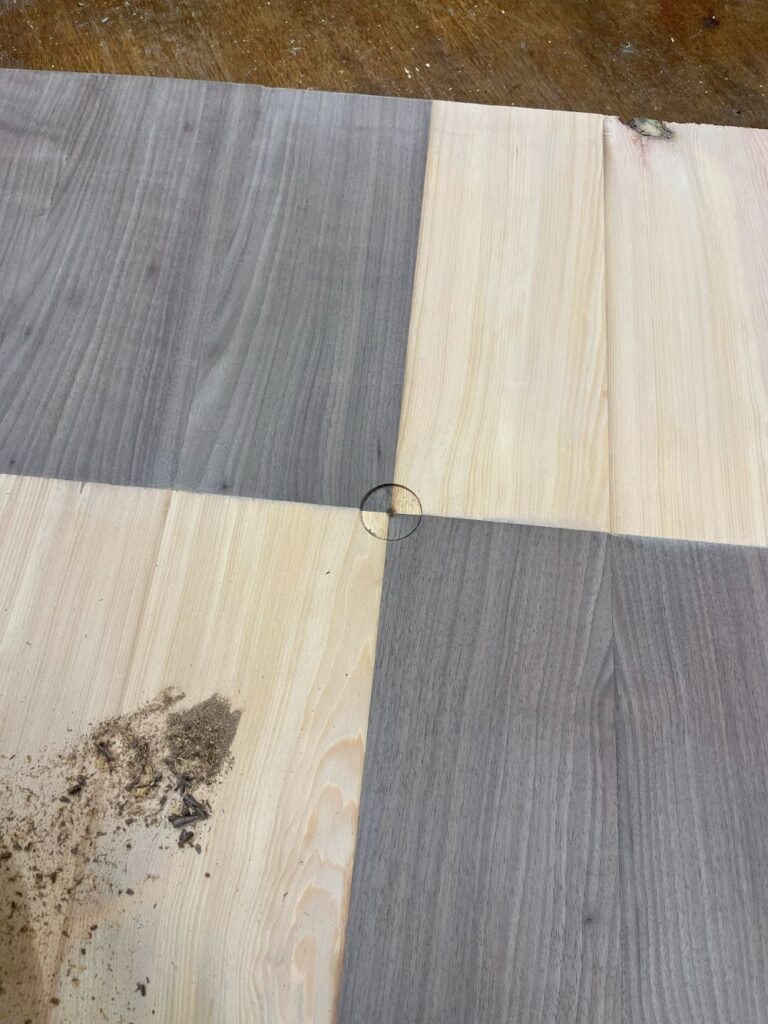
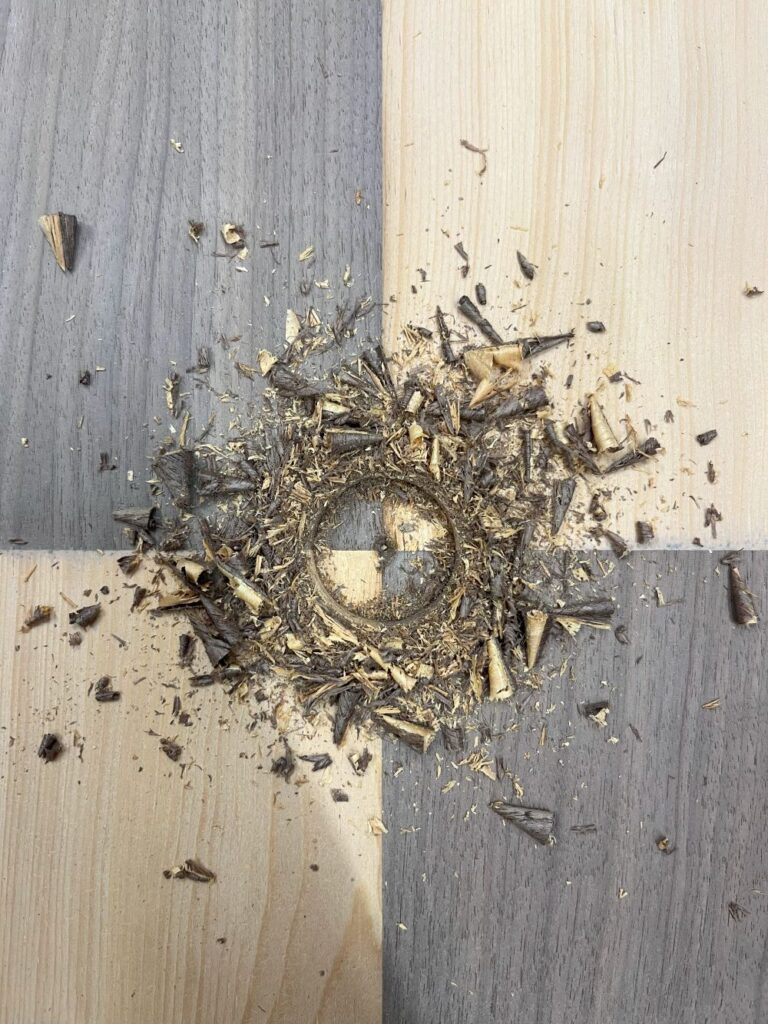
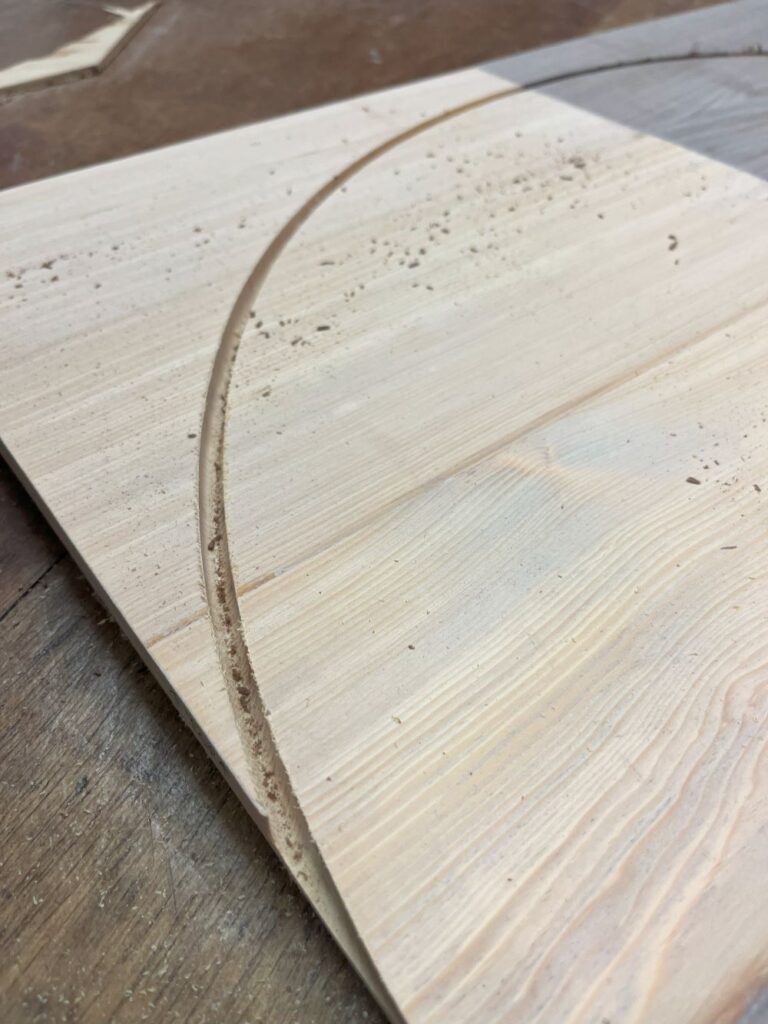
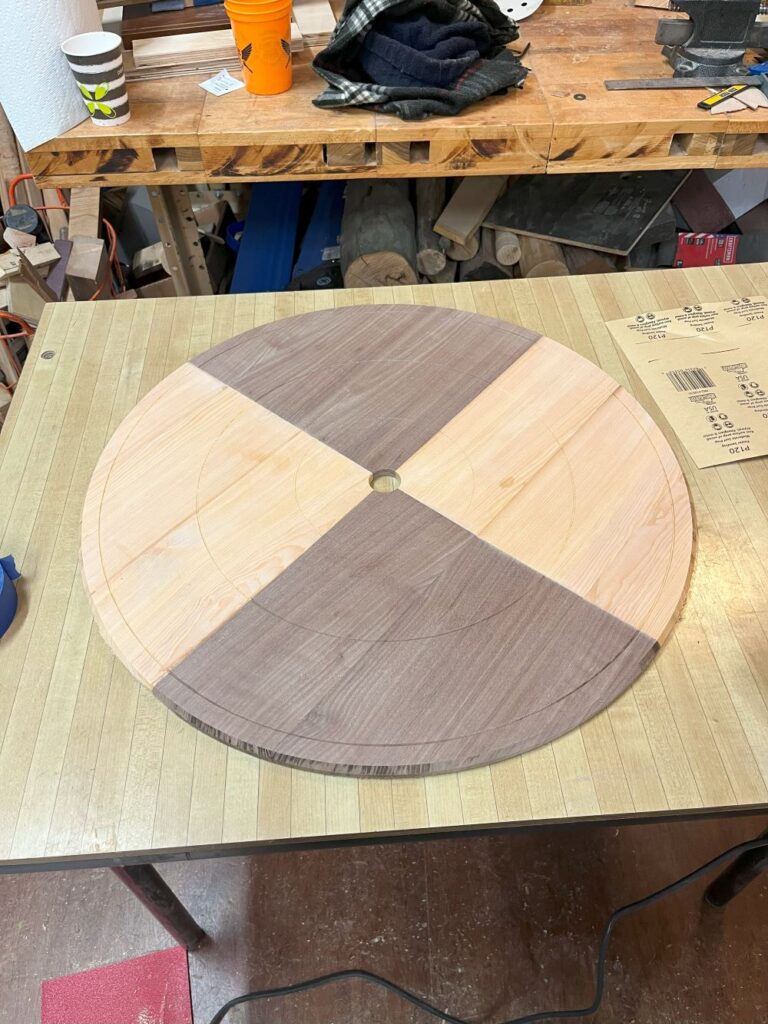
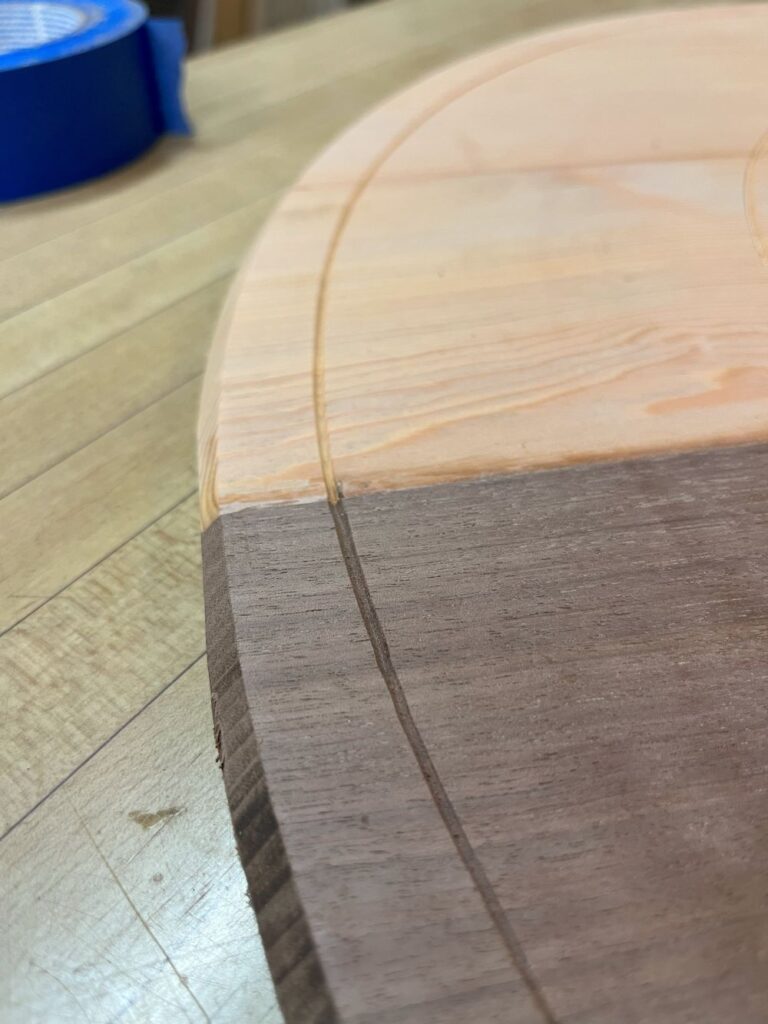
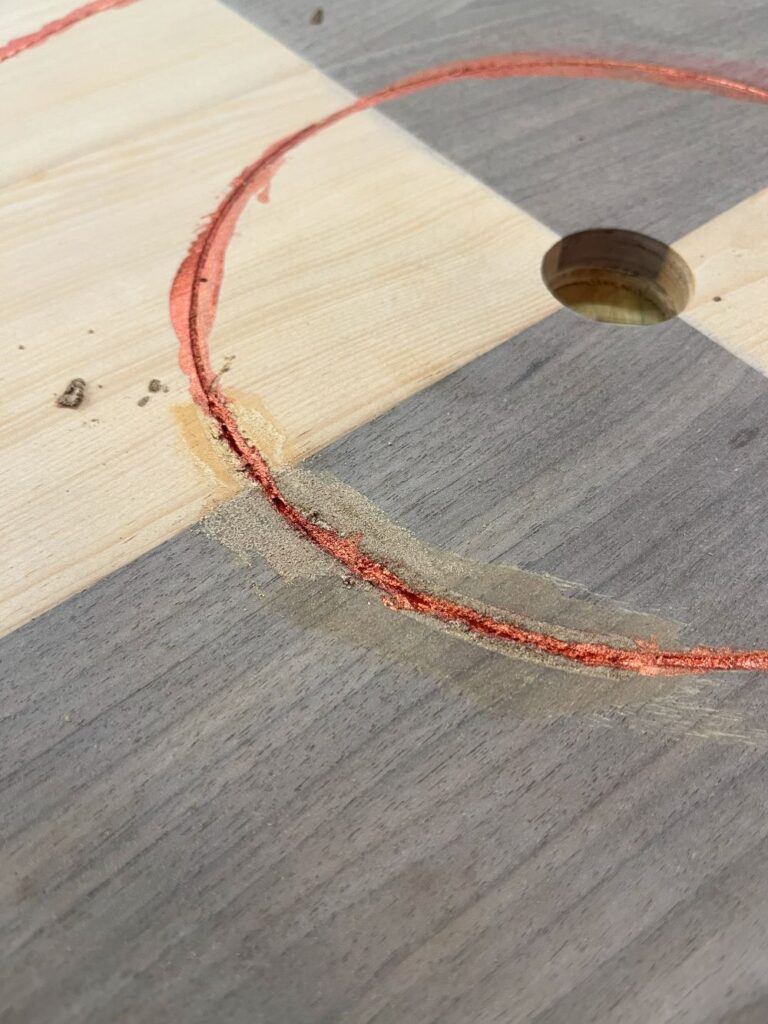
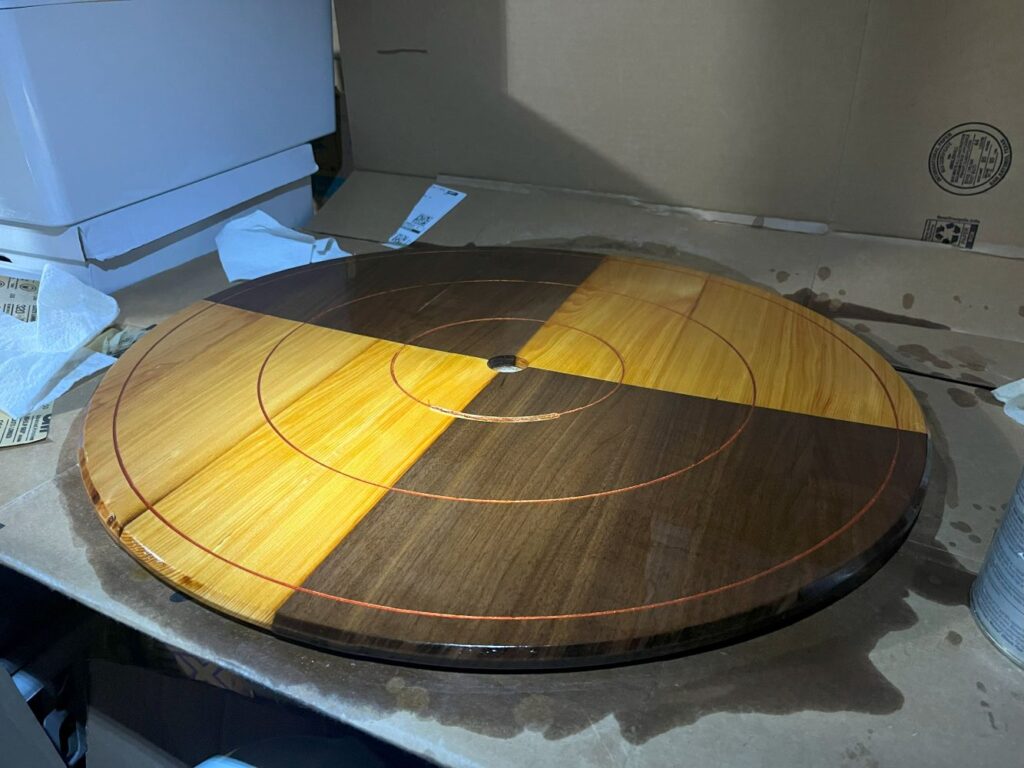
At this point, I made a big mistake that almost ruined my project. I dropped the depth of the router too far; instead of a thin groove it made a deep gouge. This was late at night after a full day of work and only a week until Christmas. After a bit of pacing the woodshop cursing, I took some deep breaths, filled in the gouge with wood filler, and left for the night. Sometimes you need to step away from a project to regain your bearings. When I returned the next day, I finished routing the grooves and filled them in with a metallic red paint. While I didn’t take a picture of the gouge, you can see the filled in aftermath in the pictures below. I used black walnut dust to attempt to color-match the portion in the walnut quadrant. After allowing the paint lines to dry, I started sanding to remove the excess. This left me with clear crisp scoring lines.
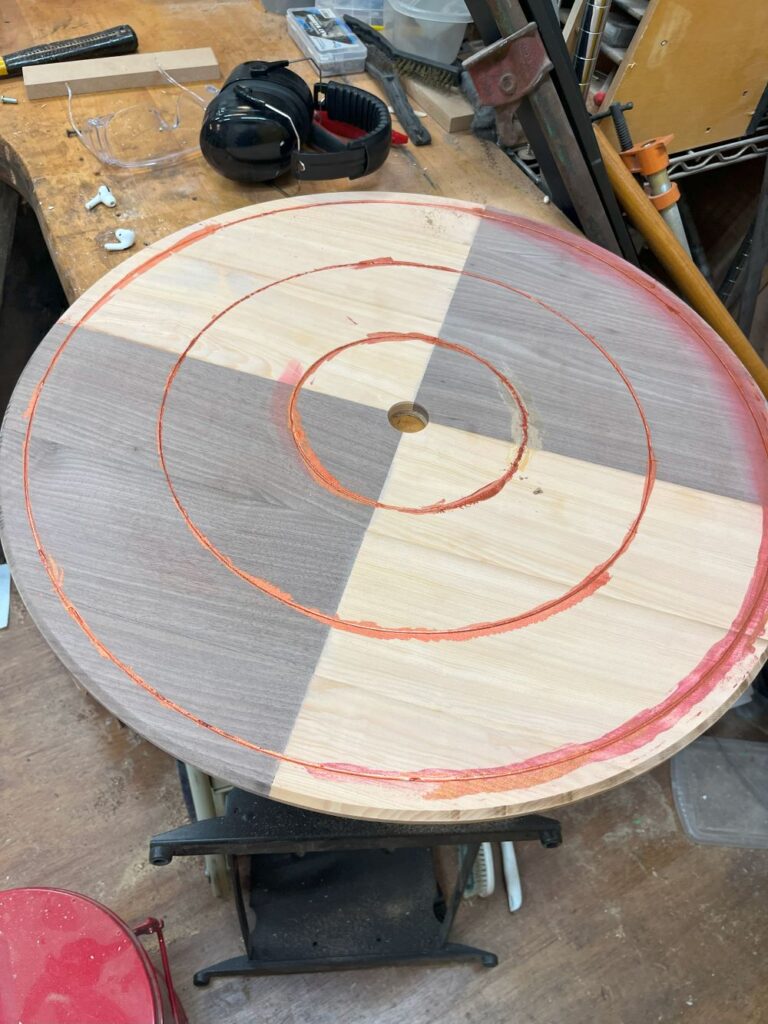
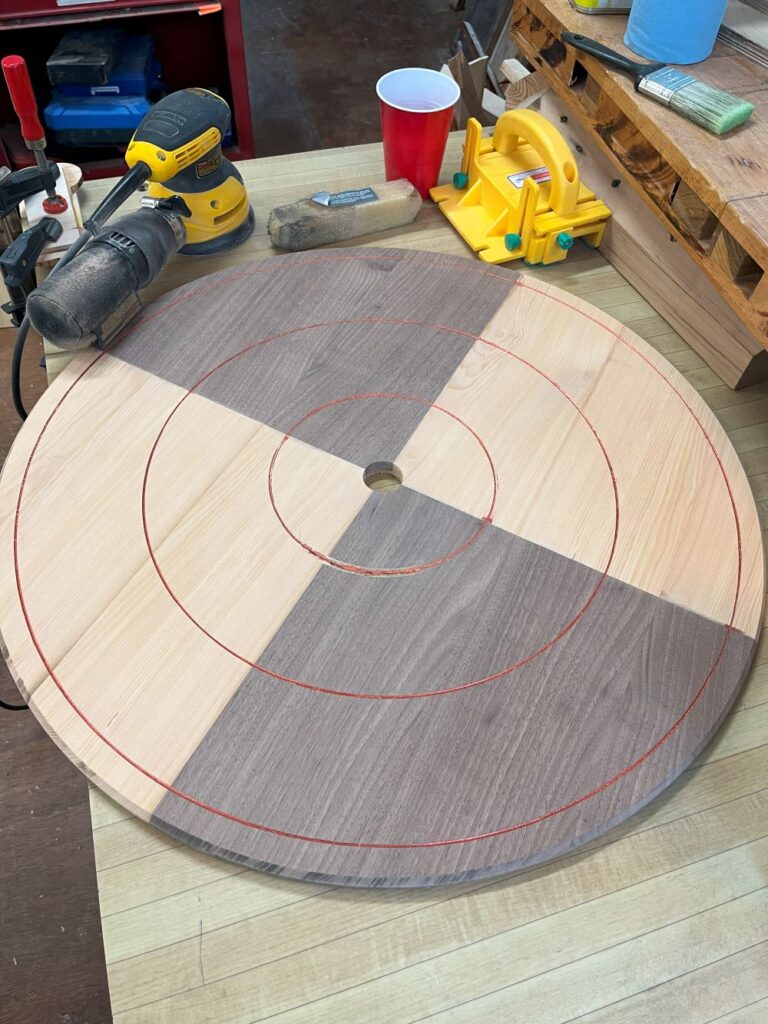
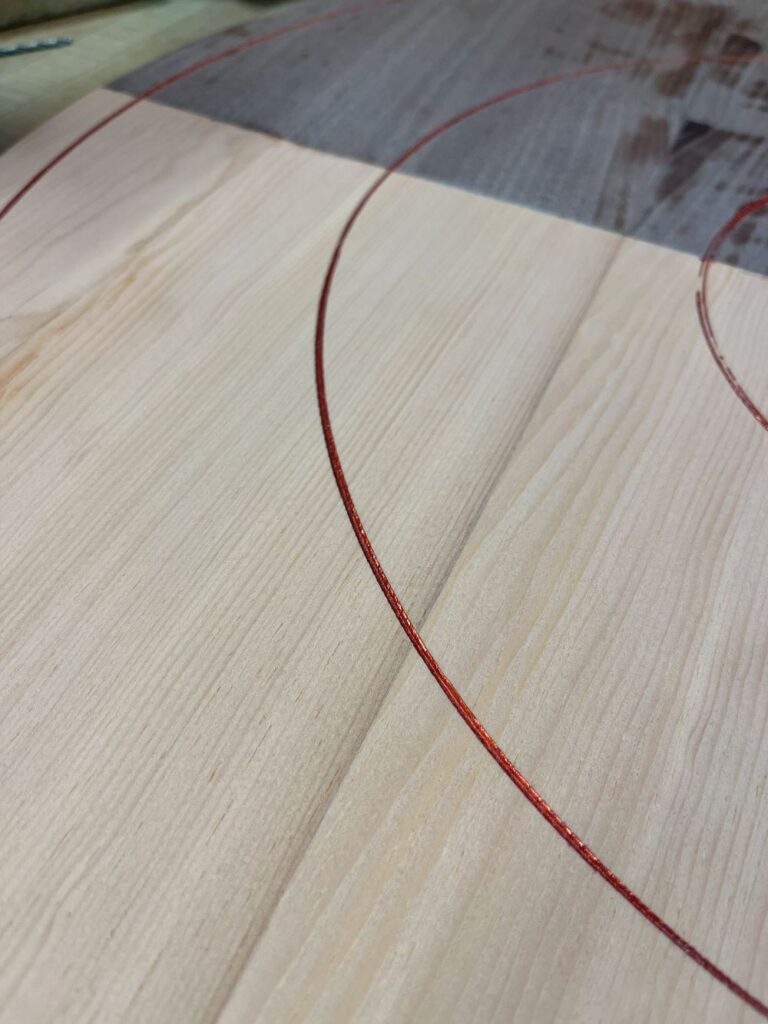
Next came the moment of truth – applying polyurethane. I always love the moment that pale washed-out wood transforms into deep rich colors. In order to get the durable and game-ready surface, I needed lots of coats of poly. I forget exactly how many coats I applied, but I know it was north of 15. I started with thicker coats of just polyurethane and eventually transitioned to thinner and faster-drying coats of 50-50 polyurethane and mineral spirits.
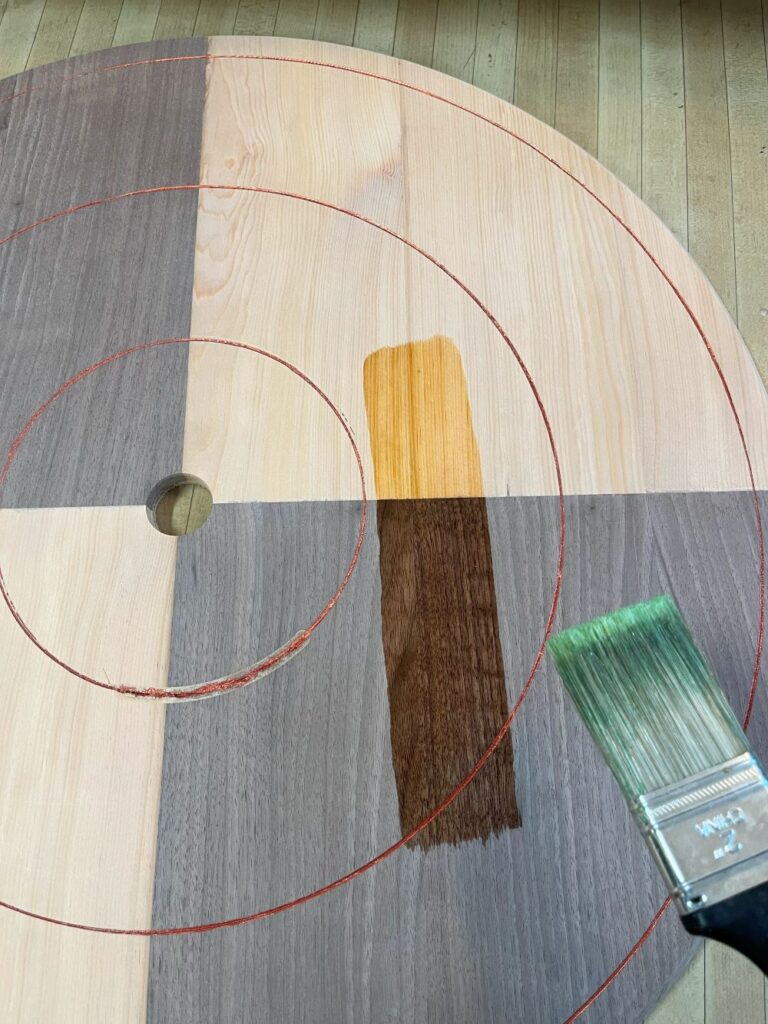
While the layers of poly were building up, it was time to build the gutter. Once again, I opted for the challenging option instead of the easy one. While most classic homemade boards have an octagonal gutter, I wanted the concentric gutter of a high quality Tracey. This lets you flick a button around the gutter to your partner on the other side. Is it necessary to play crokinole – absolutely not but that makes it even more desirable. The gutter was cut from plywood using the same concentric router jig. Initially the plywood was a solid disc.
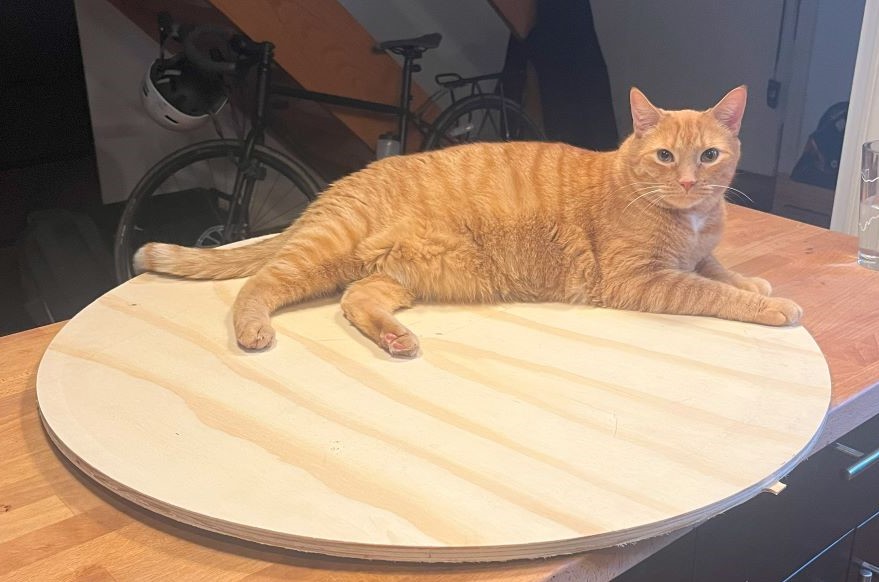
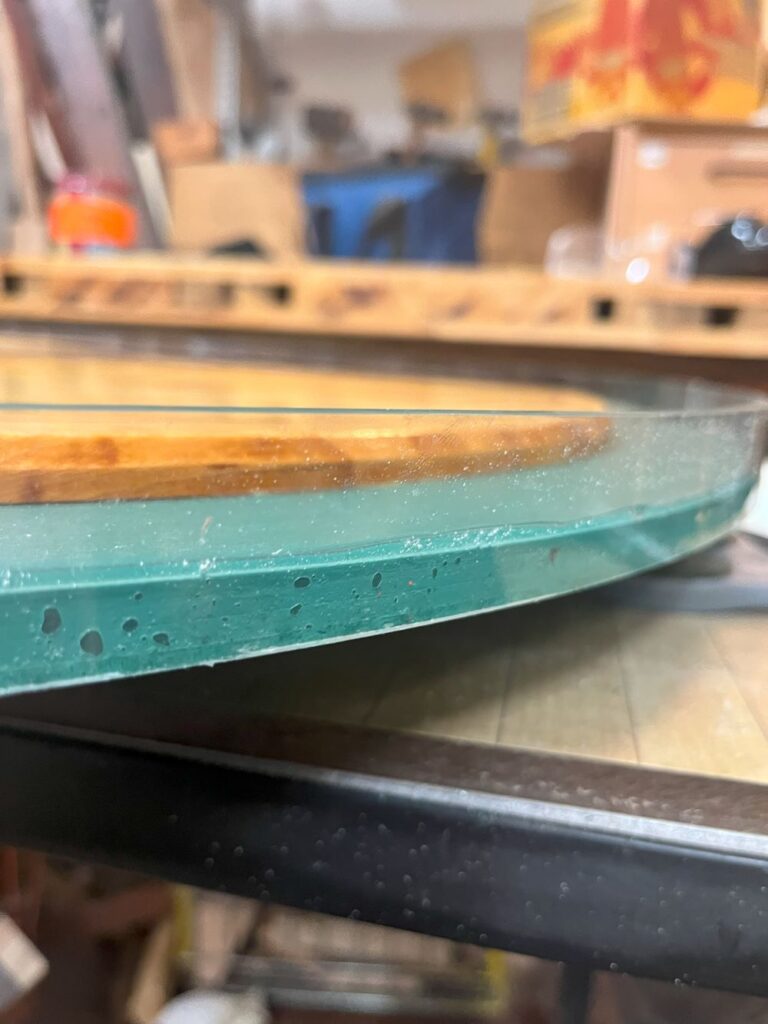
However, I ultimately decided to cut out the center to reduce weight. Crokinole boards are heavy and we often bring our boards to bars, so a reducing weight was a big bonus. It also would facilitate a ledge for wall mounting. To make the outer barrier, I created a fixture out of wood and bent acrylic to match the curvature of the board. Most boards use bent wood for the outer rim, but I wanted to minimize the material blocking your view of the central play space. Also, dozens of hours into the project, I didn’t also want to mess with bending wood. The bent acrylic was then adhered to the gutter using clear 2-part epoxy. If I were to do it again, I would have cut a channel for the acrylic in a oversized gutter board.
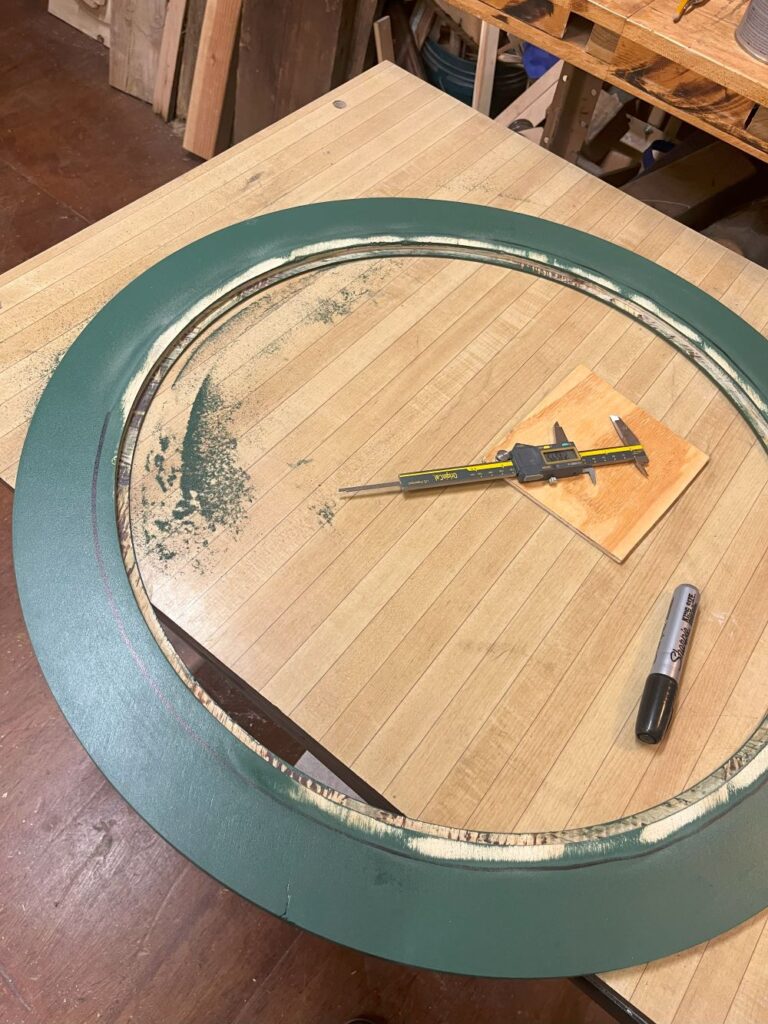
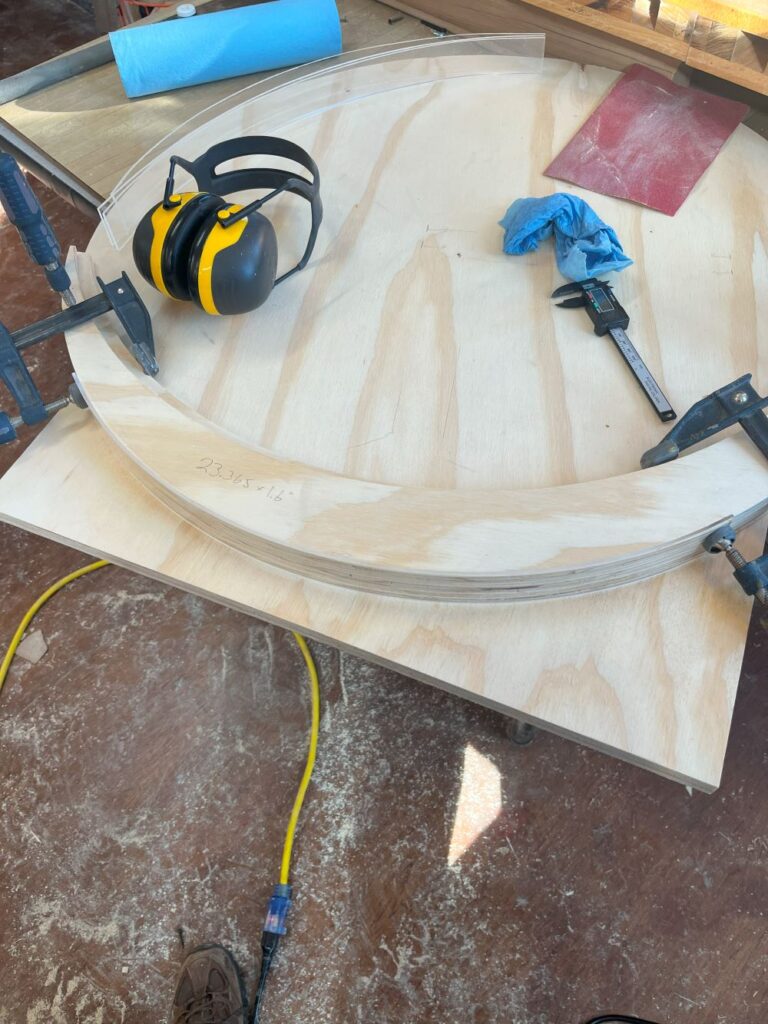
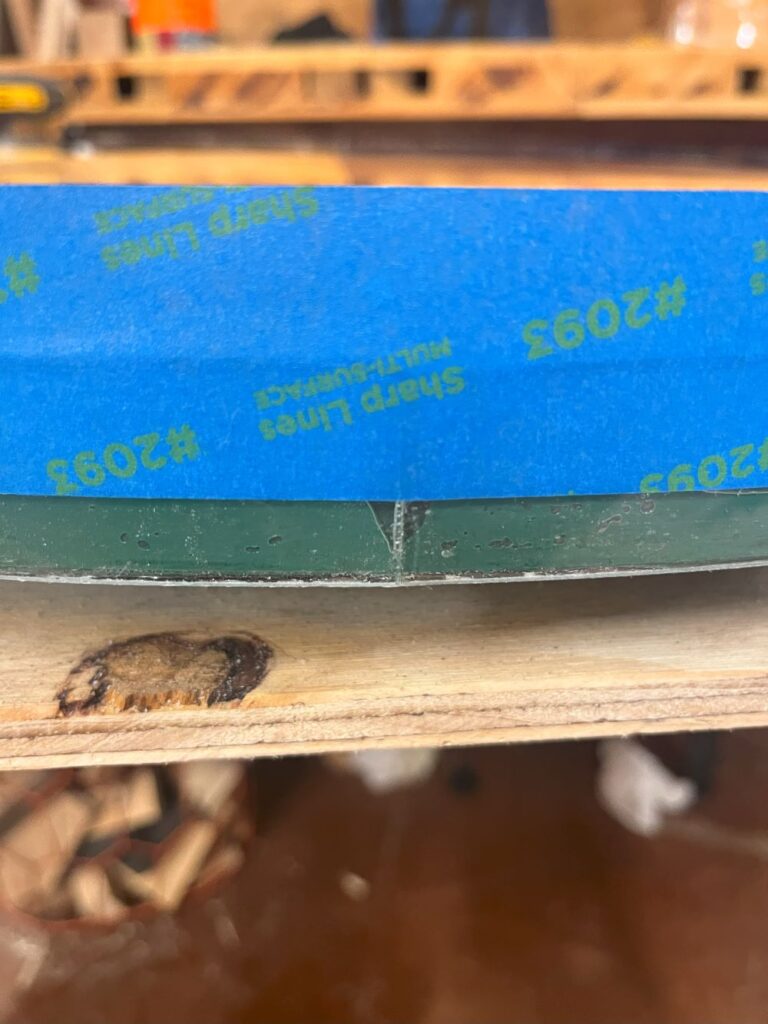
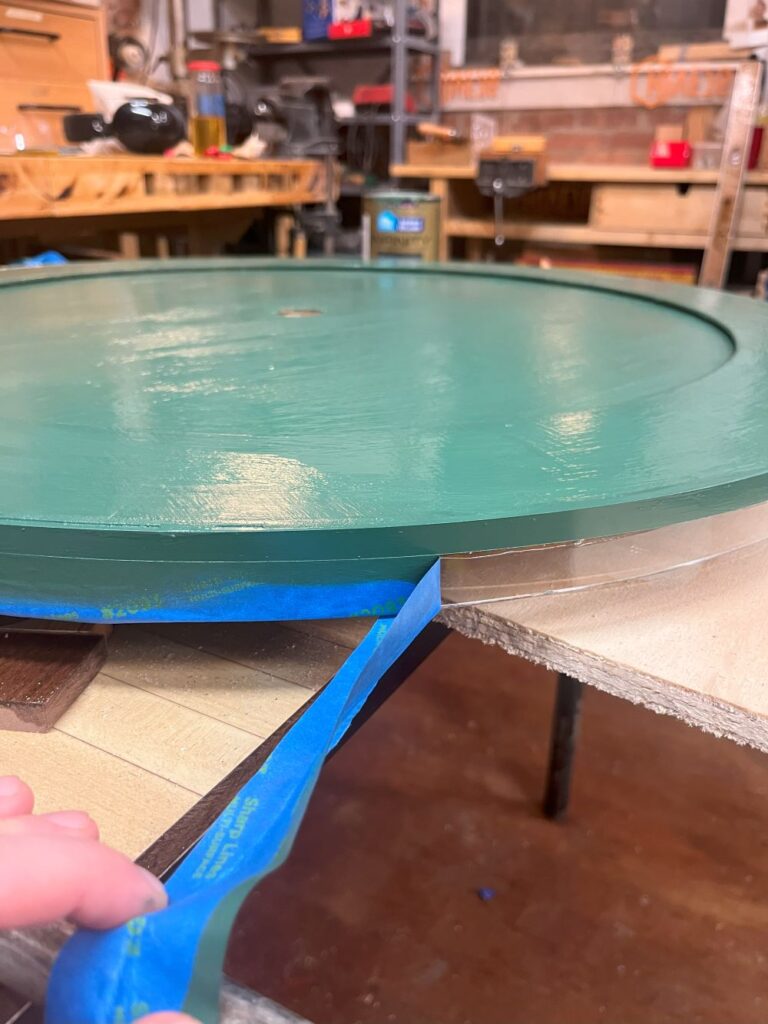
Because the epoxy left some air bubbles, I decided to paint over the bottom edge with the same green paint. I used some painters tape to ensure a clean line. Throughout this process, I was sanding and coating the play board with poly. As a final tough, I create a miniature checkboard from scrap of the pine and walnut. After some coats of polyurethane, it was ready to be screwed in from underneath to make the cup for the 20 hole.
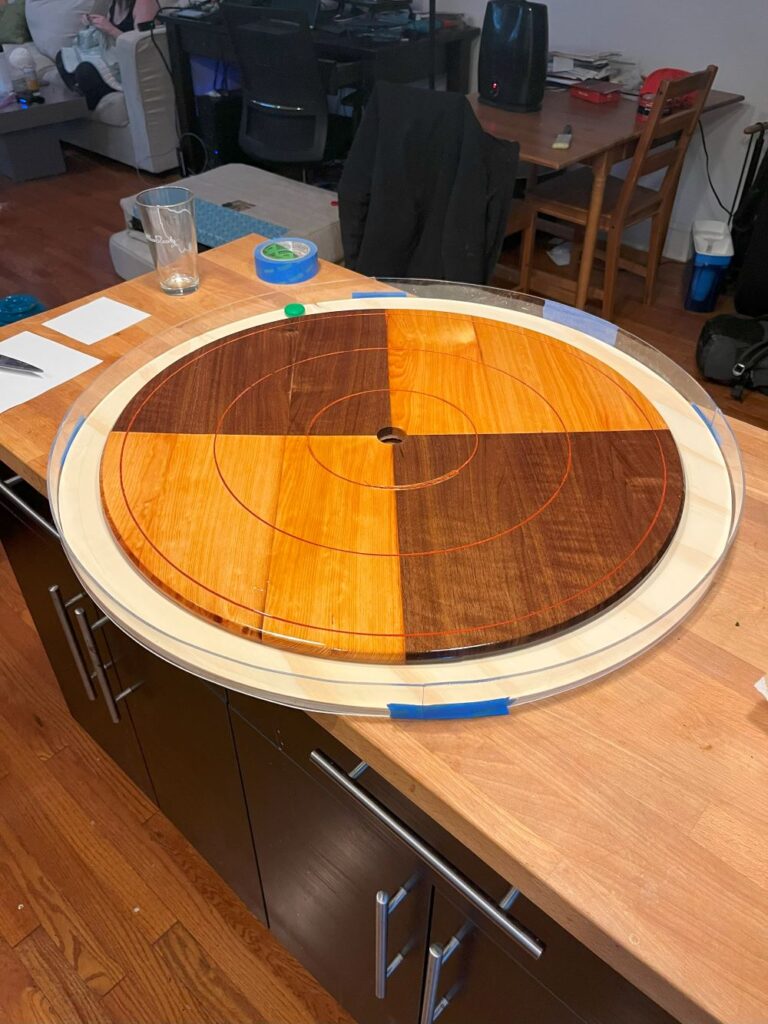
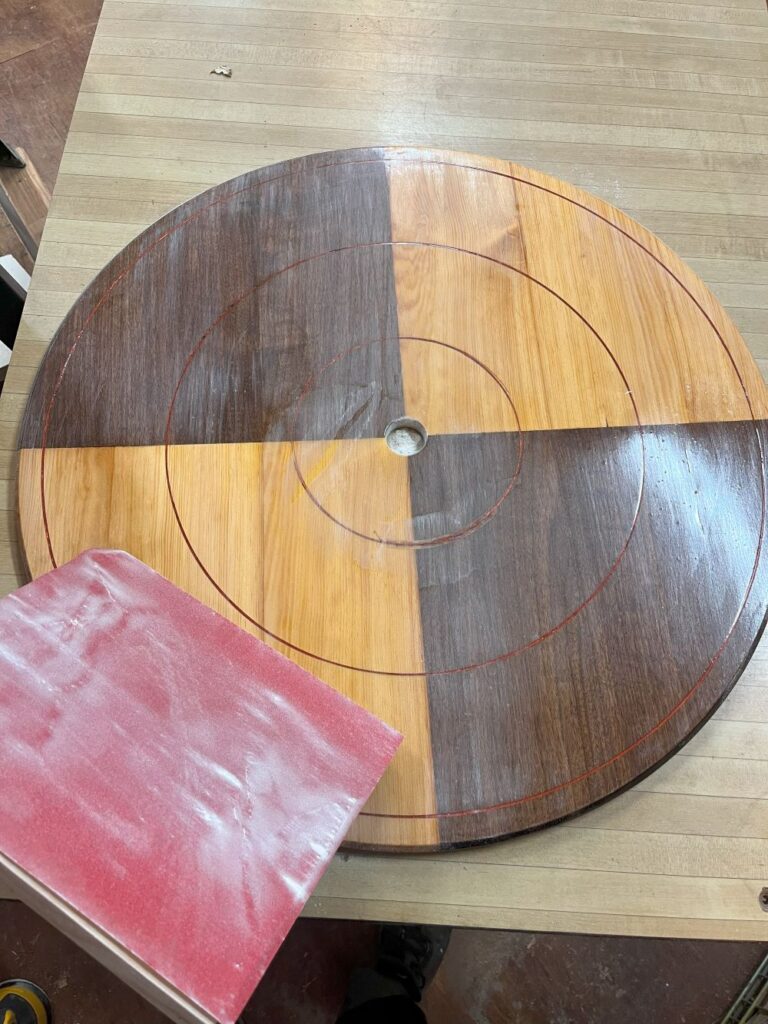
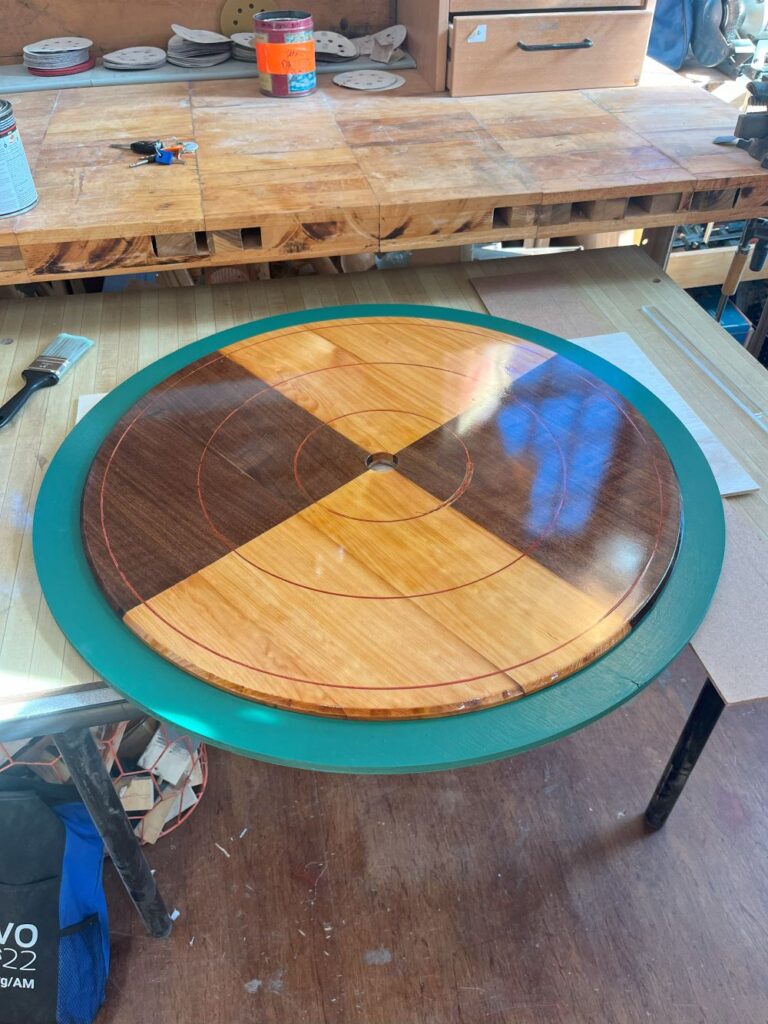
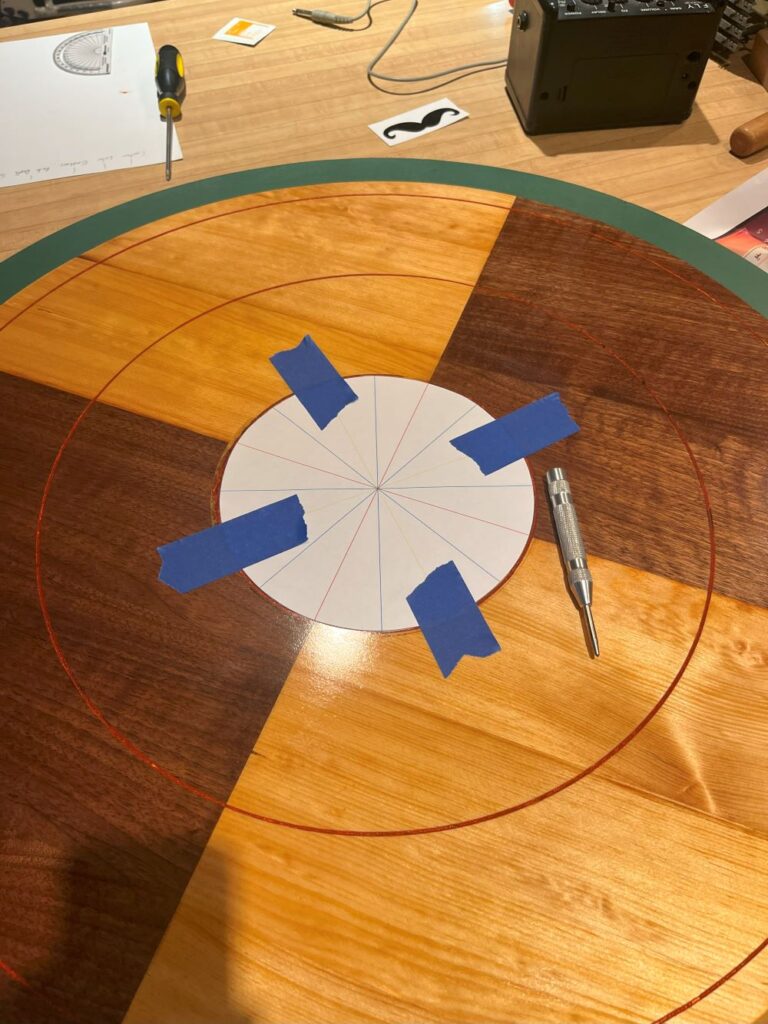
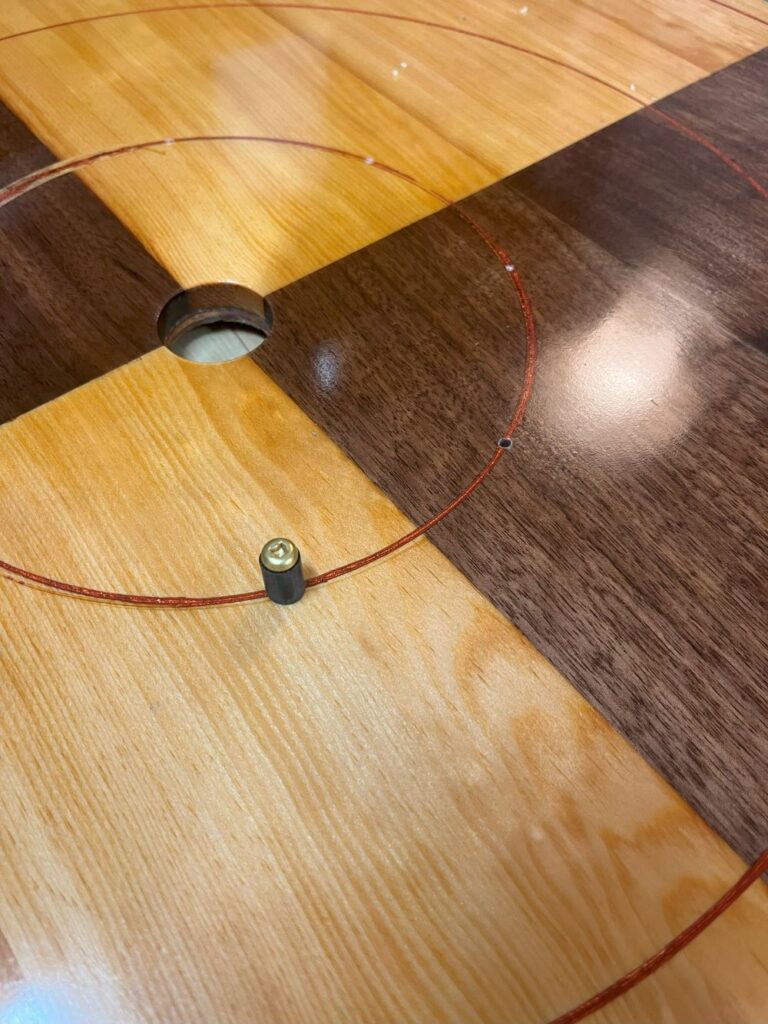
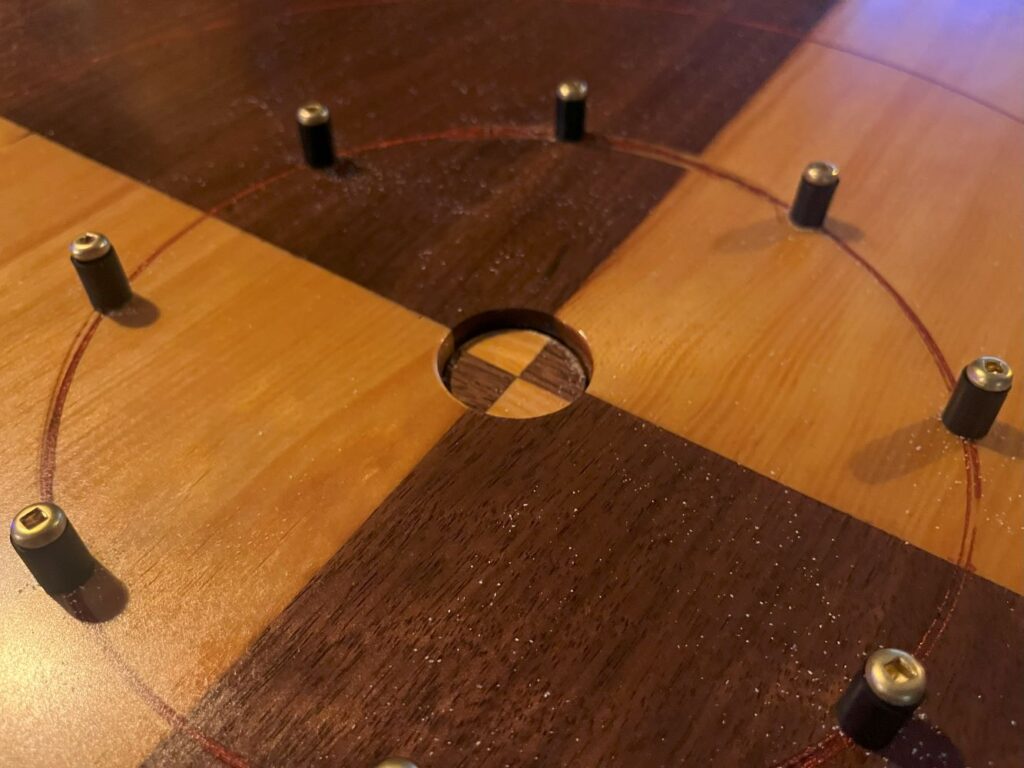
The final missing component of the board was the pegs. I create a template to measure placement and set the hole location with an awl. I would’ve loved to use a drill press but at this point, the board was far too larger to fit. So with a power drill and my best eyeballing, I predrilled 8 holes as straight as I could. Thankfully Tracey boards sells peg sets for $10, well worth it for the luxury of not making your own and wondering if the bounce will feel right.
At long last, the board and gutter where glued together. I put some felt feet on the underside. I built a simple French cleat to wall-mount the board while not in use. All said and done, the project took about ~40 hours and definitely was not complete by the target date of Christmas. The warnings are true – building a crokinole board is not for the faint of heart. This project was truly a labor of love.
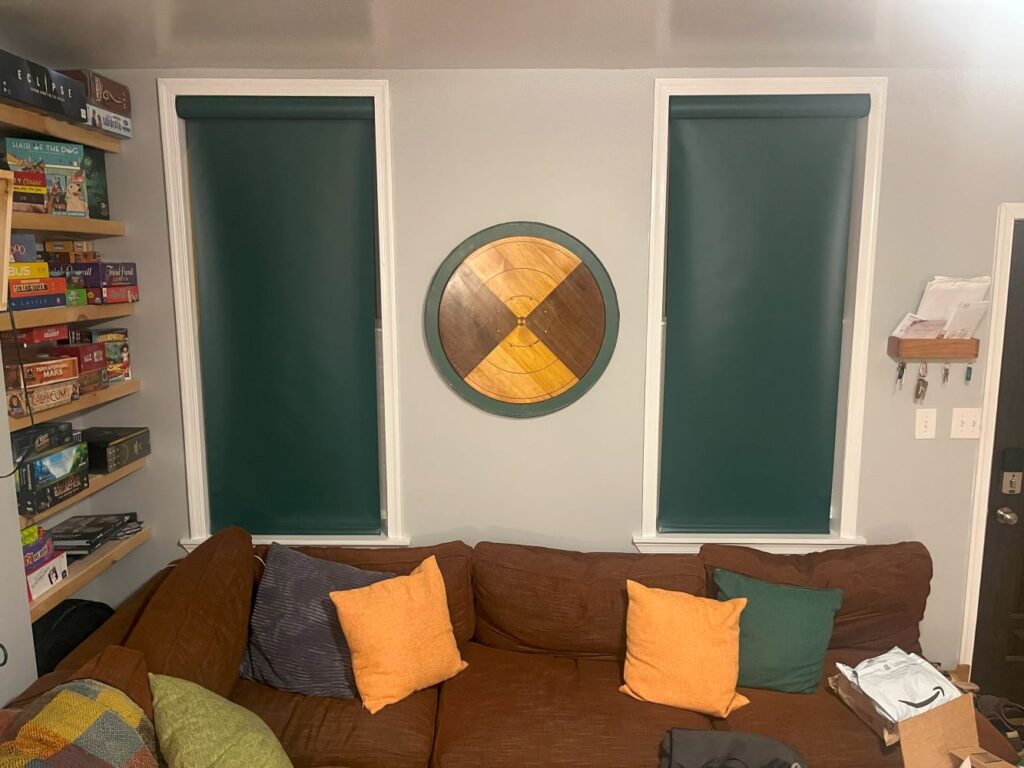
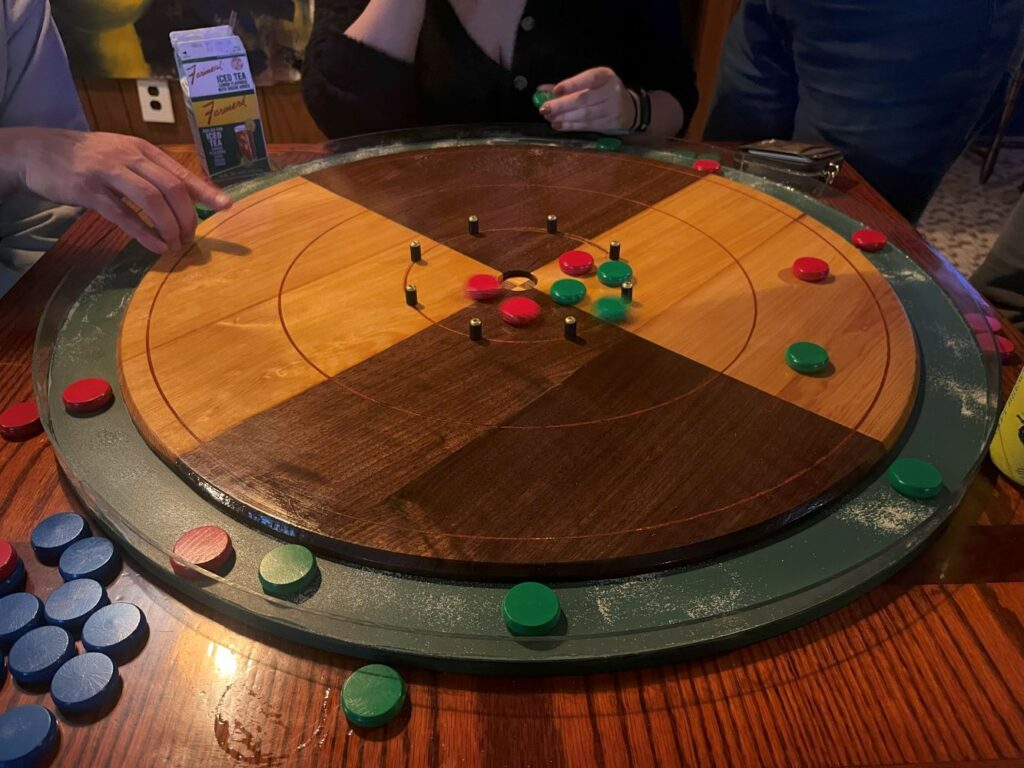
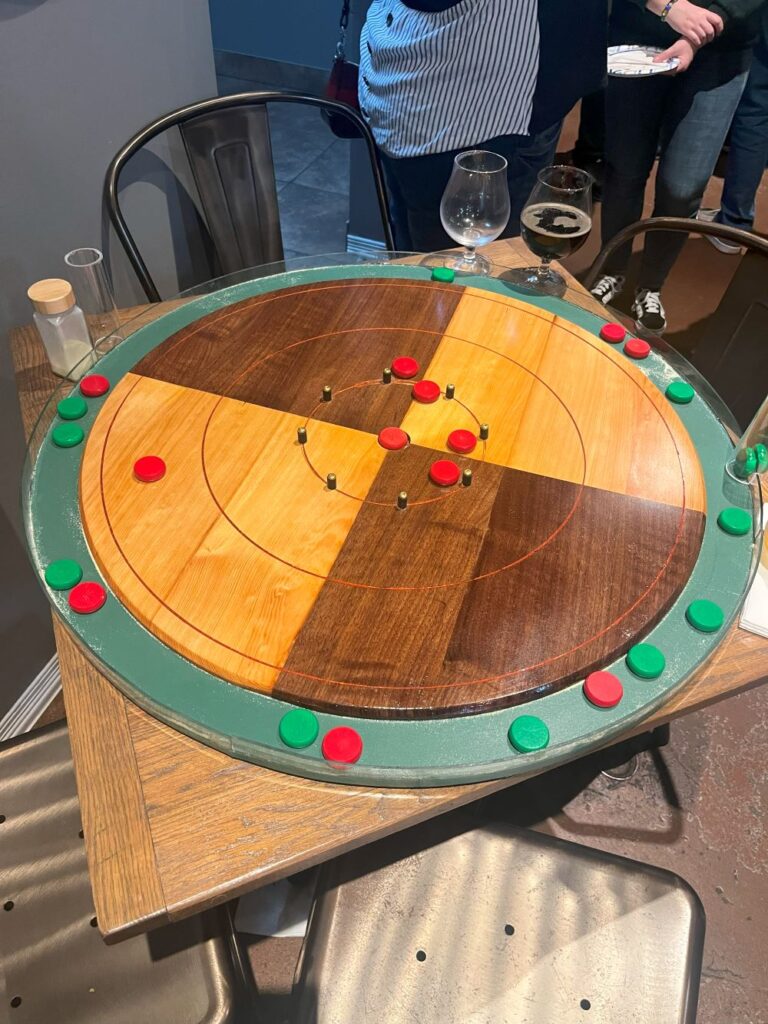
So how does it play? Thankfully all the hours of sanding and poly-coats paid off. The board is smooth and fast. Thanks to a subtle fillet sanded into the edge of the 20-hole, it has making a perfect shot feels great. It’s the lightest crokinole board I’ve carried by far, and in the 2 years since this build, the solid wood play space has held up, staying nice and flat.
Did this post make you interested in Crokinole? Well then definitely don’t start by making your own board – you’ve read this far, it’s a ton of work! Philly locals can give it a try Thursdays at McCusker’s and there’s also a huge free play area (and tournament) at PAX Unplugged.
HIVE-O-WEEN 2024
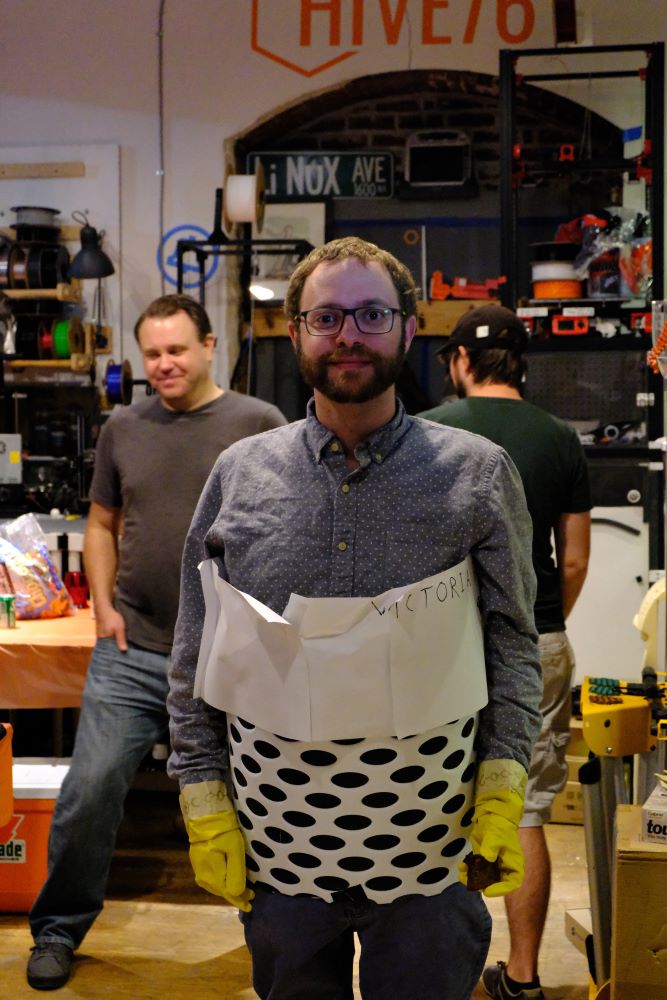
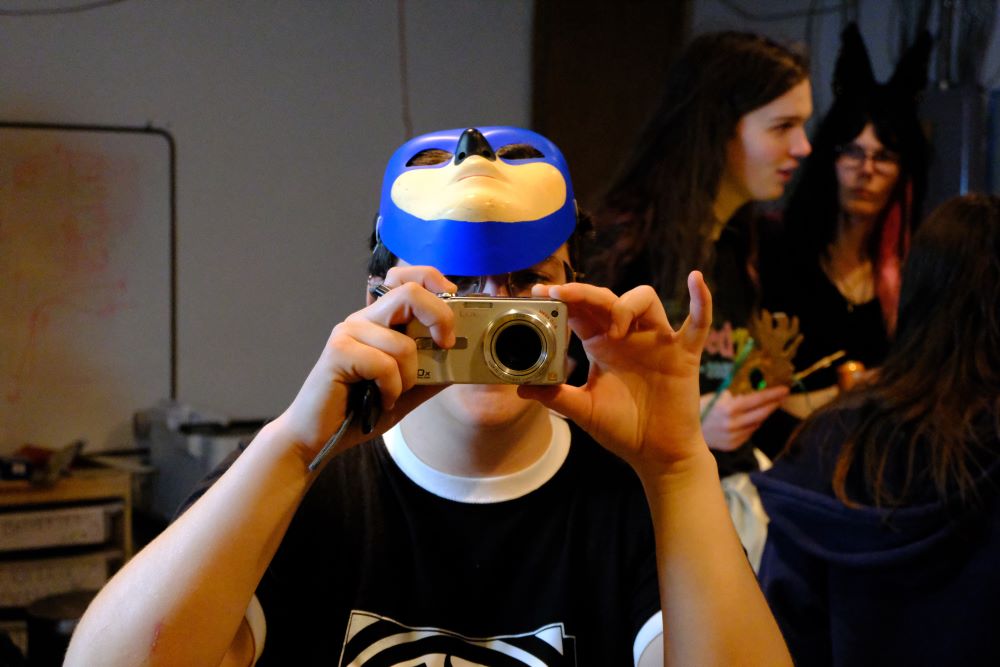
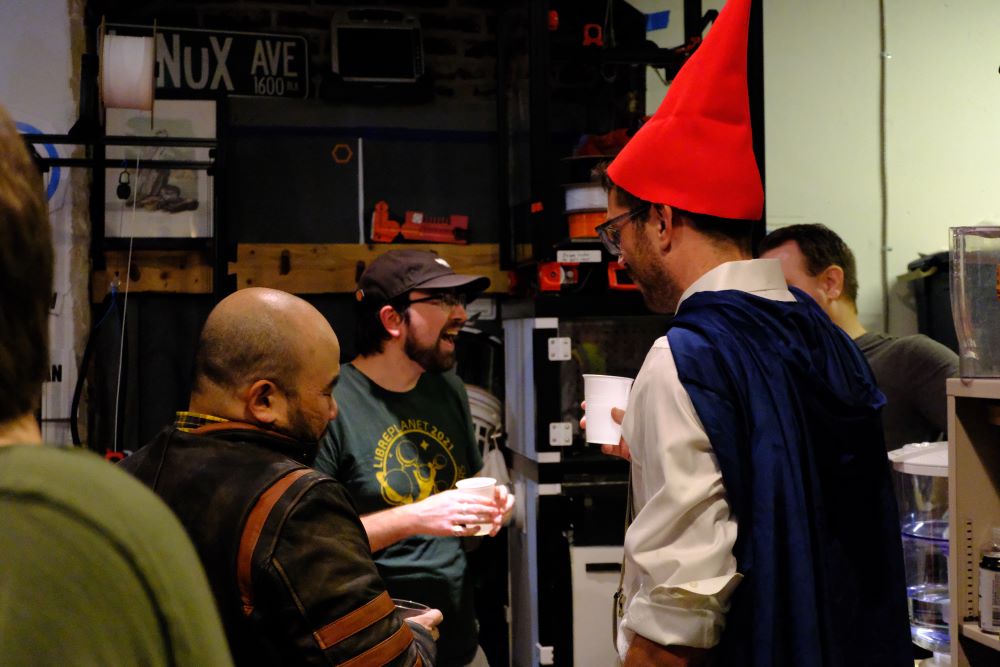
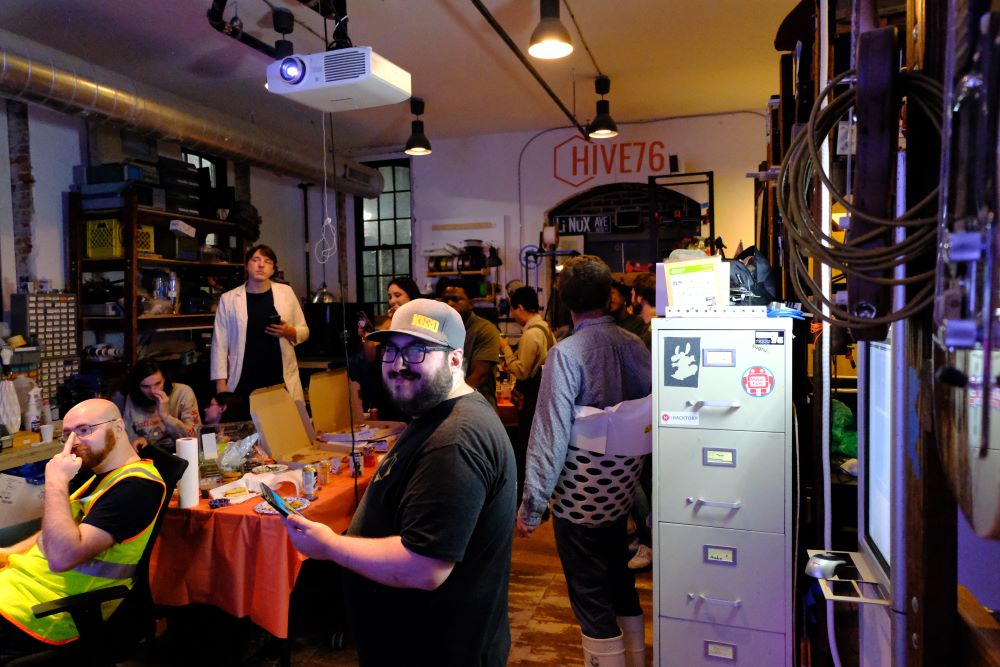
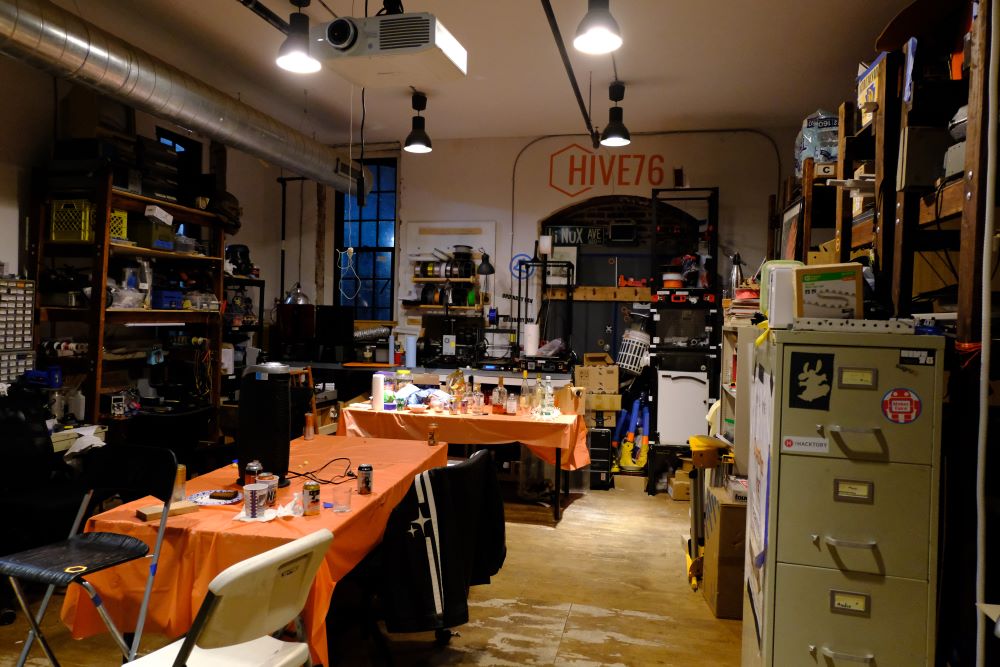
We had another successful Hive-o-ween, full of creative costumes and general merriment. Can you spot the Hitchbot costume?
New Fiber Laser
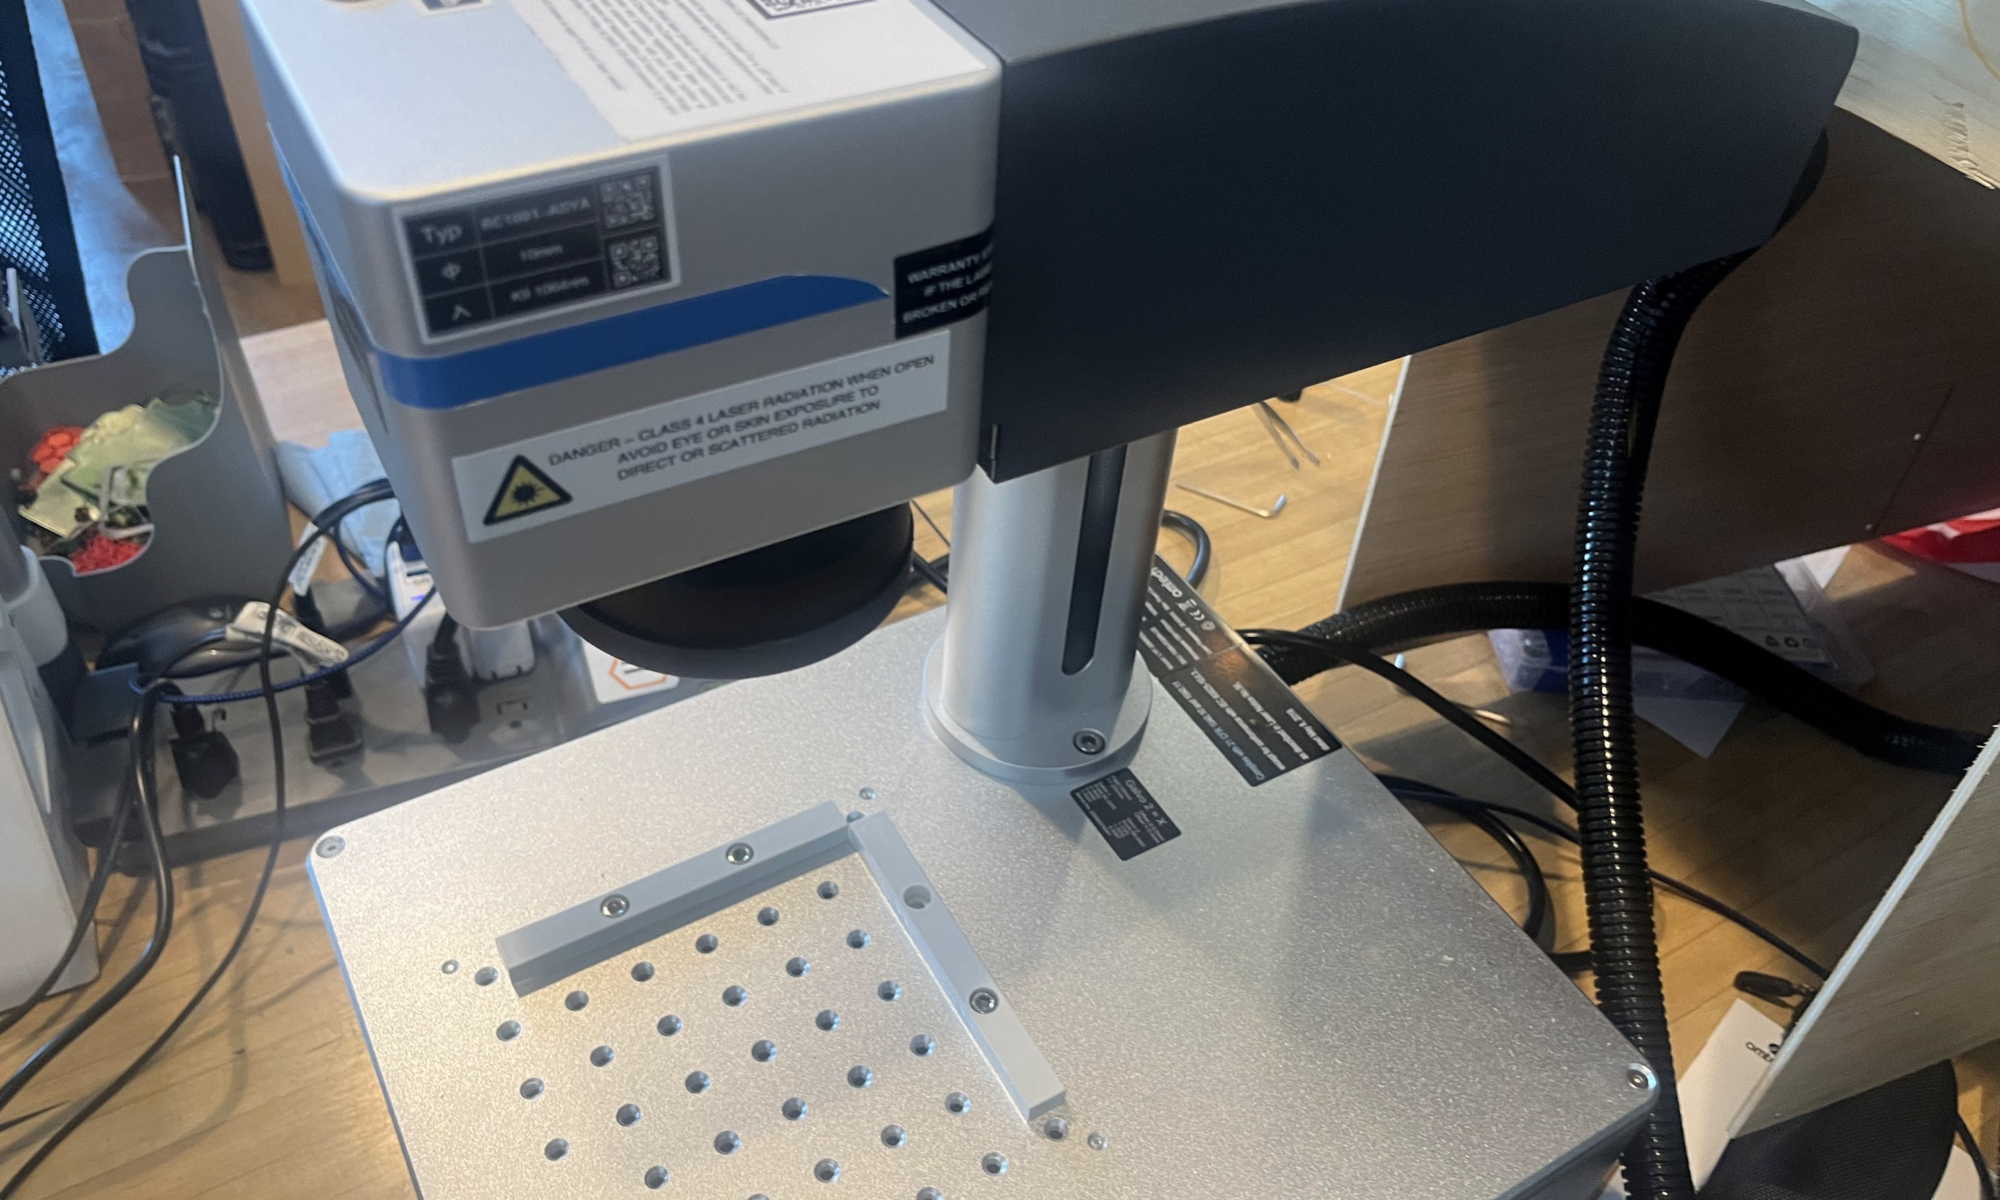
We’ve added a second laser to our arsenal. It comes with unique capabilities like metal etching and live previewing of the your design. Because it’s a galvo laser (rotating mirrors instead of a belt-driven gantry) it’s super fast. Would we go as far as calling it “laser fast”? Oops, I guess we just did. Paired with the new machine is new software – the machine runs on LightBurn, a nice upgrade from our prior software.
Members, be sure to check out the #laser channel in slack for all the details.
Hive Celebrates 15 Years
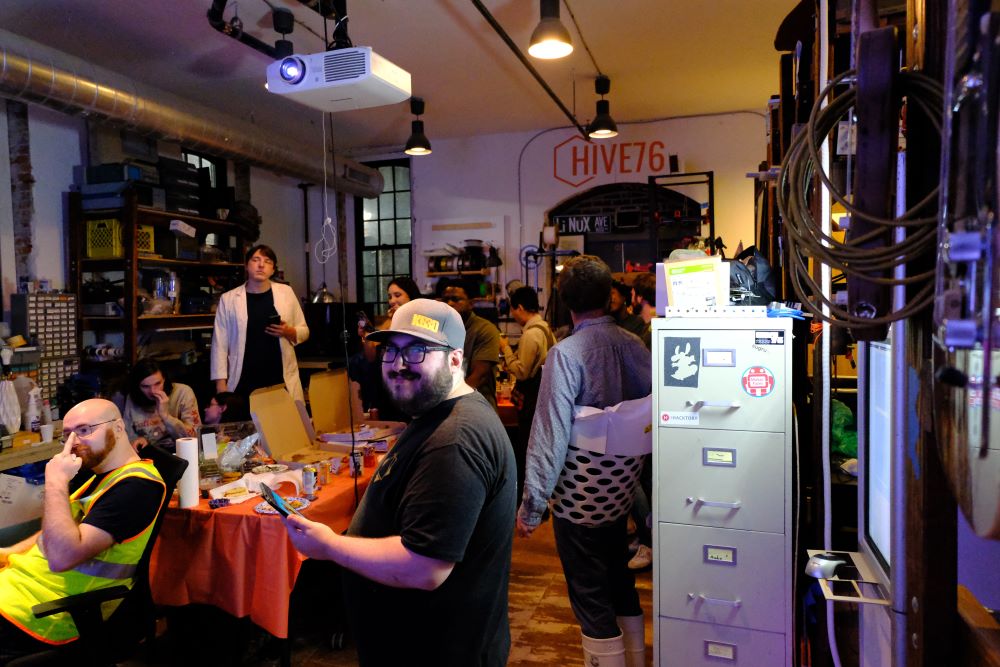
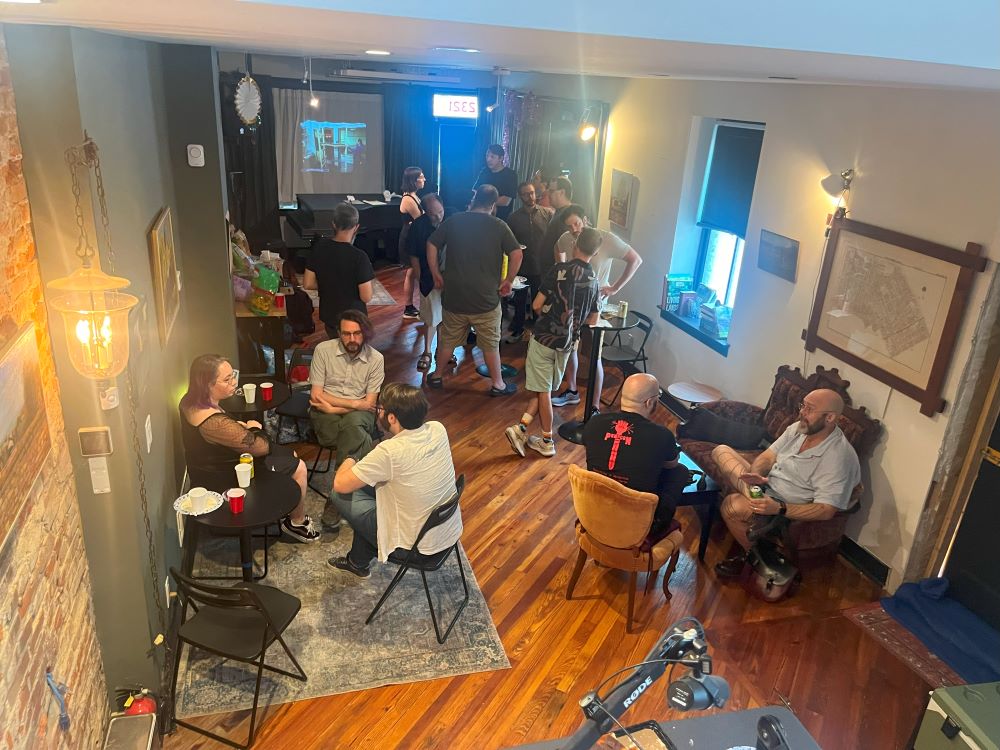
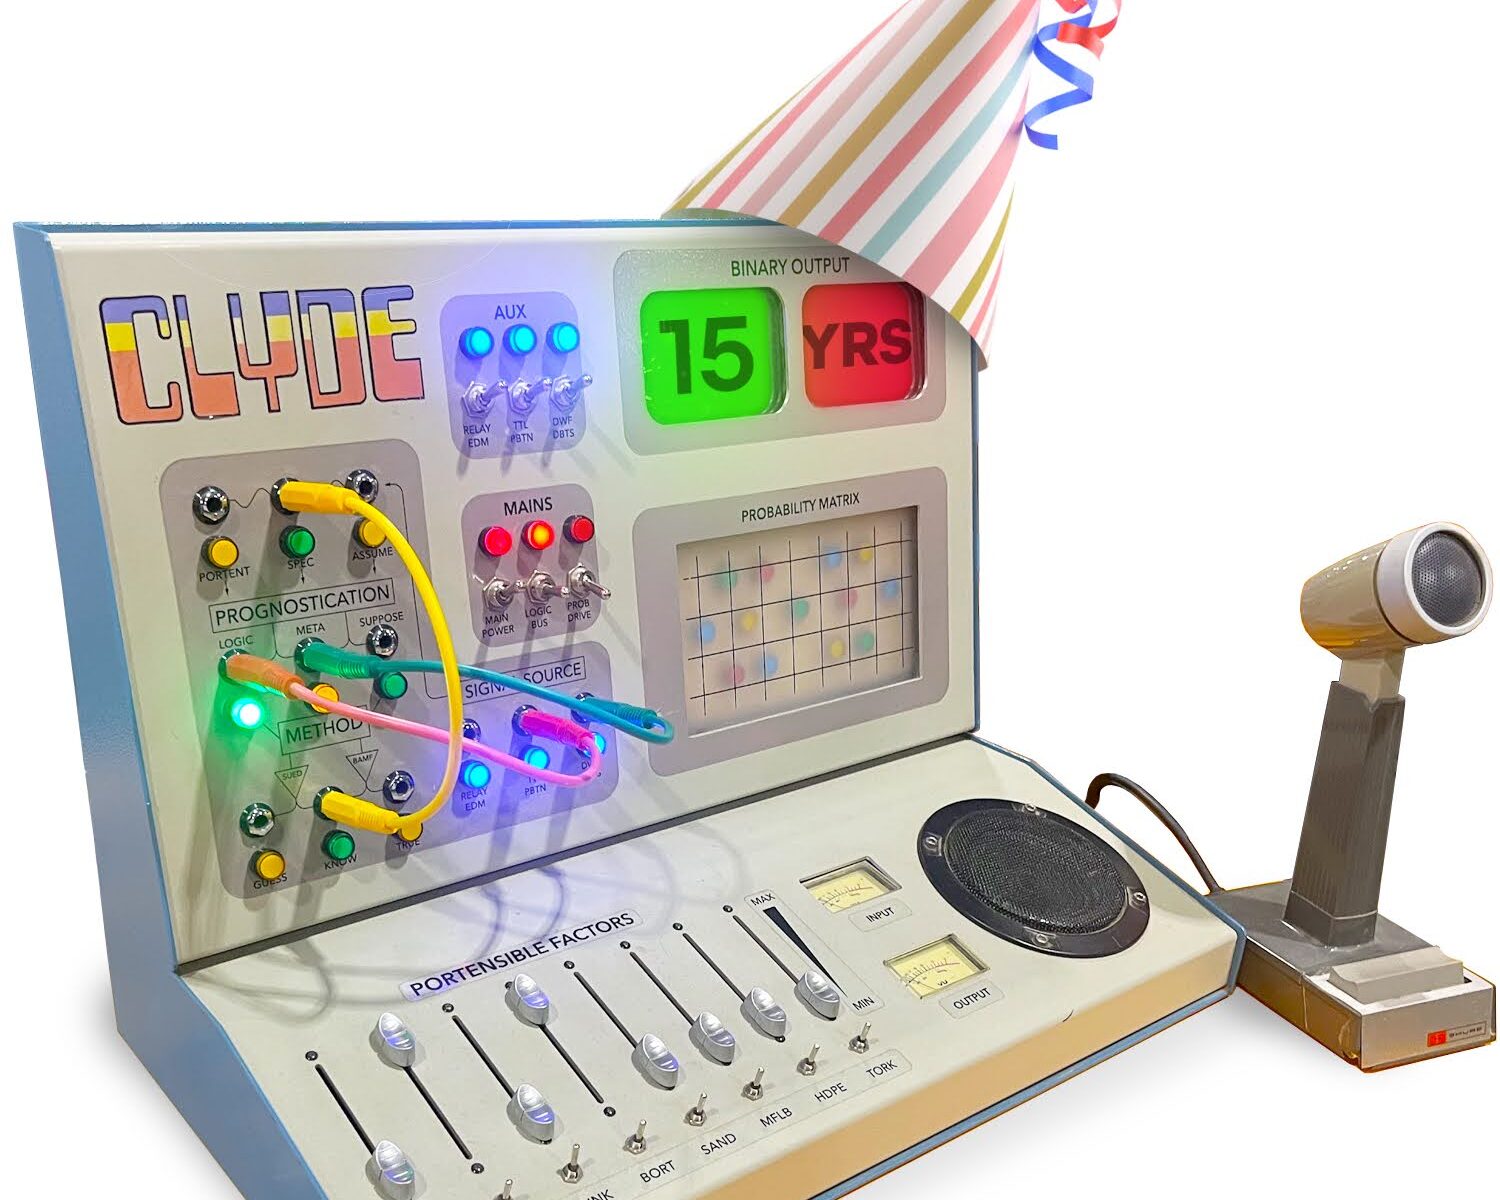
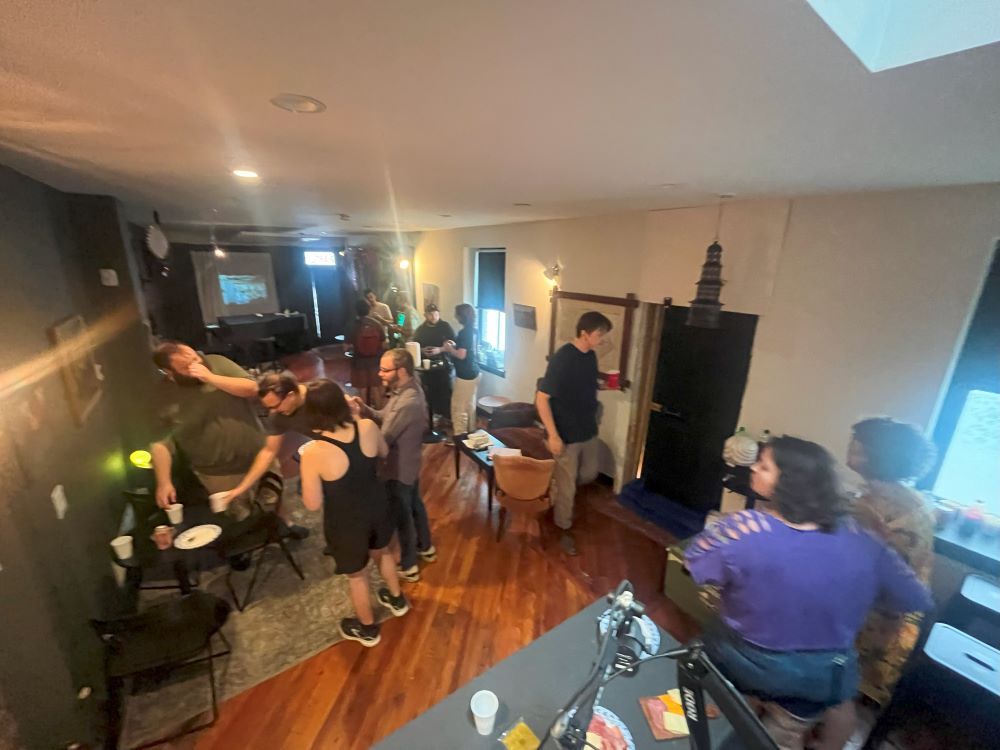
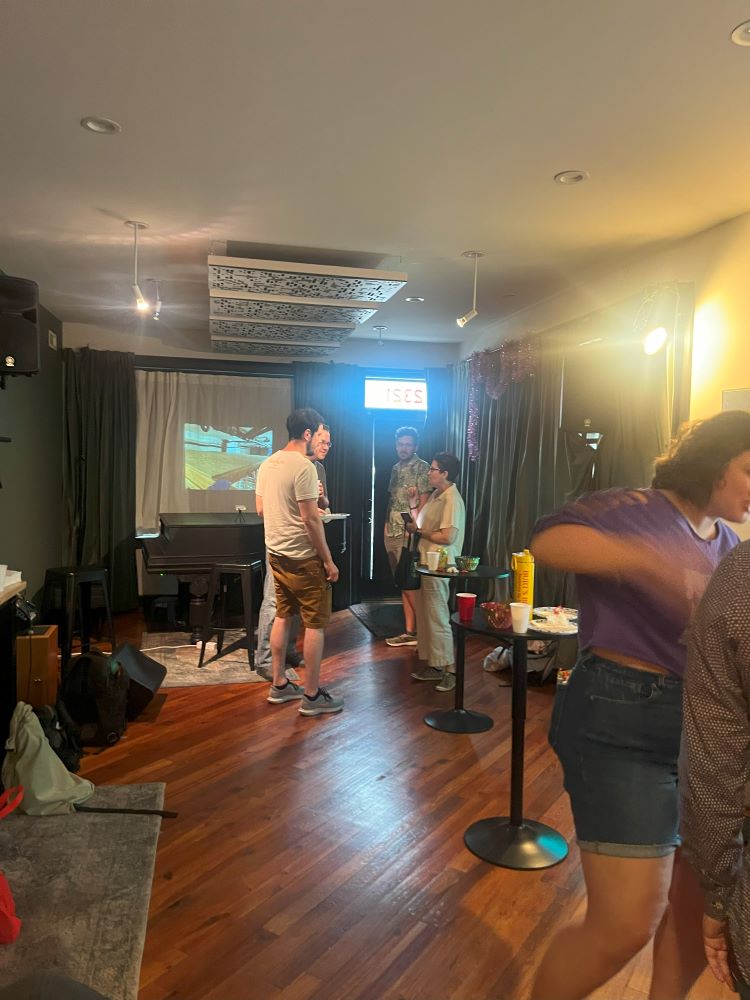
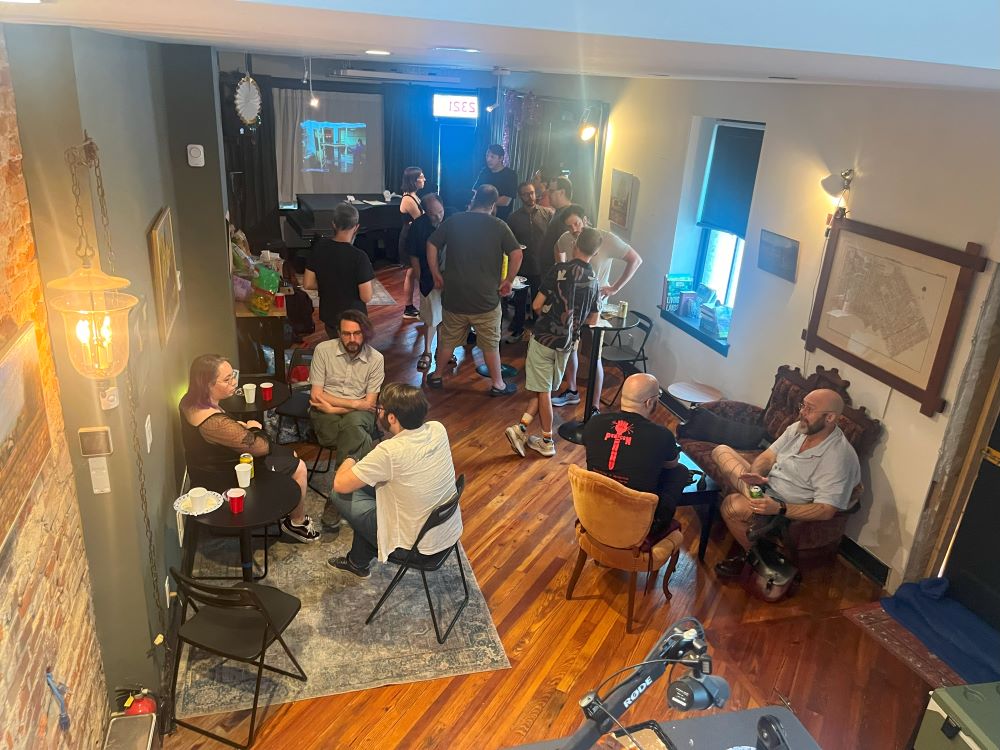
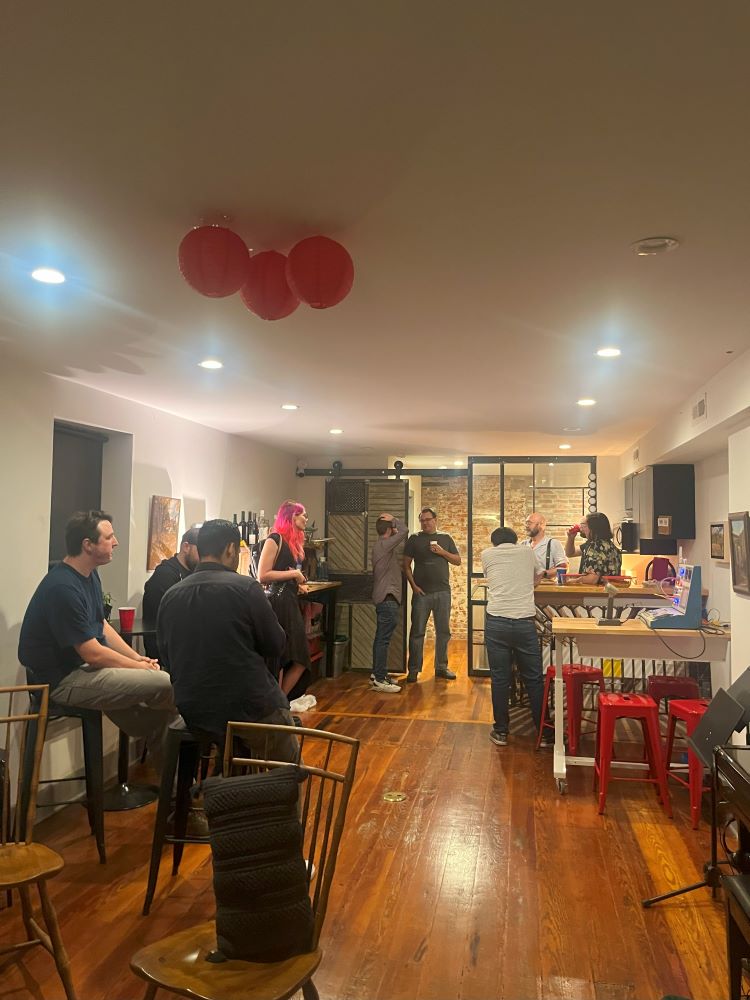
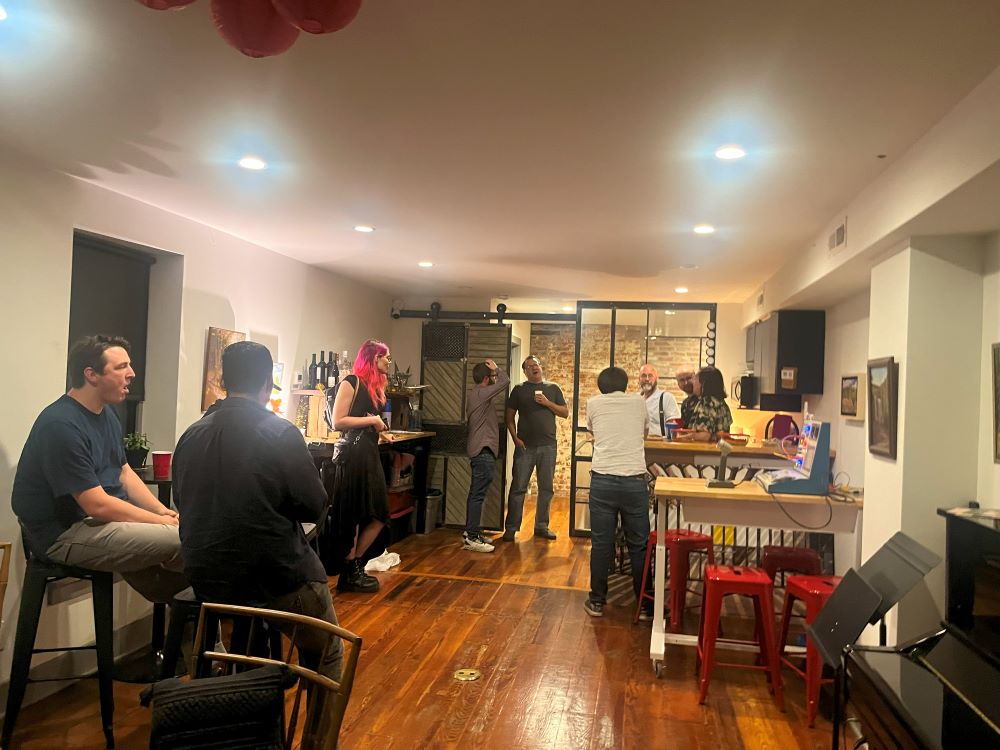
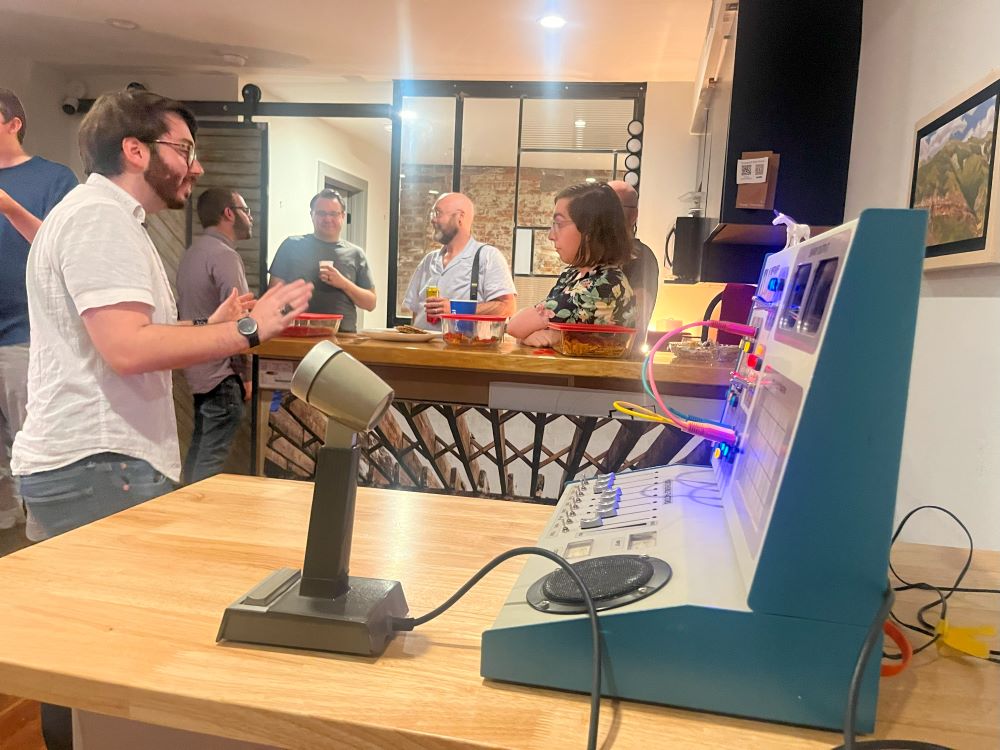
Time sure does fly. Members new and old came together to celebrate Hive76 being around for 15 years. In that time, we’ve had three different locations, hundreds of members, and a wide array of different projects. We’ve evolved and grown, adding new tools and expanded skillsets. We still don’t have a great answer for whether we’re a hackerspace or makerspace. (both?) Check back in another 15 years.
15th Year Anniversary Party
This summer marks the 15th trip around the sun since Hive76 has been buzzing. Time to celebrate! Members past and present are invited to meet up on August 31st from 4pm – 10pm at The Perch at the Emerald Wildflower Garden around the corner from Hive.
R.S.V.P. by 8/26 so we can get an idea of headcount and allergies/sensitivities. Snacks and light drinks will be provided, including bubbly (alc + non-alc) for toasting to the next 15! You are welcome to bring additional food or drink – a reminder email will be sent out closer to the event with ingredients restrictions.
Upgraded Storage Cabinet
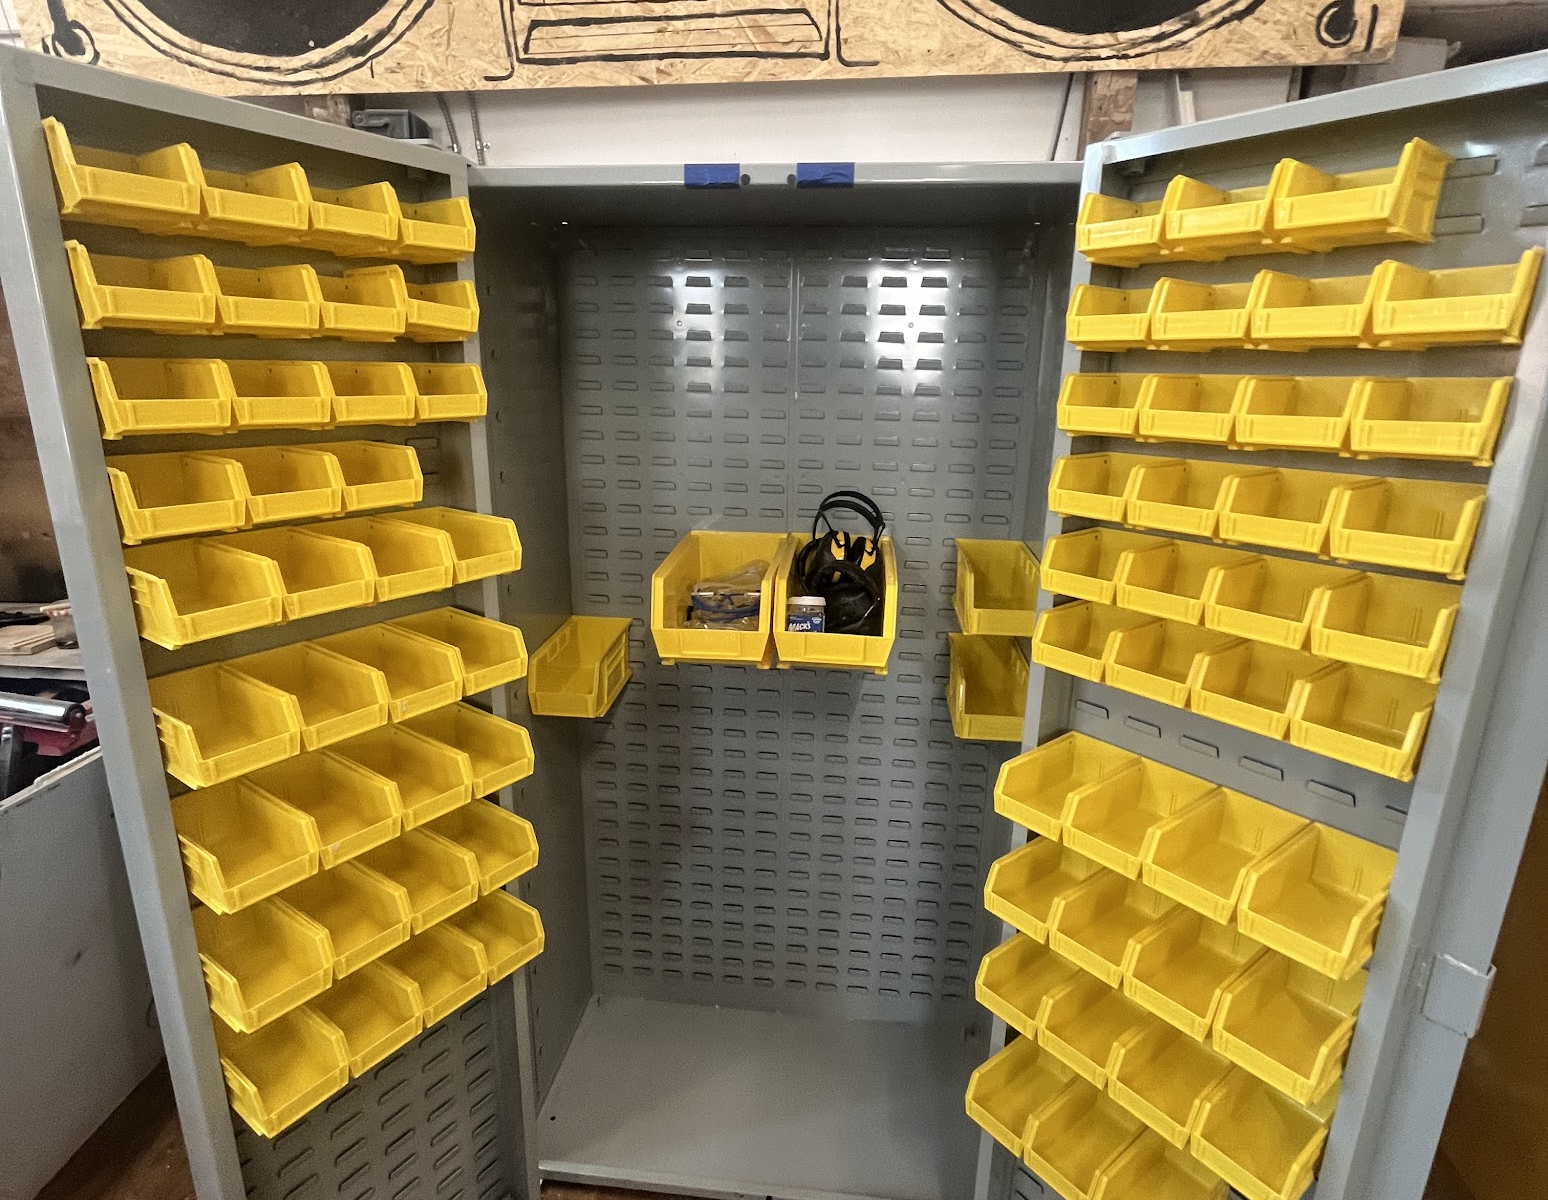
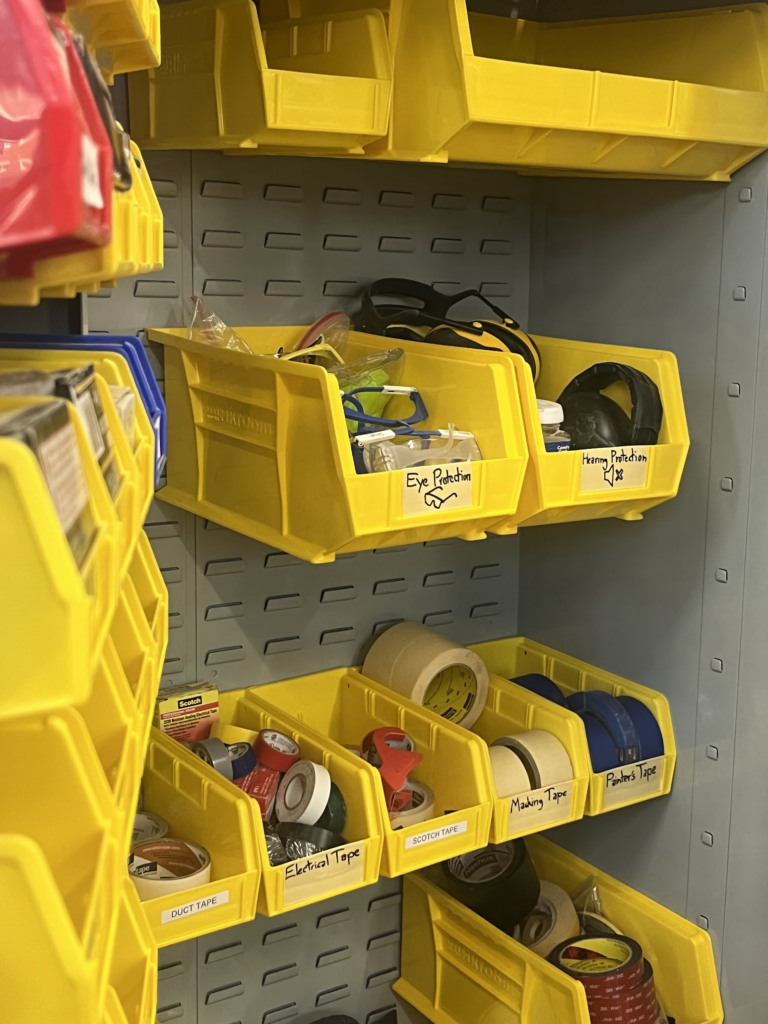
After years of putting shop supplies on a dusty open wire rack, we have a fancy metal shop cabinet. It comes to us from Tom’s old employer, RightAir, who laid everyone off and shut-down. Silver lining, they left us this very high quality cabinet for the low low price of free. Look for better organization of tools and supplies in our woodshop.
Fan Expo & Maker Faire Recap
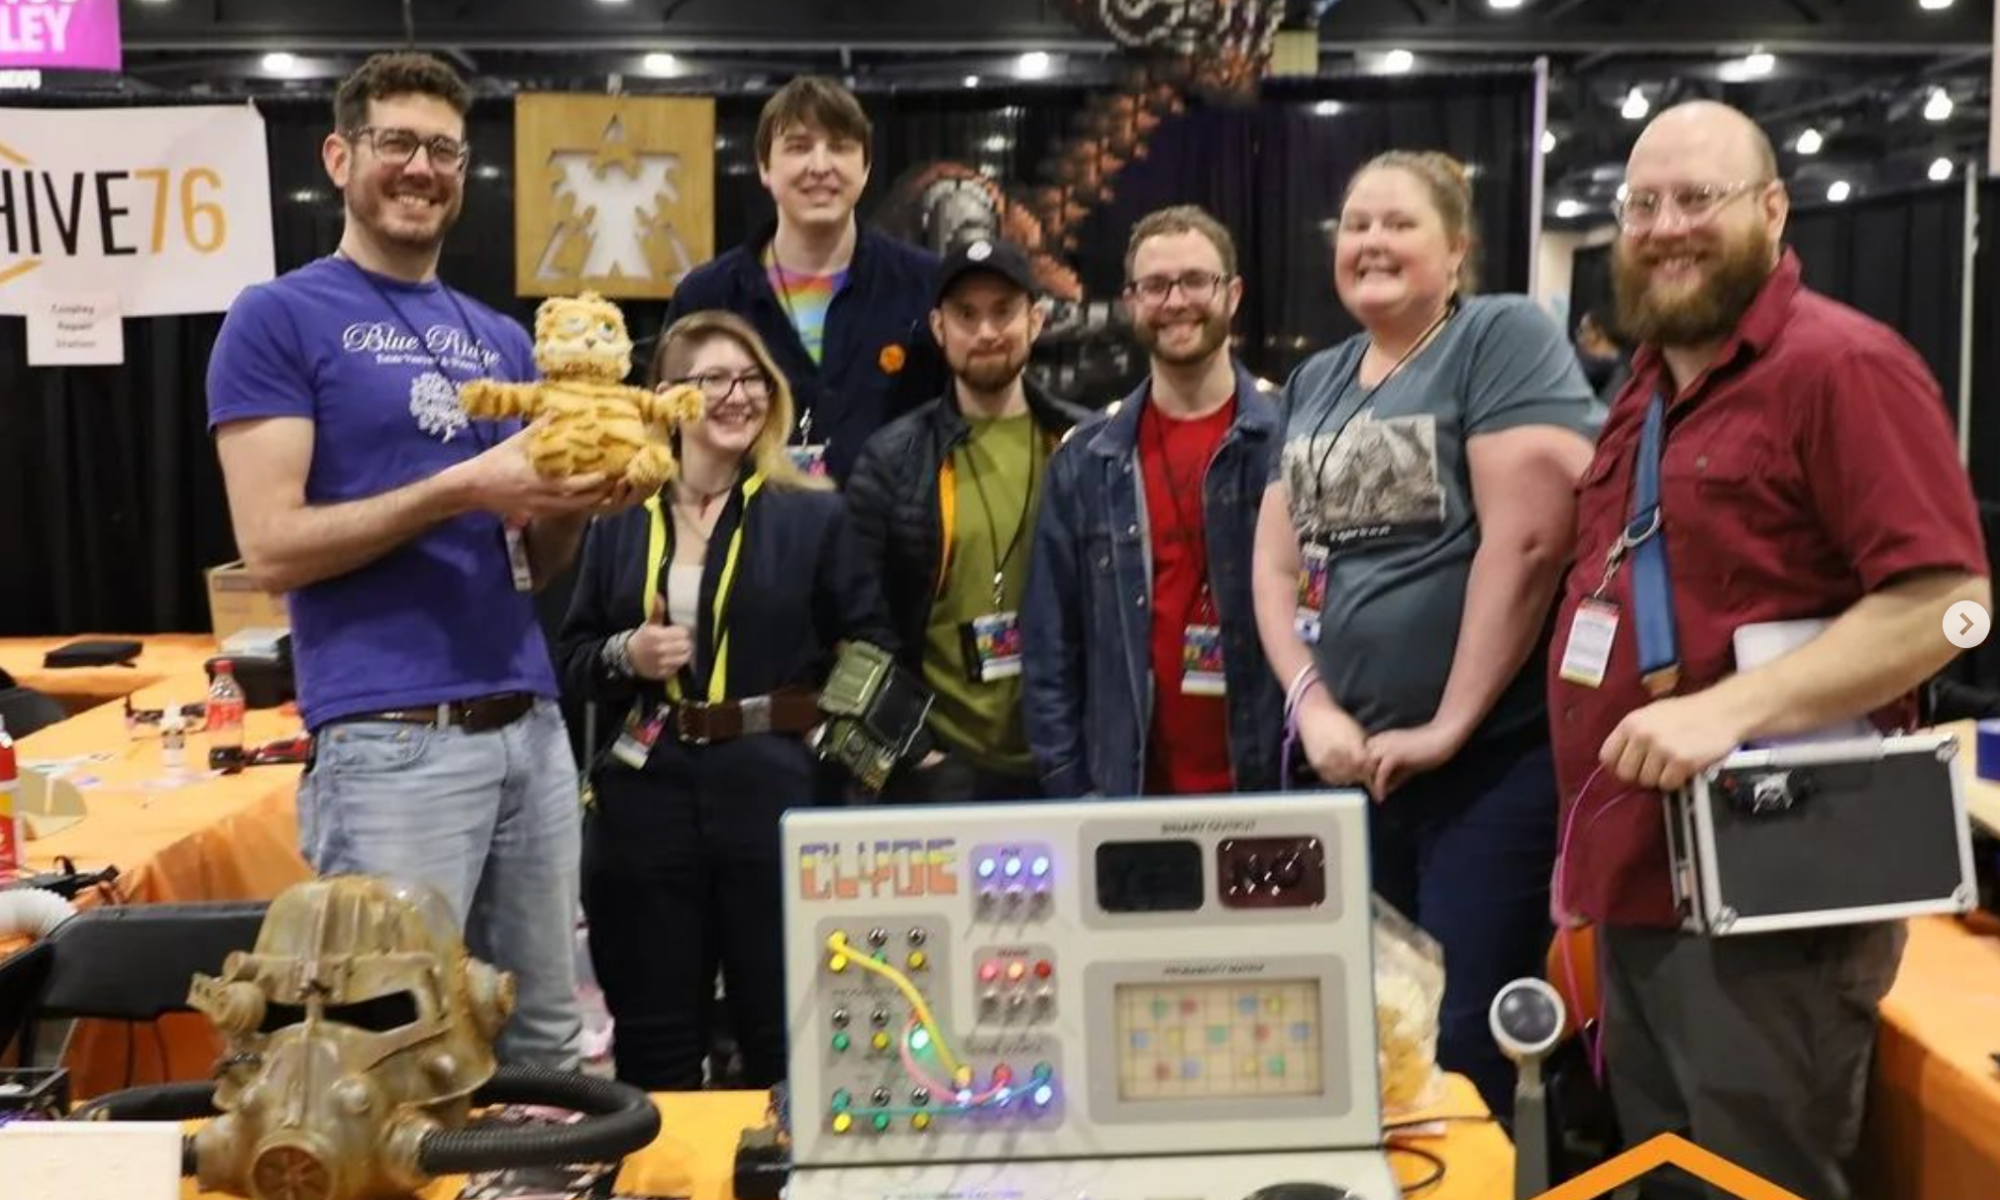
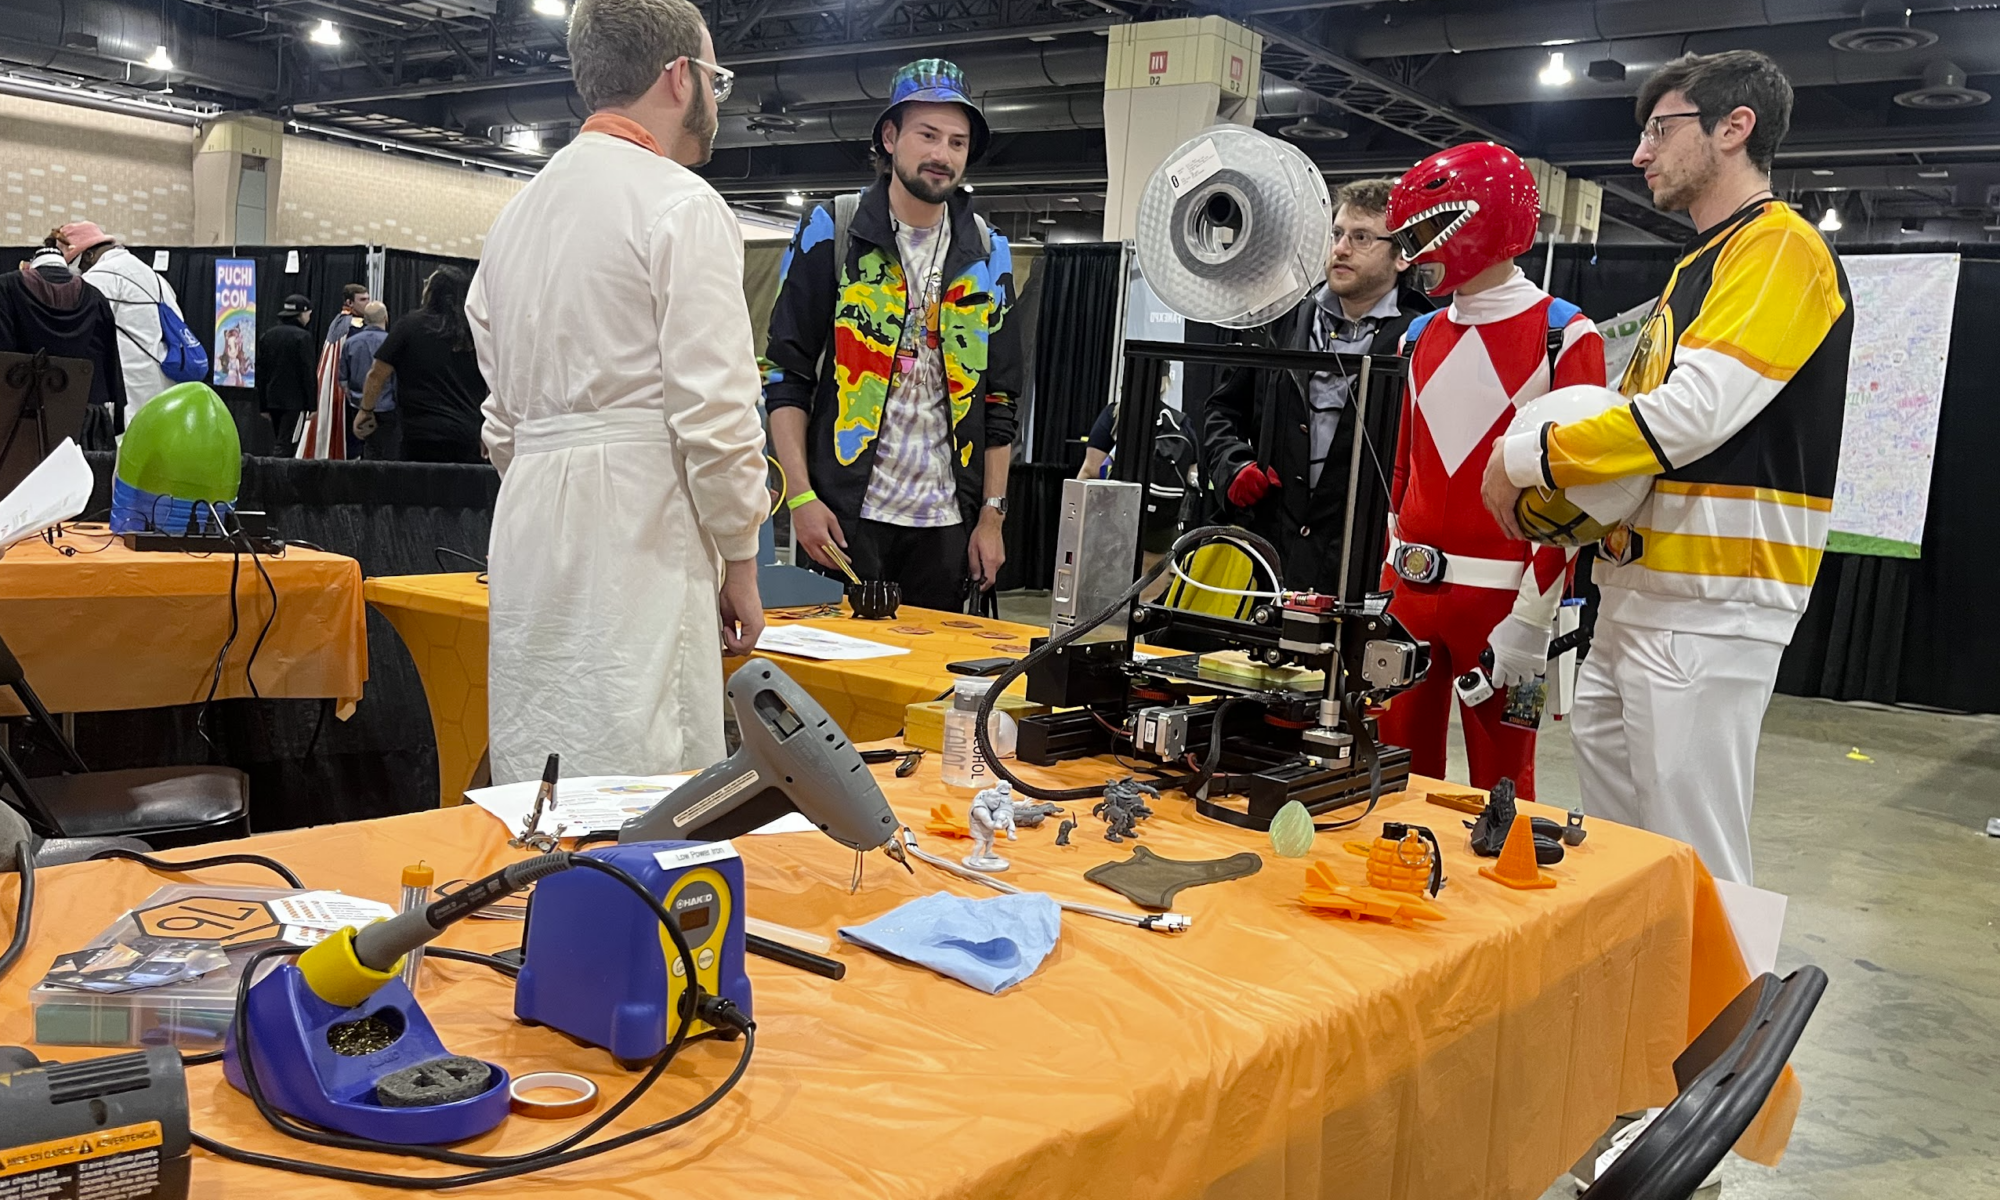
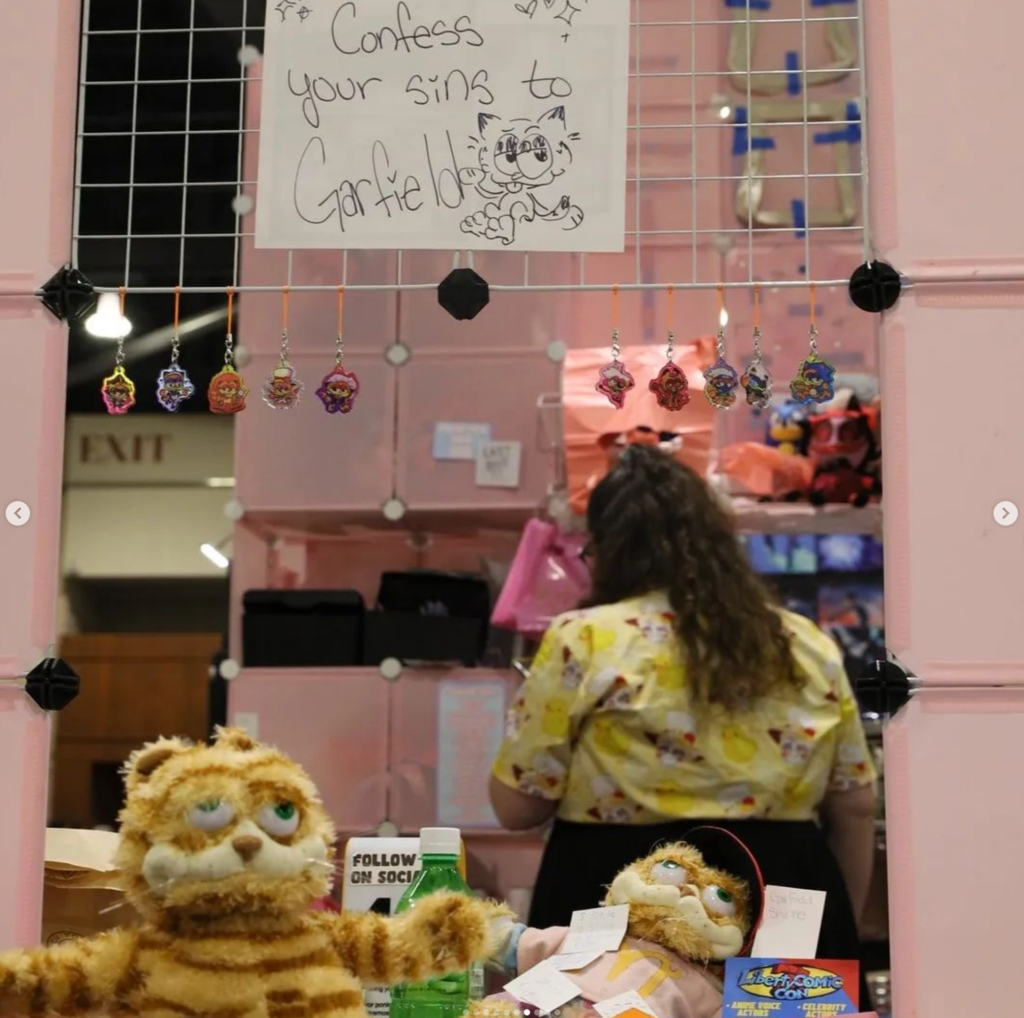
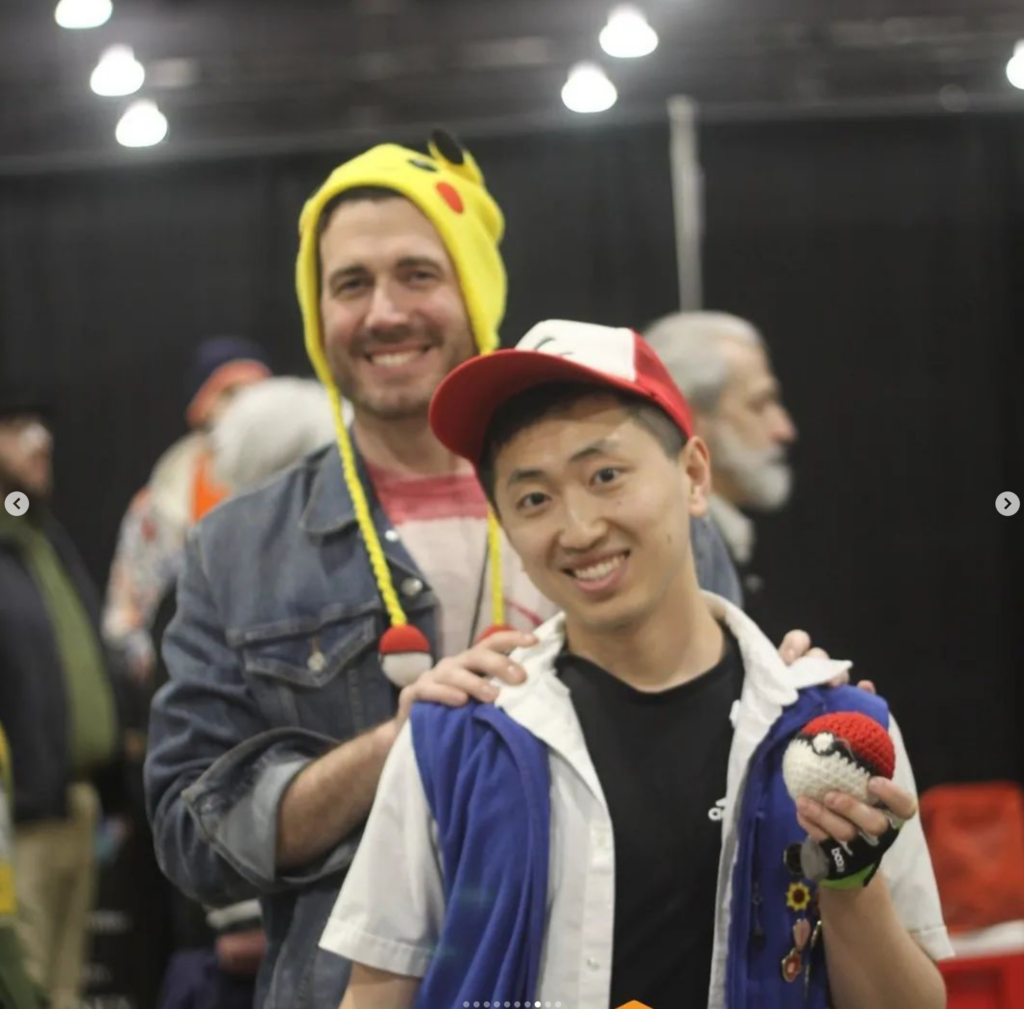
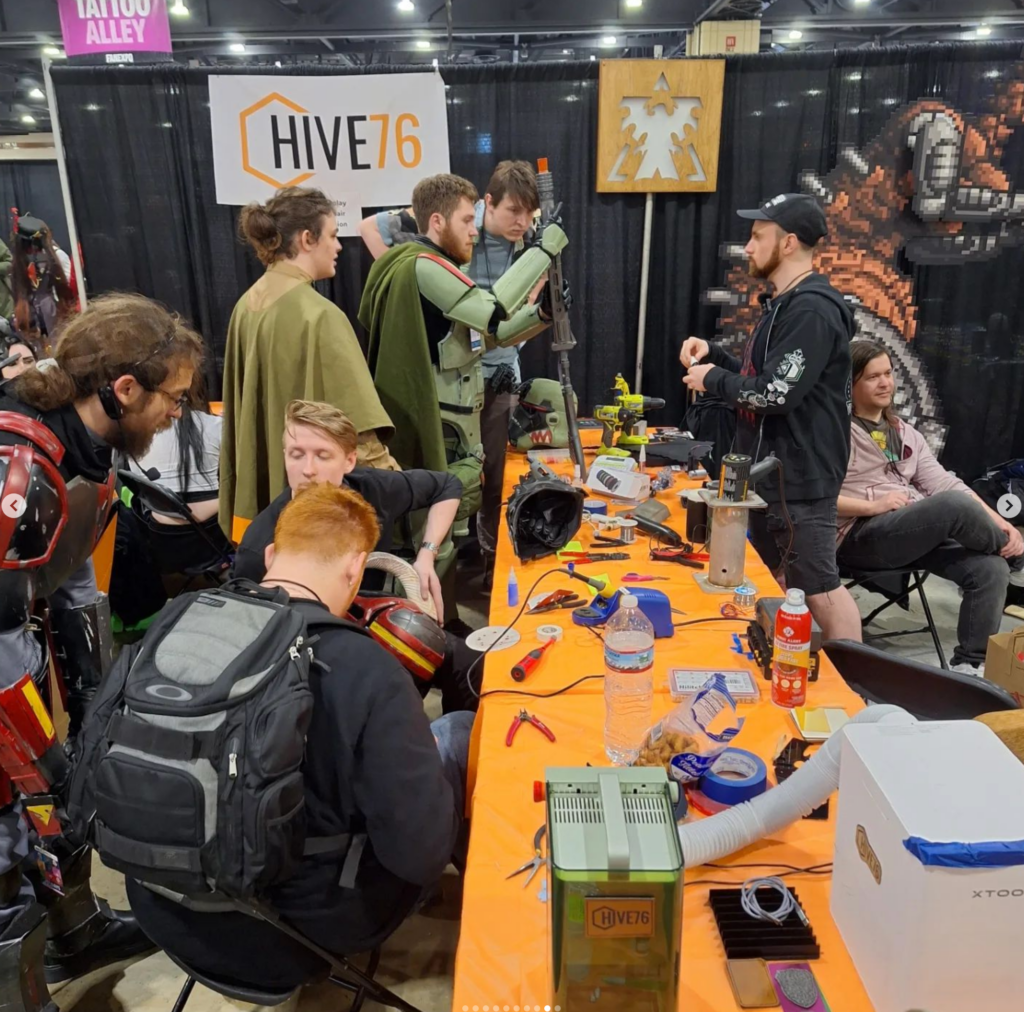
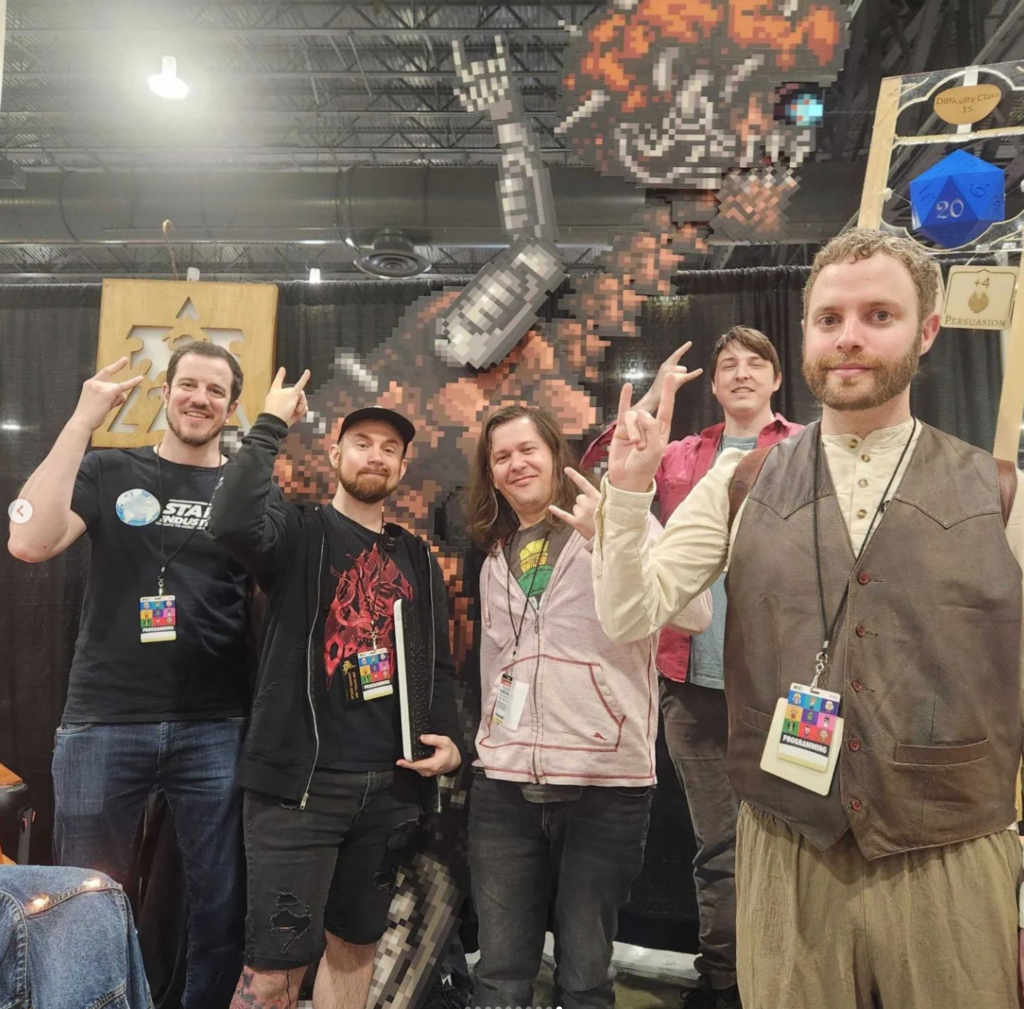
Hive had a busy spring, tabling at both Maker Faire and Fan Expo. Thanks to everyone who stopped by and all our members who volunteered and ran the tables. At Fan Expo we ran a cosplay repair station, helping many attendees fix unforeseen wardrobe malfunctions. Pete also debuted his cursed speaking Garfield with maybe sentience and Lovecraftian powers??? We don’t want to think to much about it. At Maker Faire, we had a full day of showing off Hive projects, even laser-etching business cards on the spot.
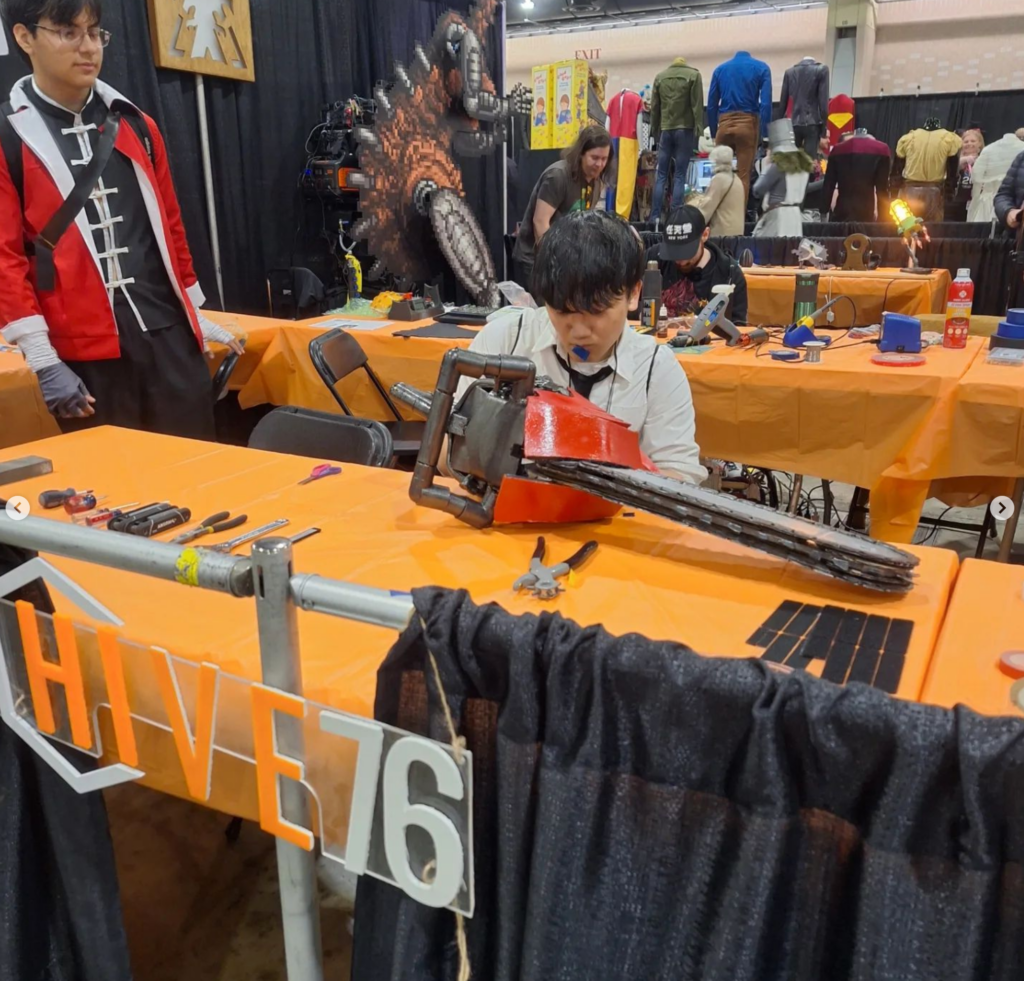
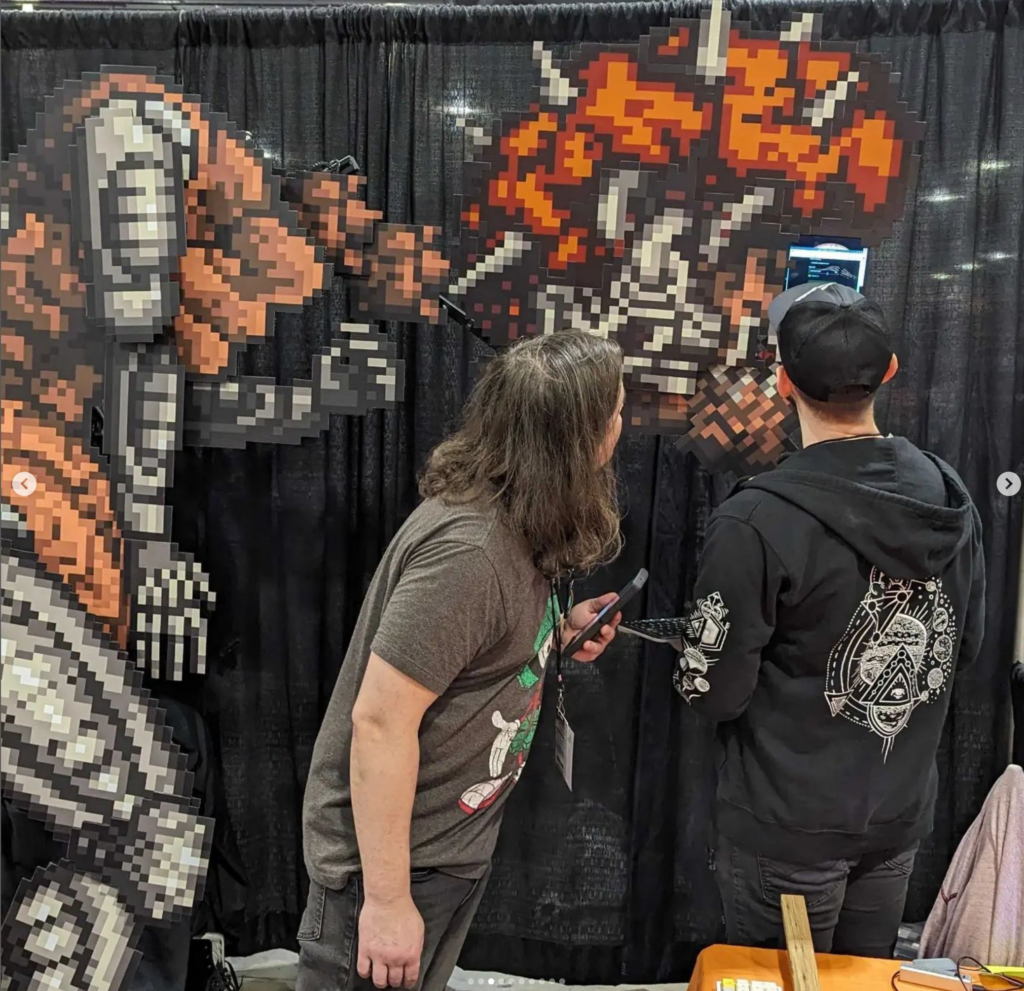
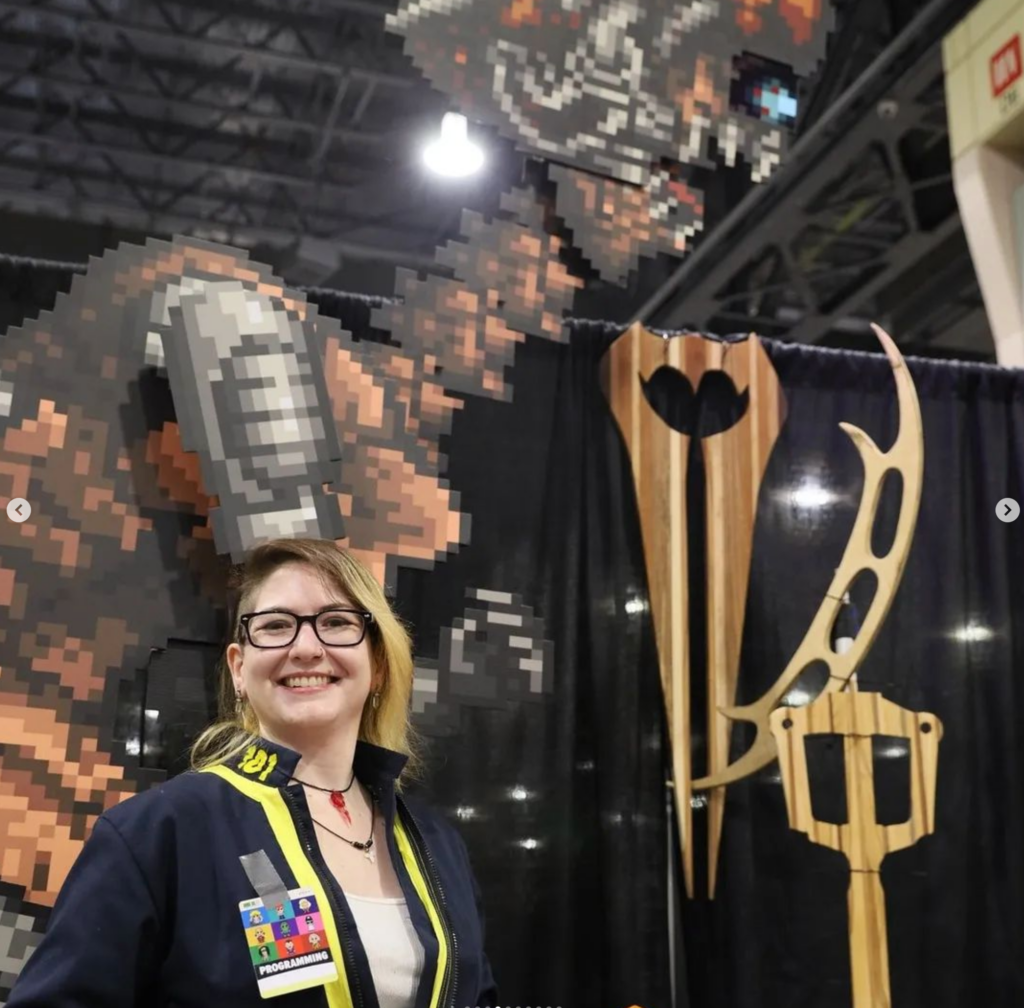
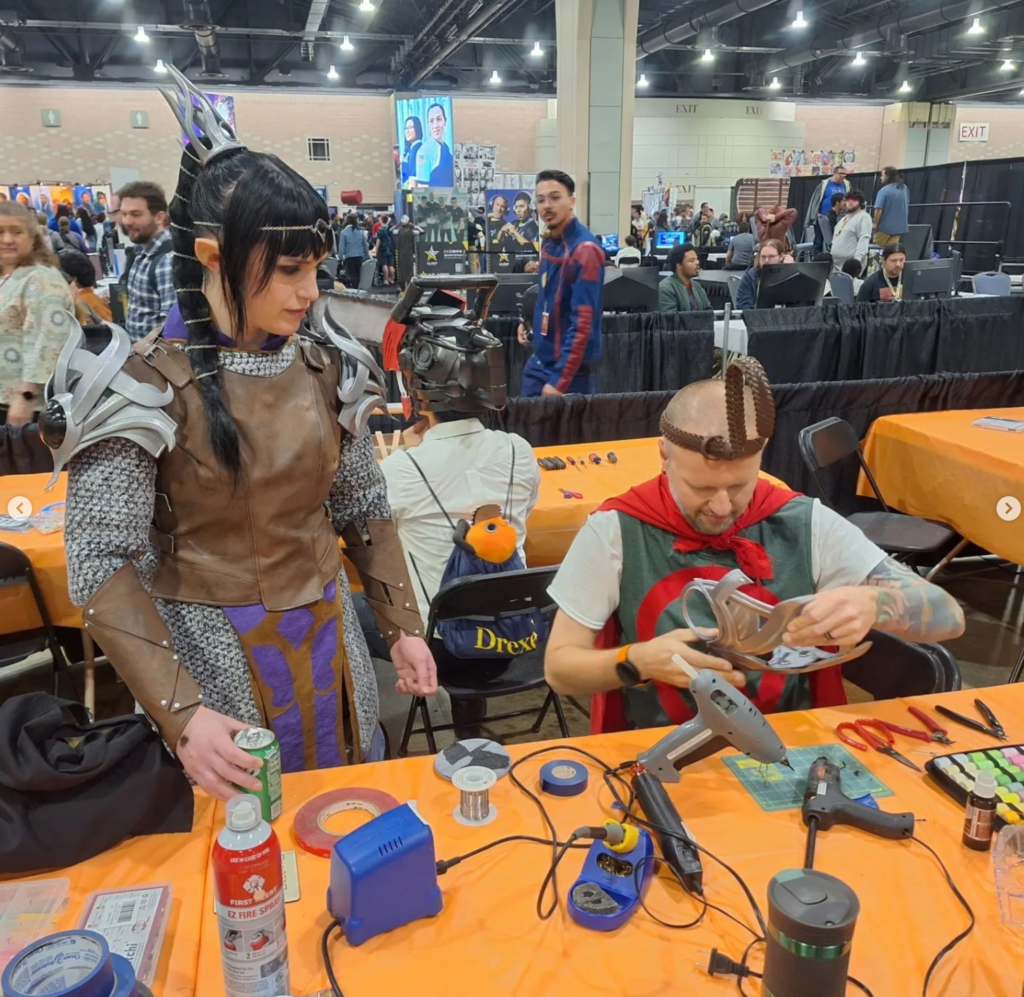
Hive76 is returning to Fan Expo
Once again we’ll be running our “Cosplay Repair Station” at Fan Expo. Look for us May 3-5 at the Philly Convention Center.
Philadelphia Maker Faire
On April 21st, Maker Faire will be returning to Philadelphia. It will be at Cherry Street Pier and tickets are on sale now. Multiple Hive members will be in attendance and some are even helping run it. For more details, visit https://philly.makerfaire.com/

