
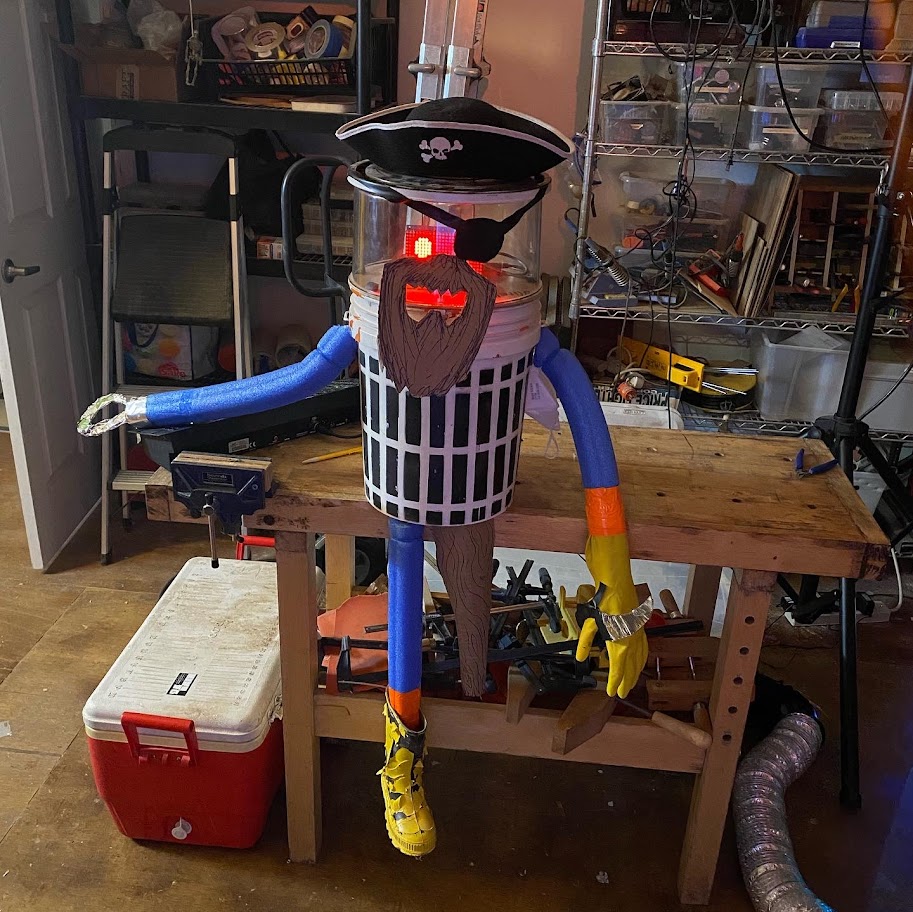
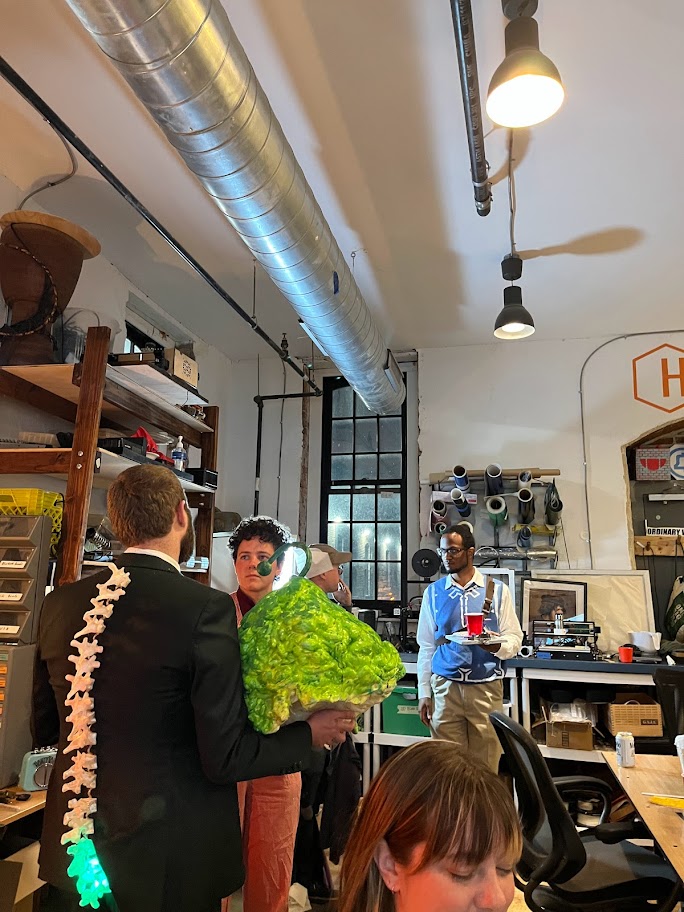
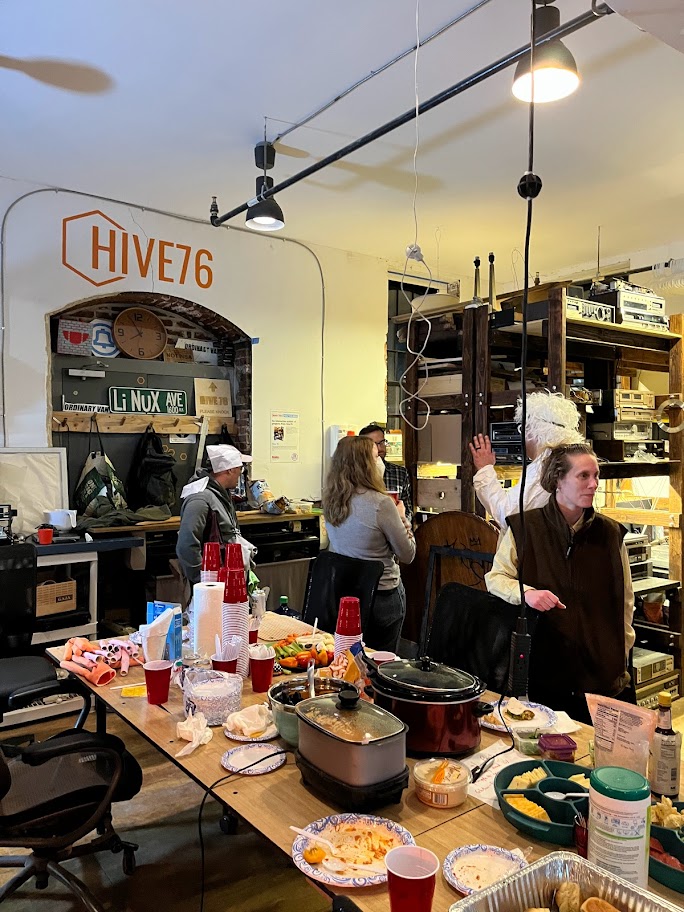
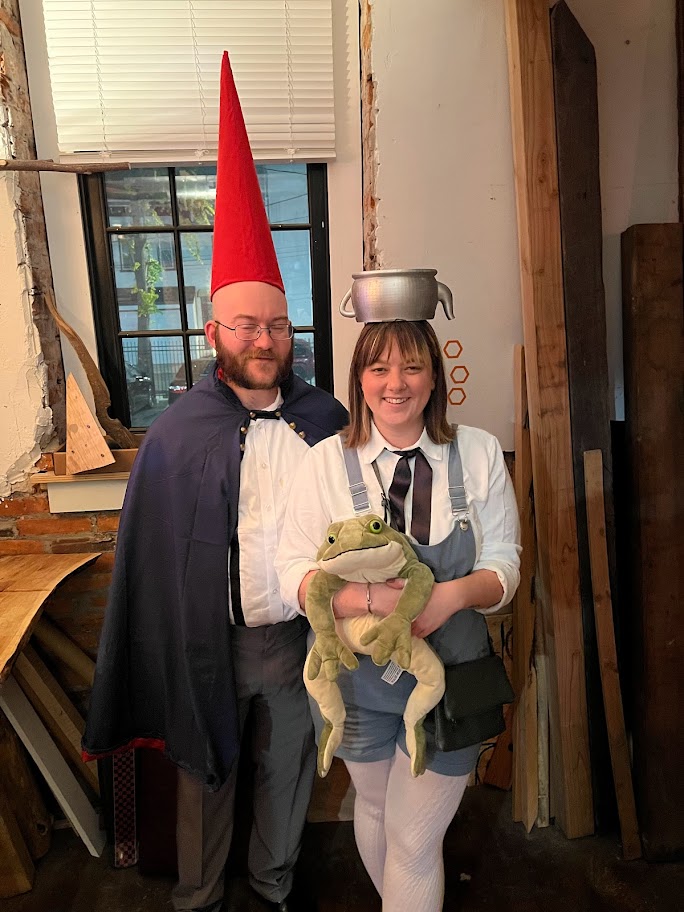
Another year, another fun party full of creative costumes. Thanks to all members who came out to celebrate.
HIVE-O-WEEN
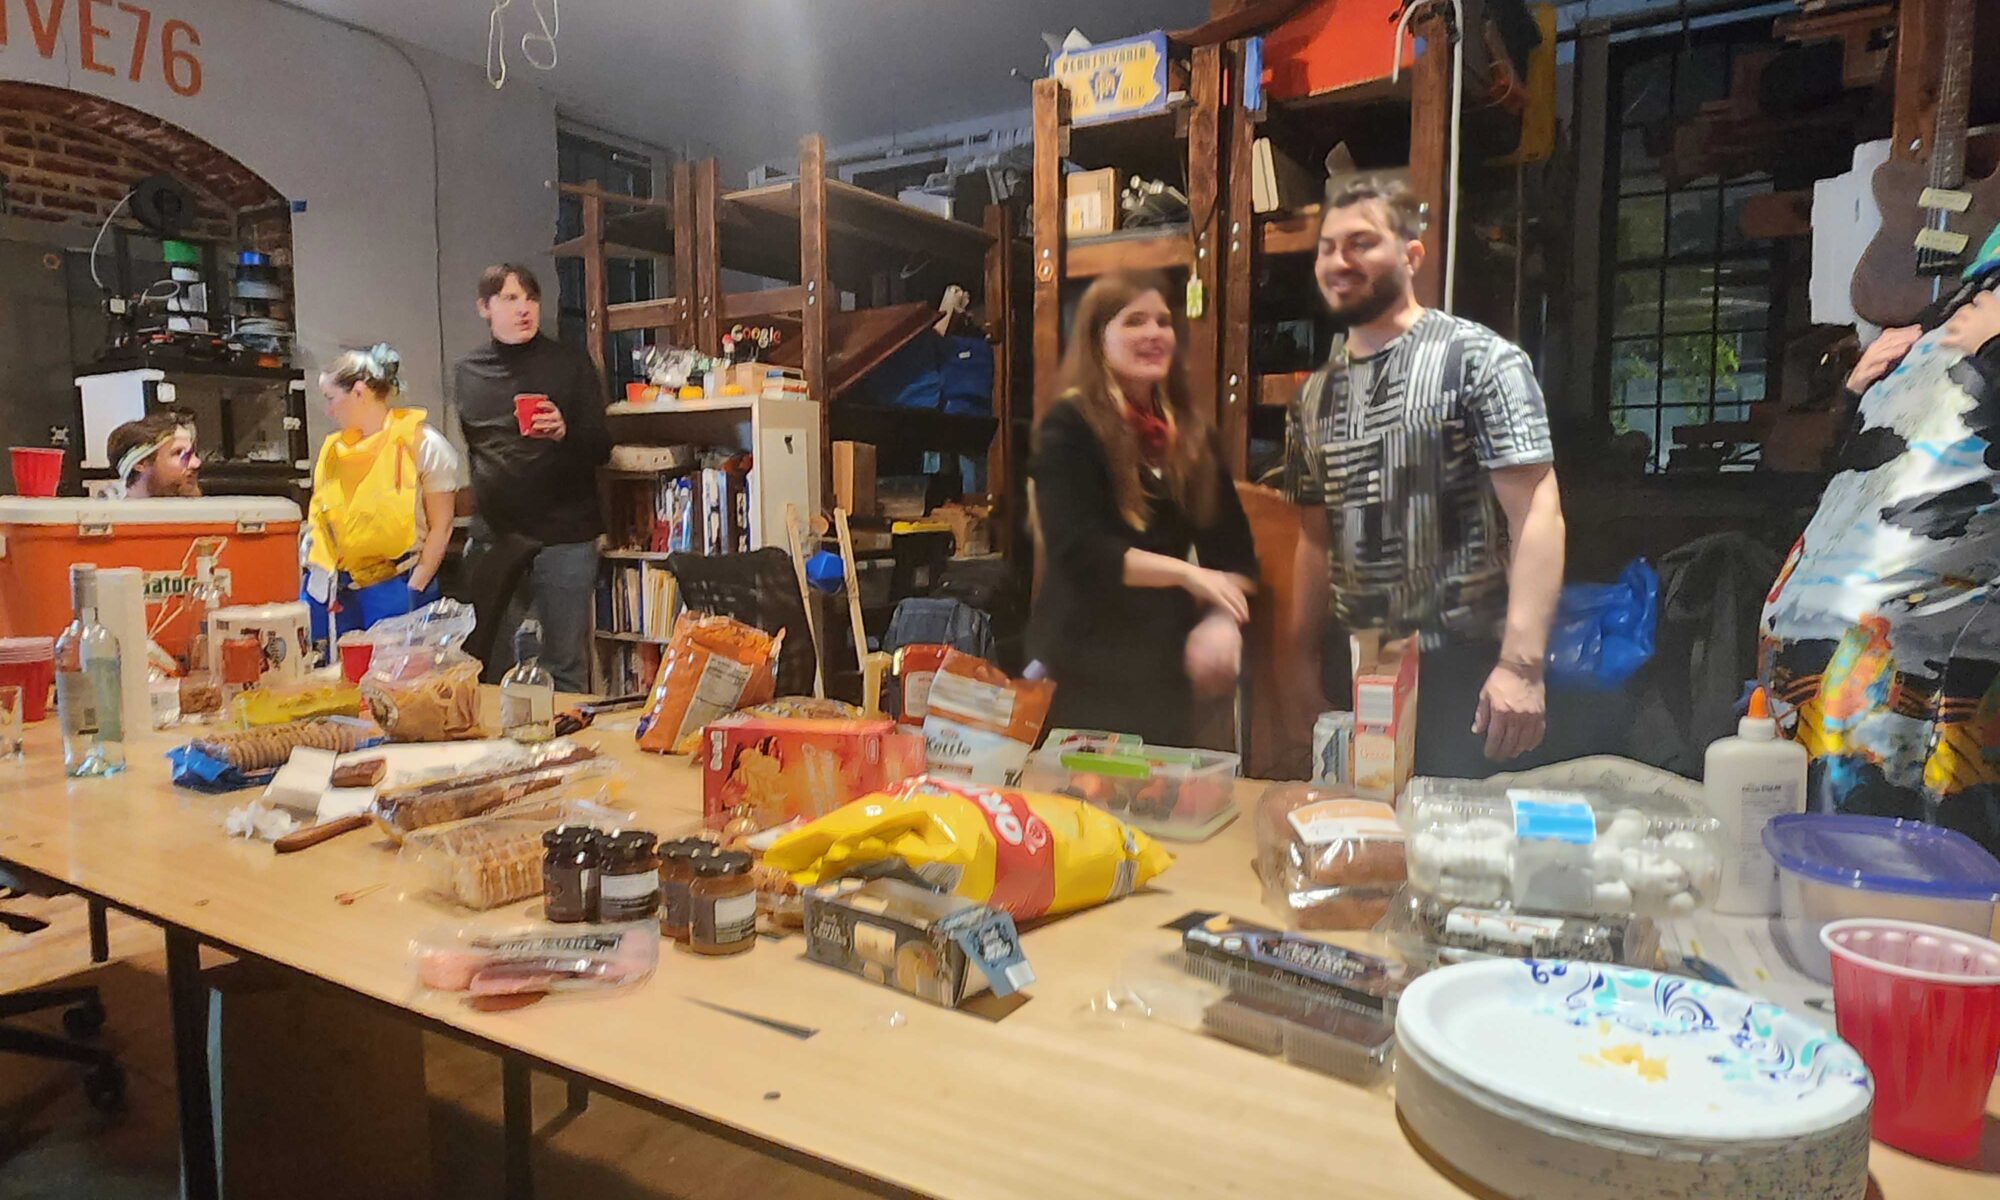
Another year, another fun party full of creative costumes. Thanks to all members who came out to celebrate.

We have significantly upgrade our band saw. The old saw ran admirably with the replacement motor since the Spring Garden days, but it have finally been retired to the big woodshop in the sky.
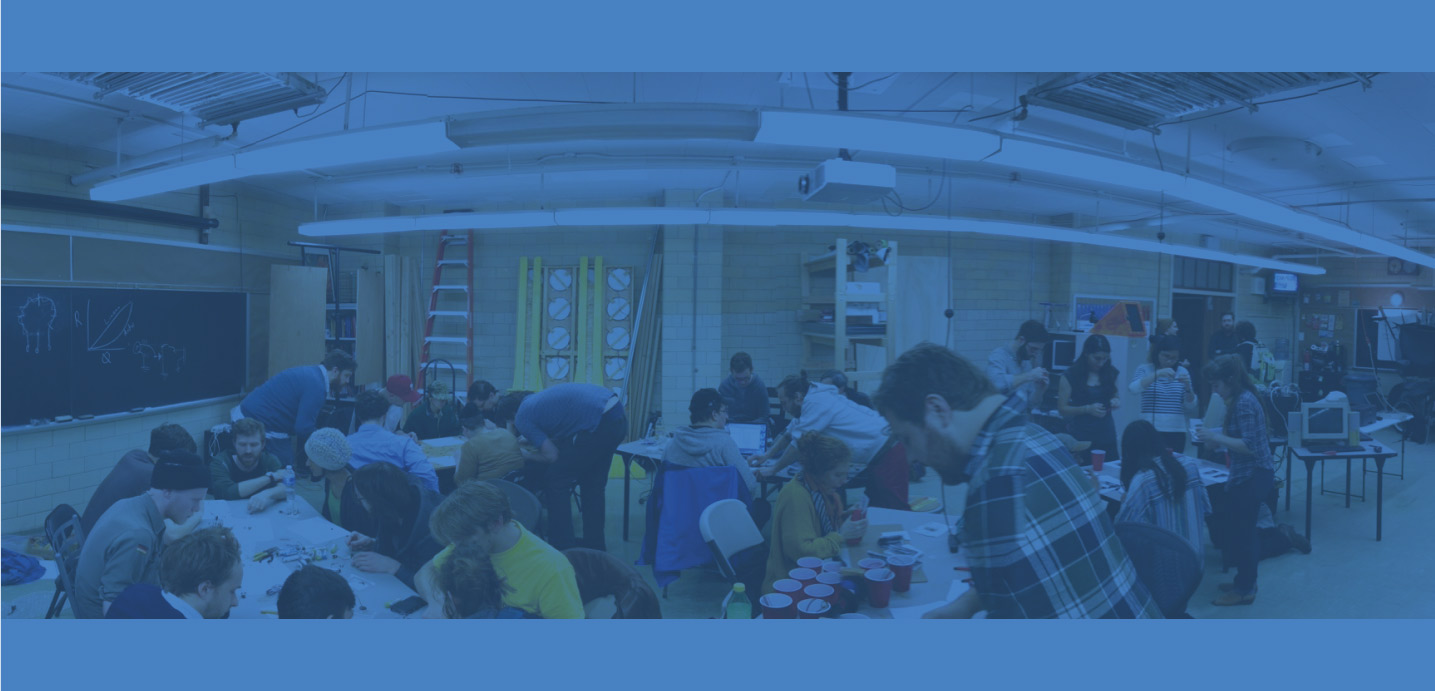
This upcoming Sunday evening we’ll be having a member meeting. It’ll be at 5:30pm at Hive76. The primary topic will be a potential expansion of our space. We have the opportunity to rent the basement below our current workshop and double our space. If you’re interested, come and join the discussion.
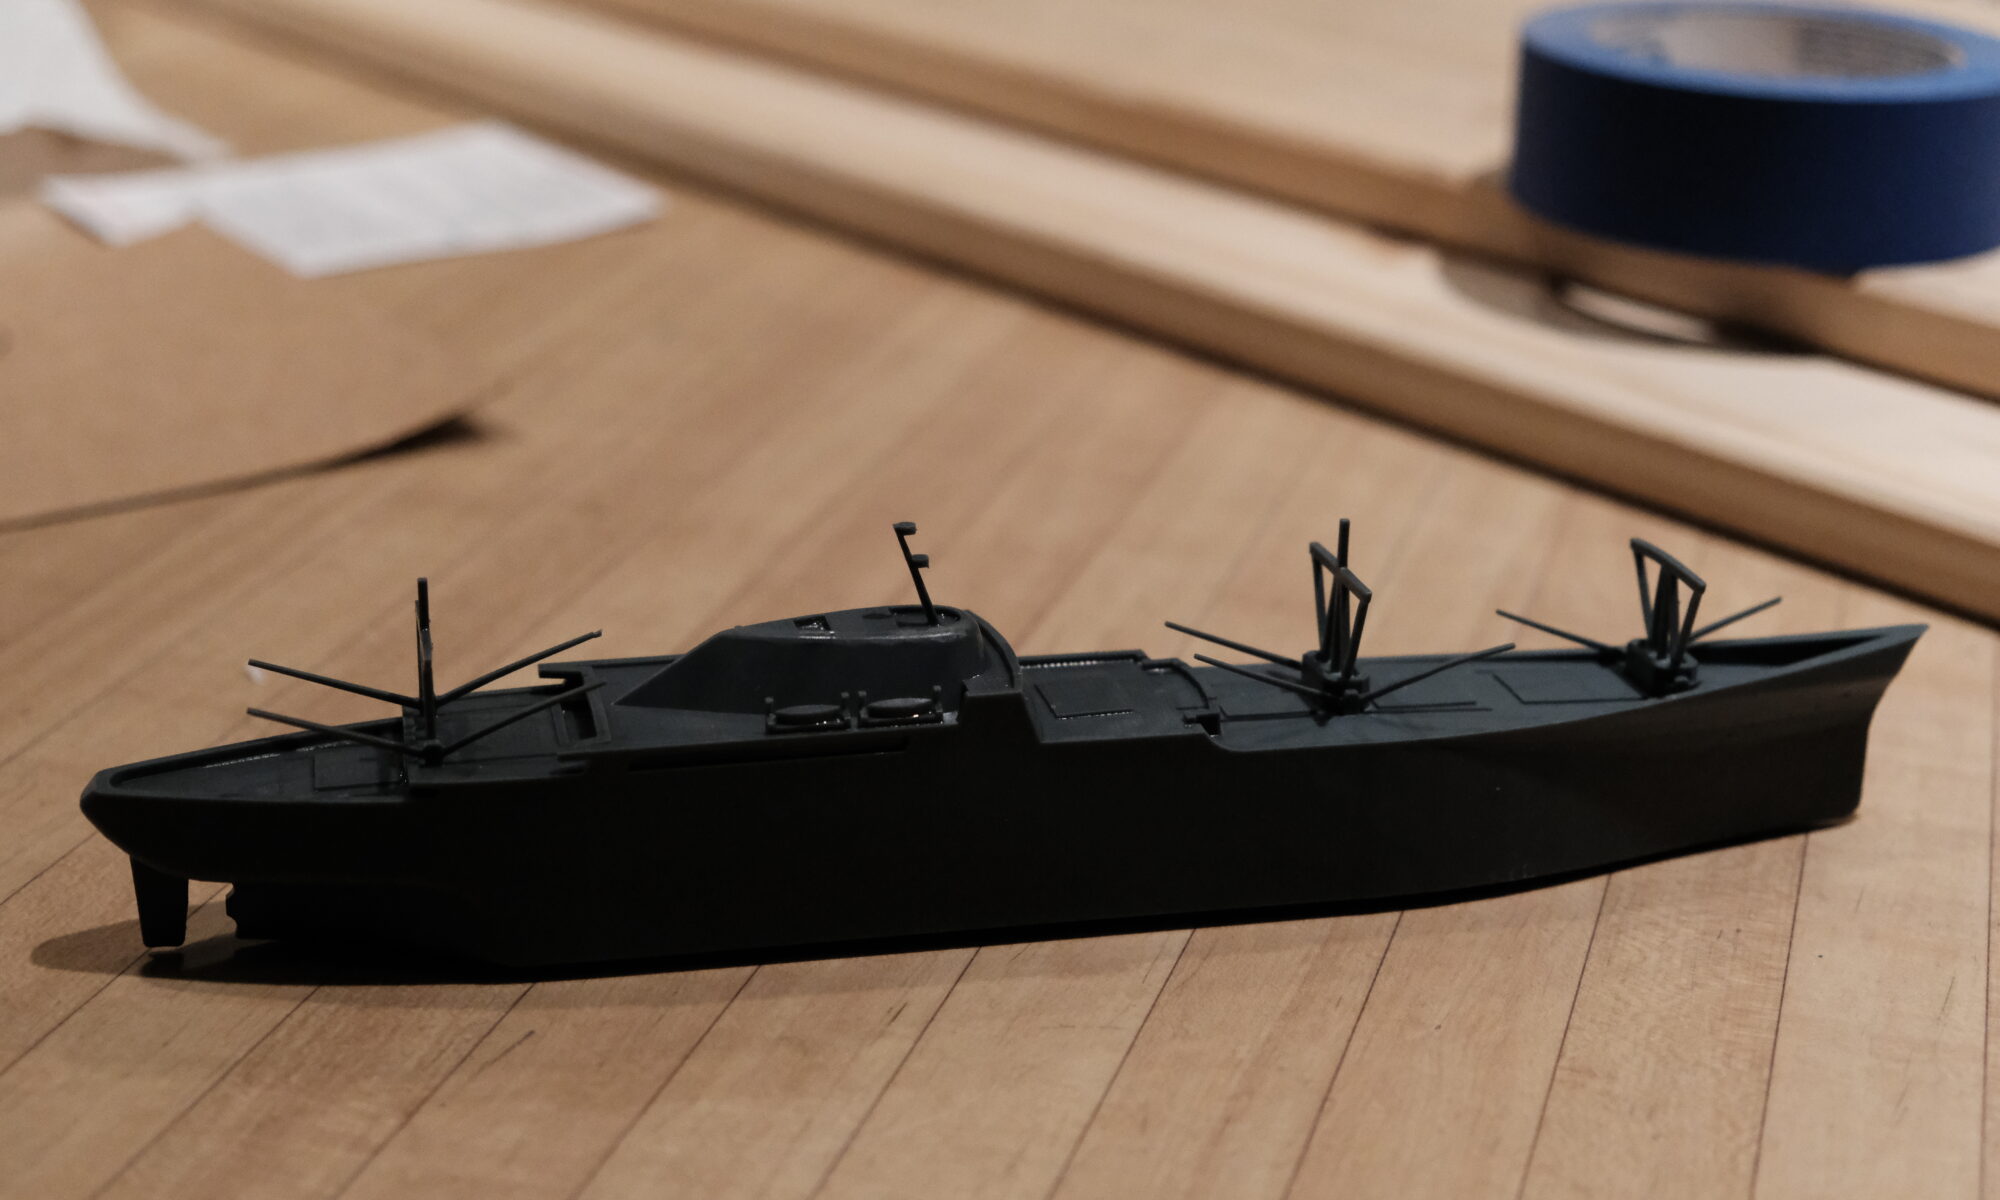


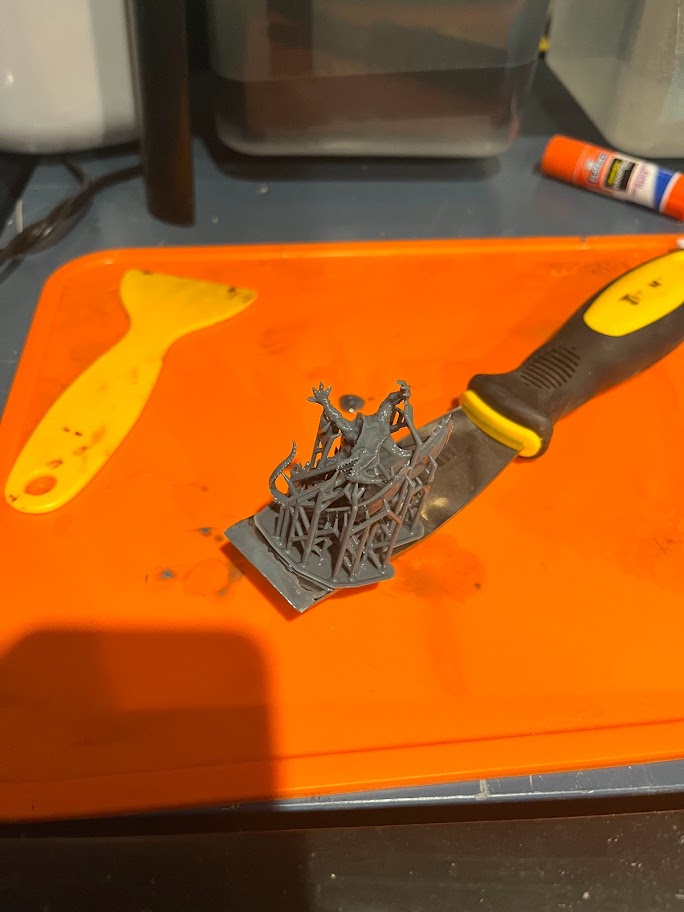
Tom Meyer taught a class today on using our new resin printer, an Elegoo Saturn 2. A few example prints were shown to the class including this model boat which is 11 inches long. We are using a water soluble resin which has less fumes than alcohol based resins. We are excited to teach our members and the public about this effective method of making high resolution 3D prints safely and effectively!
All of our members are able to use the printer at no additional cost, materials costs are covered by classes like this!
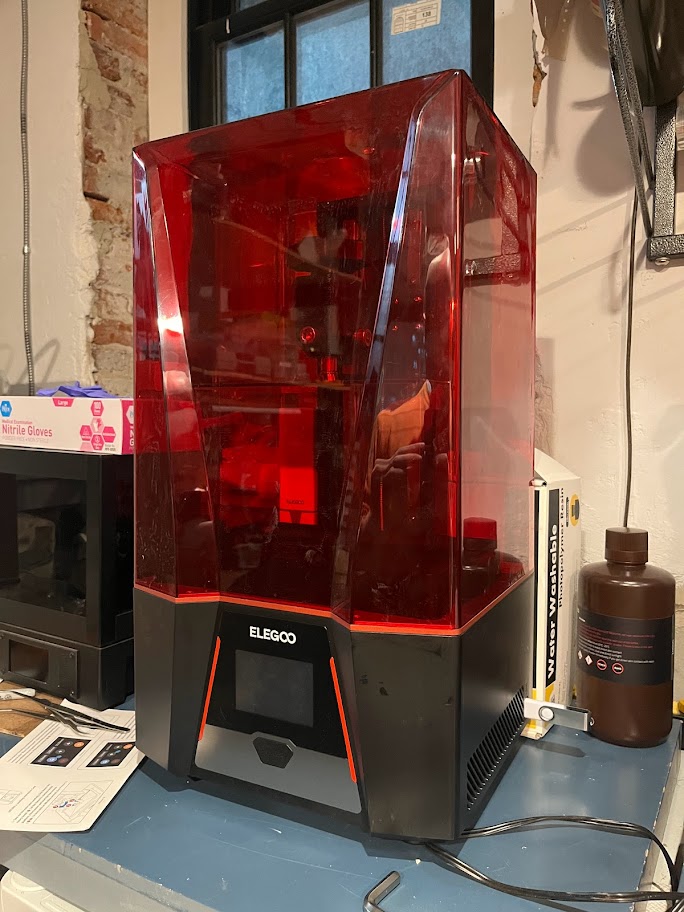
We have a brand new Elegoo Saturn 2 resin printer. It has a 10″ diagonal screen and can build high-res parts up to 305.9mm(L)*273mm(W)*567.3mm(H) in volume. The extra detail makes it ideal for miniatures and high-tolerance parts. We’ll be hosting a training class on the new printer soon.
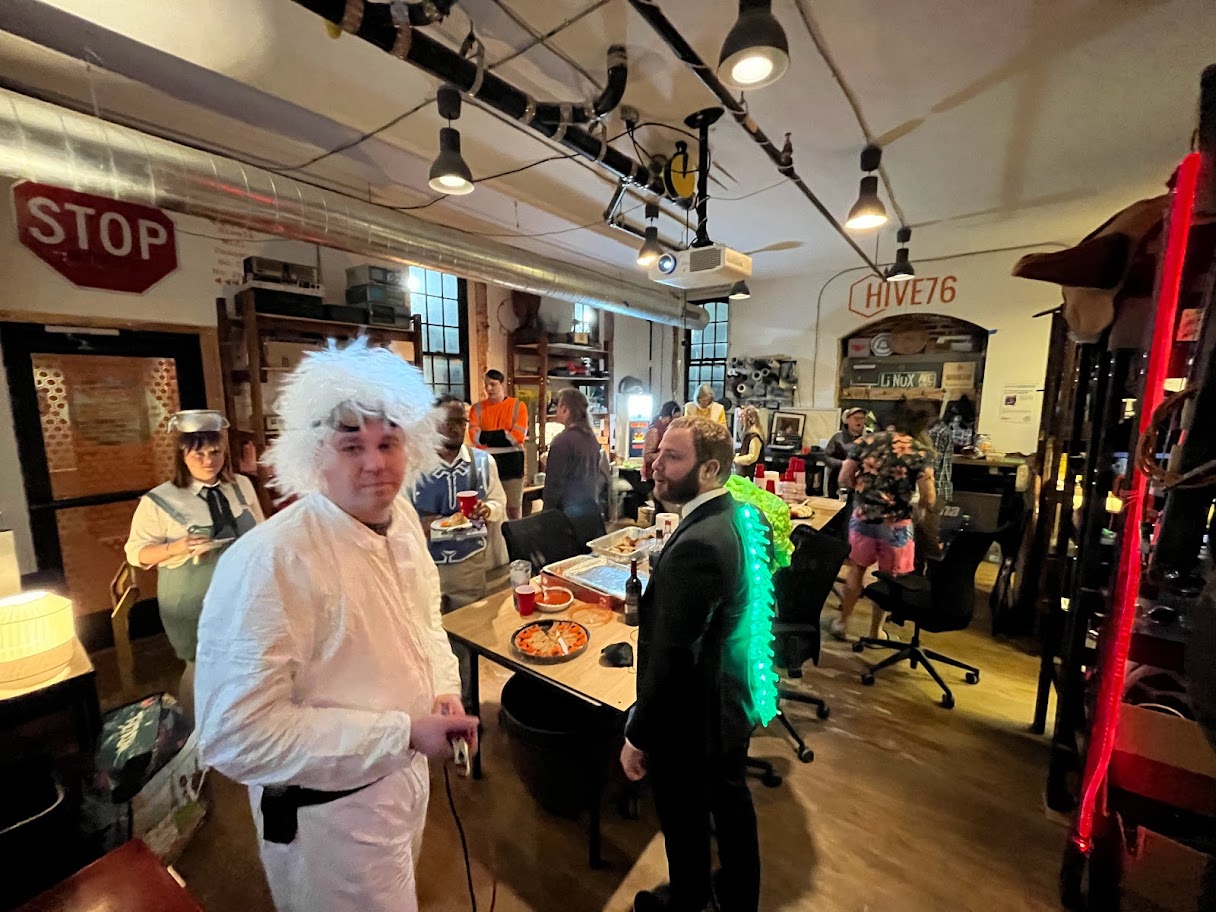
Yet another Halloween party is in the books. Once again, there were an array of creative costumes and plenty of merriment had by all. Check out a few photos from the party
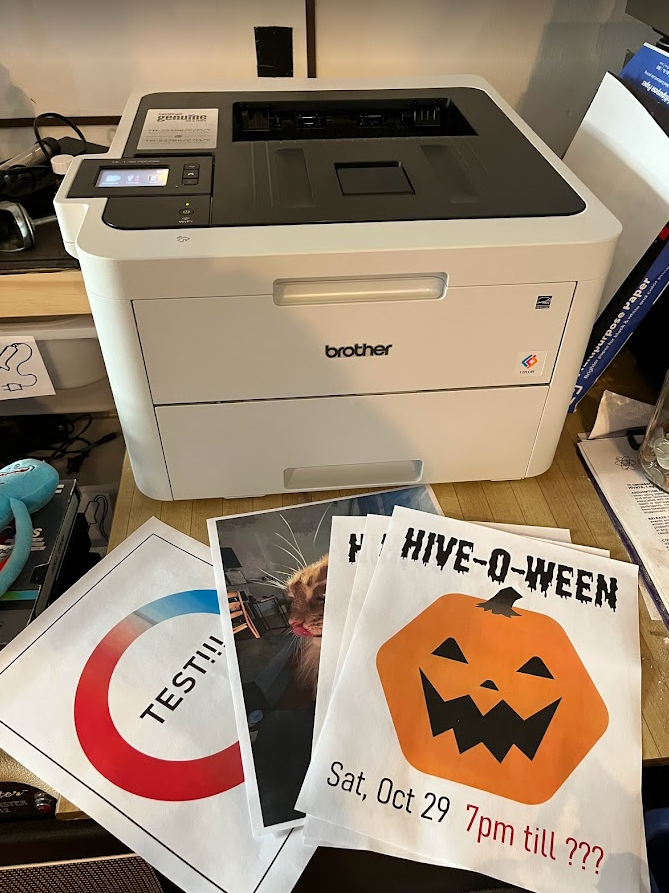
We’ve upgraded our 2D printer from black and white to color. You can print to it wirelessly as well as from Hive computers. As before, printing is an included perk of membership.


Thanks to all members and guests who followed our COVID rules. As vaccinations increase, we’re relaxing our restrictions.
 |
Got your shot? Masks can come off!
If you’ve received your COVID-19 vaccine(s) and reached the point of full immunity, masks are optional. |
 |
If you’re not vaxxed, keep wearing a mask
If you haven’t recieved a COVID-19 vaccine and reached full immunity, masks are still required to protect other members |
 |
No more occupancy limits
In accordance with guidance, we’re lifting social distancing requirements and our reduced occupancy limits. |
We look forward to seeing your faces in the space again – it’s been too long! Assuming conditions continue to improve, we’re planning to host an official reopening party in mid-late summer so we can all get together again.


We have another pair of upgrades to our woodworking shop. We’re happy to add a brand new Dewalt 735x thickness planer. It does an impressive job of surfacing rough wood to a silky smooth finish. And to deal with all the wood-chips it generates, we’ve also installed brand new dedicated dust collection. We’ll eventually be setting up hookups from all our power tools to the new dust collector.